Using Templates & Styles
Learn how to use and create document templates to produce consistent, on-brand workplace documents.
Video
Watch the lesson video, then complete the reading and challenge.
Presentation Slides
Review the slides below, then complete the reading and challenge.

Lesson Notes
Read through the key concepts before you try the challenge.
Real-World Scenario
Why Professionals Never Start from Scratch
Starting from a blank page is one of the most common inefficiencies in office work. Professional organizations use templates to eliminate guesswork, protect their brand, and ensure every document produced — regardless of who makes it — looks like it came from the same team. Templates deliver three direct benefits:
- Saves time — eliminates the need to rebuild document structures, set margins, and choose fonts from scratch on every new file
- Ensures consistency — locks in exact fonts, colors, and layouts across every person on the team so every document looks cohesive
- Reduces errors — removes the risk of accidental formatting mistakes that happen when everyone manually styles their own documents
Anatomy of a Professional Template
A professional template is more than a blank page with a logo. It is a pre-engineered document structure with four built-in components that do the formatting work for you:
- Pre-set fonts — heading and body fonts are defined in advance so every contributor uses the same typeface automatically
- Locked-in colors — brand colors are embedded in the theme so accent colors, header backgrounds, and borders are always consistent
- Consistent formatting — margins, line spacing, and paragraph styles are already configured to professional standards
- Placeholders — marked fields like '<Insert text here>' guide the user to fill in the right content in the right location without breaking the structure
Built-In Styles vs. Manual Formatting
The most critical skill in document workflow is knowing the difference between manually styling text and applying a built-in style. They look similar on screen but behave completely differently:
- Manual formatting (bold + font size increase) is prone to inconsistencies — each person applies it slightly differently and there is no global control
- Built-in styles (Heading 1, Heading 2, Normal/Body Text) from the Styles panel are instant, uniform, and structurally locked to the template
- Modifying a style updates every instance — change Heading 1's font size in the Styles panel and every Heading 1 in the document updates automatically
- Built-in styles also power the document's navigable structure — table-of-contents generators, screen readers, and PDF viewers all detect them
- The rule: never bold and resize text to fake a heading — click the style in the Styles panel instead
Template Galleries & Saving Custom Templates
You do not need to build every template from scratch. Both major platforms include pre-built foundations ready for immediate use, and both allow you to save your own custom structures for reuse.
- Google Docs gallery — access via File > New from template; includes memos, resumes, reports, and project plans ready to customize
- Microsoft Word gallery — access via File > New; same document types with additional corporate and academic formats
- Saving a custom template in Word — configure your document exactly as you want it, then File > Save As > Word Template (.dotx)
- Saving a custom template in Google Docs — open the template gallery, click Submit template, and your document becomes available to your organization
- Once saved, open the template file for future projects to guarantee an exact structural and visual match every time
Quick Reference: Mastering Document Consistency
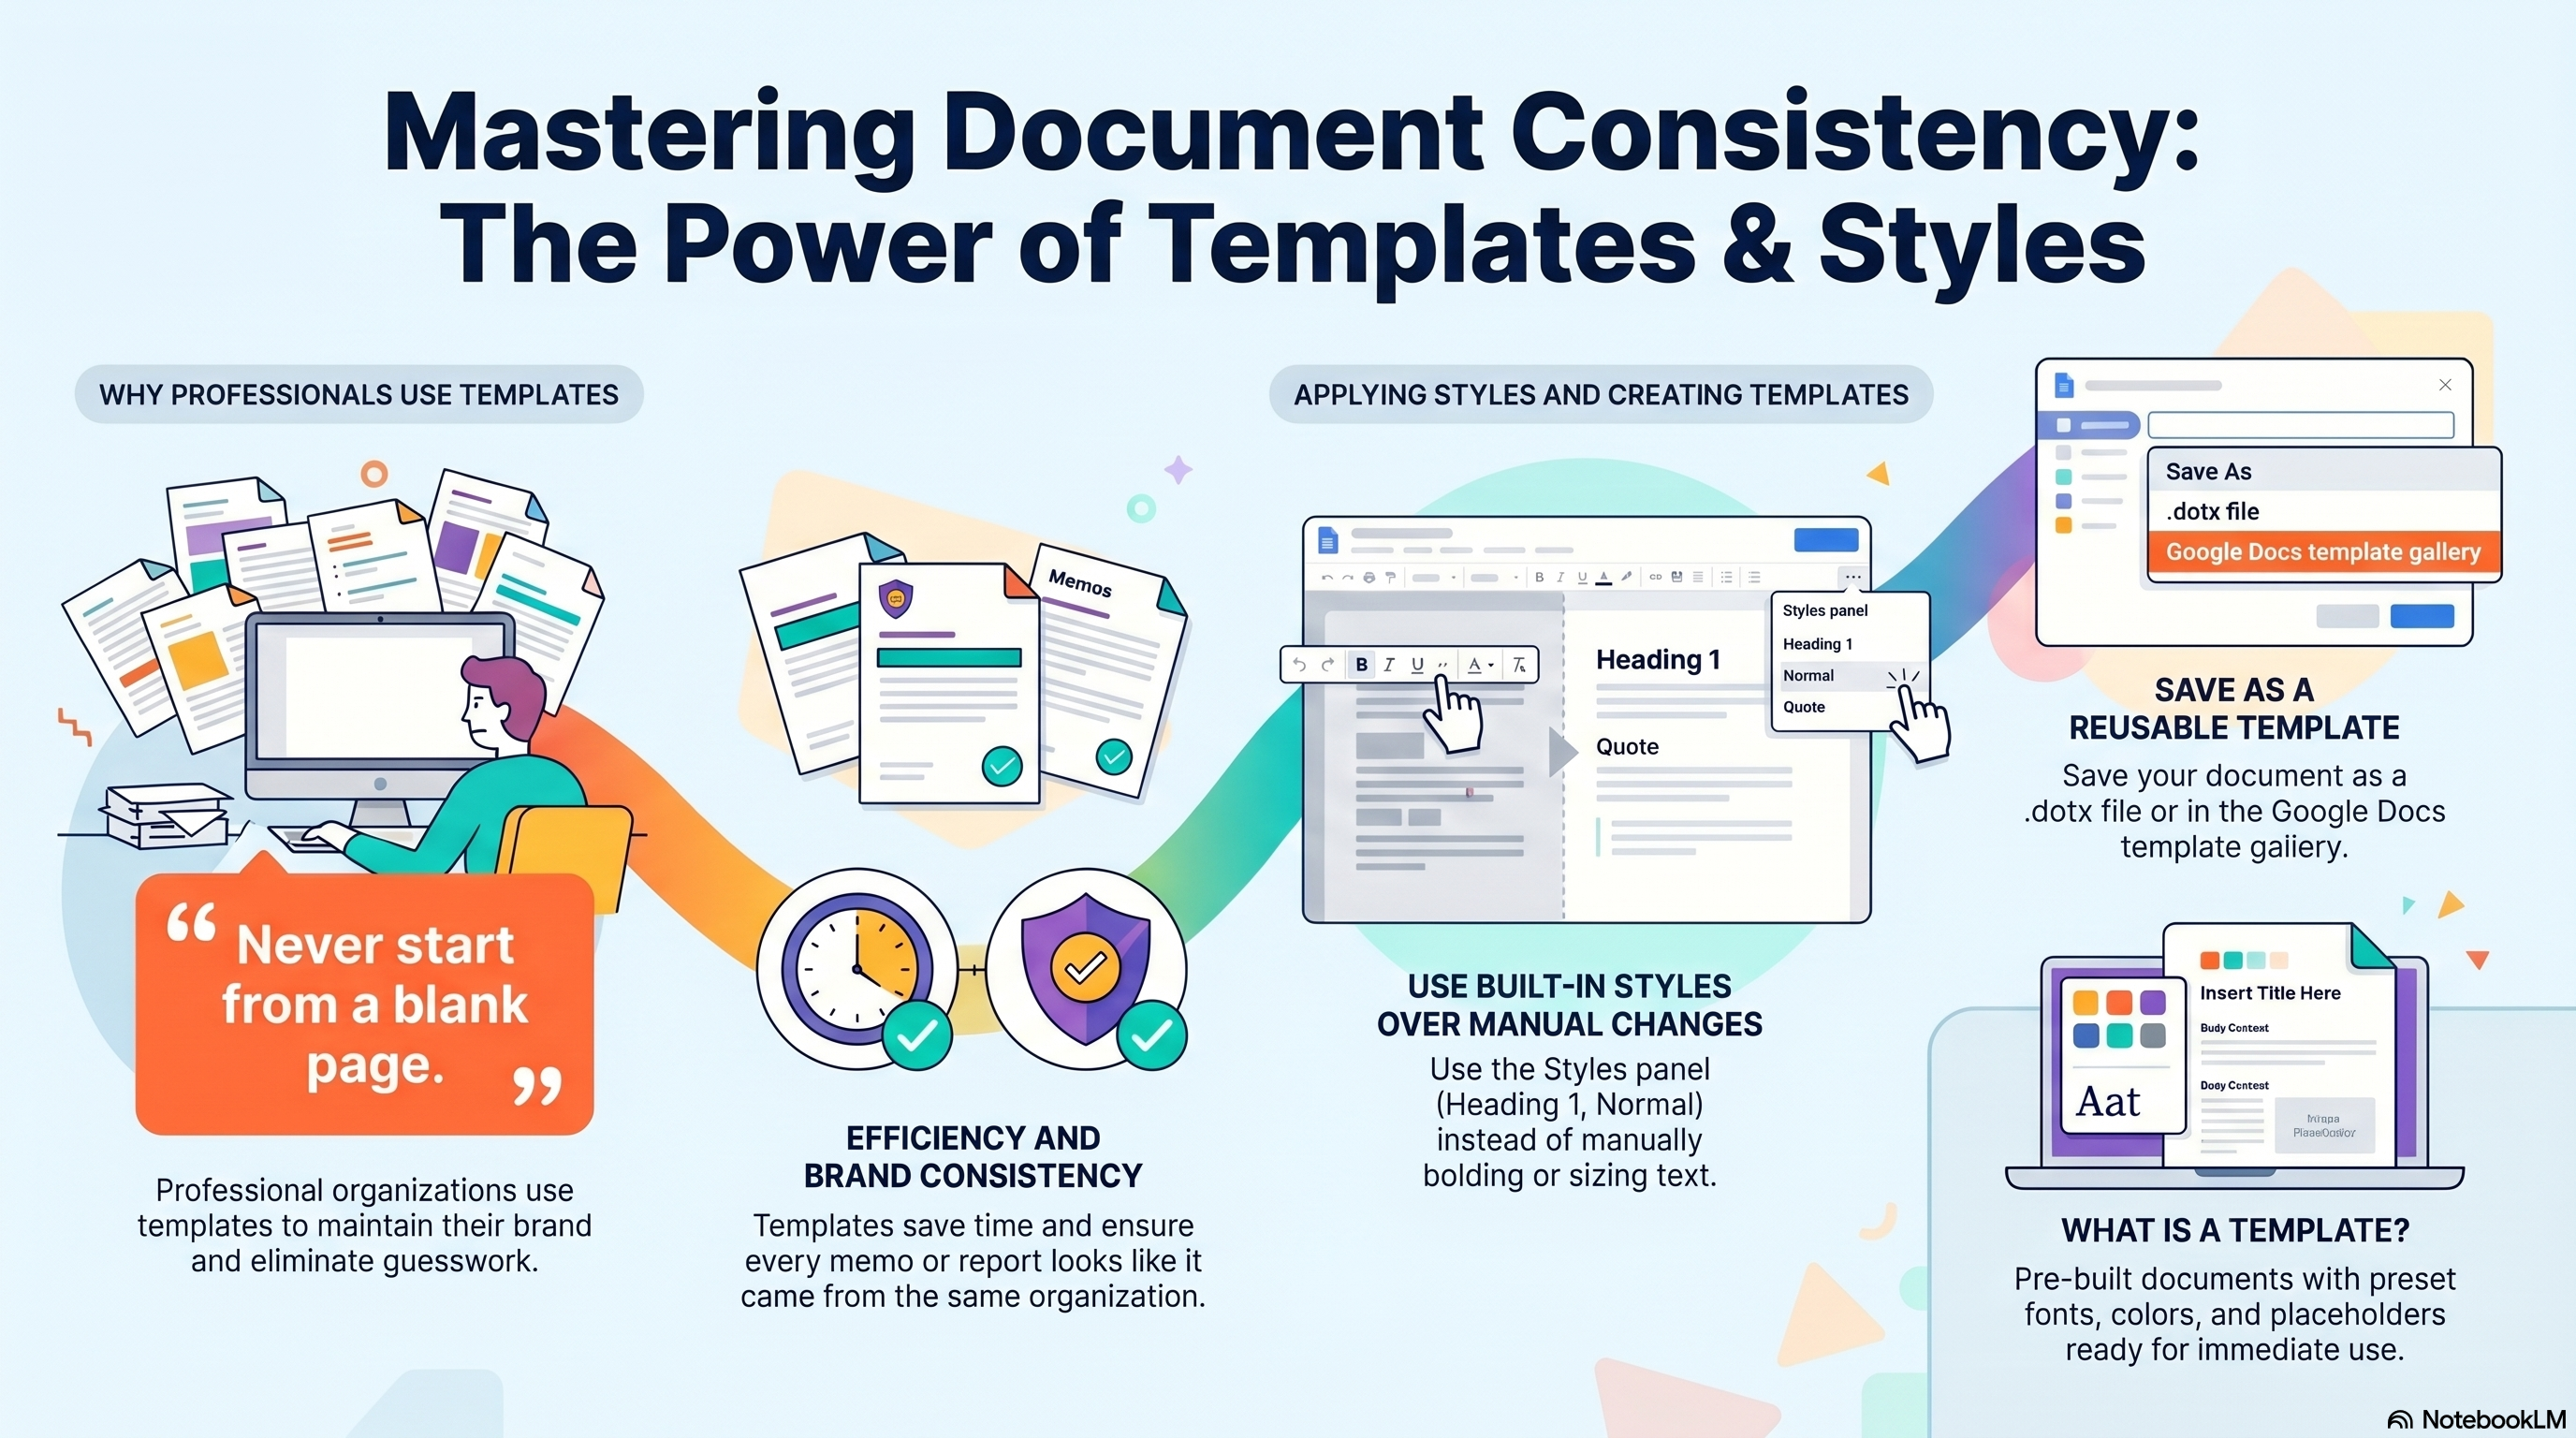
Mastering Document Consistency: The Power of Templates & Styles
Responsible Use
AI Assist
Knowledge Check
What is the recommended way to format section headers in a professional document?
Challenge
Apply what you've learned in this lesson.
Build and save a reusable professional memo template from scratch. Use only built-in styles — no manual bold or font-size changes. Your finished template must meet all five requirements below:
- Open a blank document in Google Docs or Microsoft Word
- Apply the Title style for the main document heading
- Apply Heading 1 style to at least two clearly labeled sections
- Apply Normal or Body Text style to all paragraph content
- Save the finished file as a reusable template (.dotx in Word or via Google Docs template gallery)
Practice Exercises
Apply what you've learned — complete the quick check and hands-on exercise below.
Quick Check
Test your understanding before the main exercise
What is the main advantage of modifying a built-in style (e.g., Heading 1) in the Styles panel?
Style Match Exercise
Assign the correct built-in style to each document element
The Scenario
A colleague named Jordan submitted a draft of the Q3 Project Status Report. Every element was formatted manually — no built-in styles were applied. For each element below, select the correct style it should use from the Styles panel.
Q3 Project Status Report
Formatted as: bold + font size 24Project Overview
Formatted as: bold + font size 18This report summarizes the key milestones achieved during Q3 and outlines the action items for Q4.
Formatted as: default text, no style appliedKey Findings
Formatted as: bold + italicThree of the five project milestones were completed on schedule. The remaining two have been rescheduled to October with updated resource allocations.
Formatted as: default text, no style applied