Shapes
Learn how to insert, resize, rotate, reorder, and format shapes in Microsoft Word, including fill, outline, styles, and special effects.
Video
Watch the lesson video, then complete the reading and challenge.
Lesson Notes
Read through the key concepts before you try the challenge.
Inserting a Shape
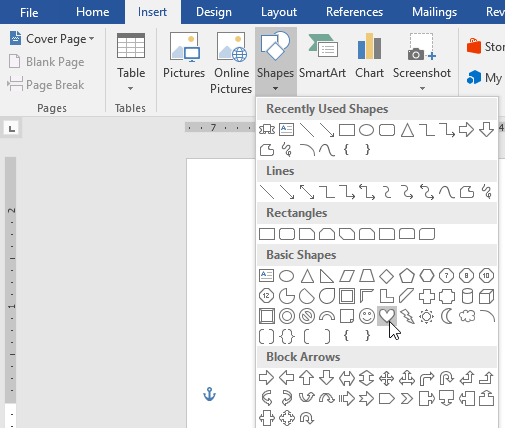
To insert a shape, go to the Insert tab and click Shapes. Choose a shape from the dropdown menu, then click and drag on the page to draw it.
Adding Text to a Shape
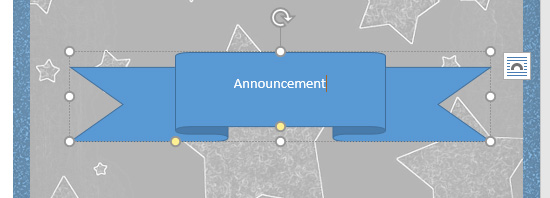
You can type directly inside most shapes. After inserting the shape, simply begin typing. Use the Home tab to adjust font, size, color, and alignment.
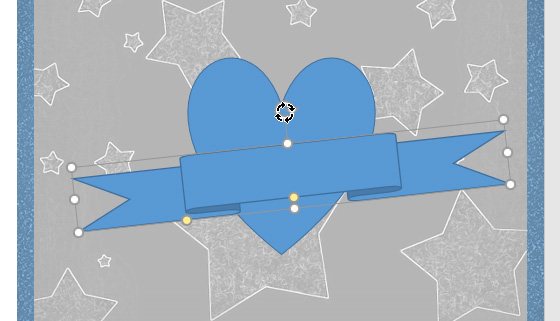
Resizing and Rotating Shapes
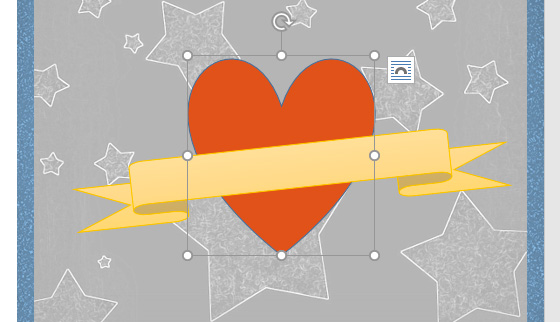
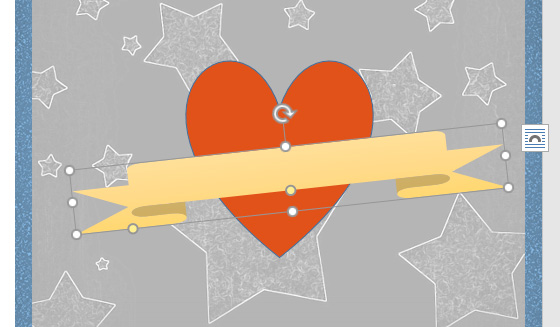
Select a shape to display sizing handles. Drag corner handles to resize proportionally. Use the circular rotation handle at the top to rotate the shape.
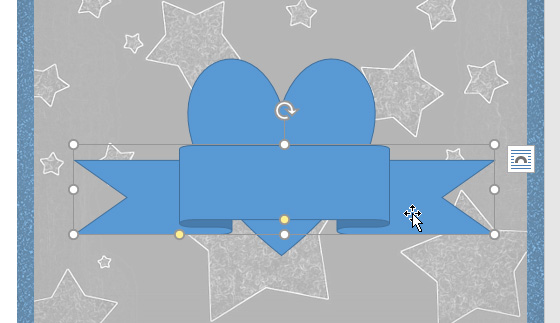
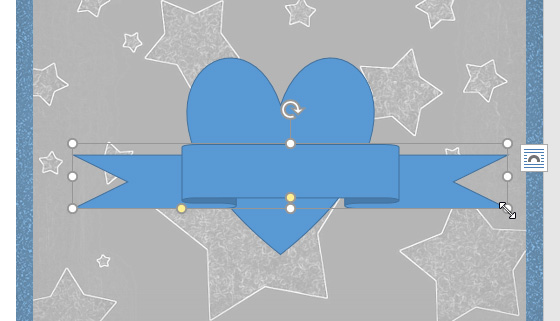
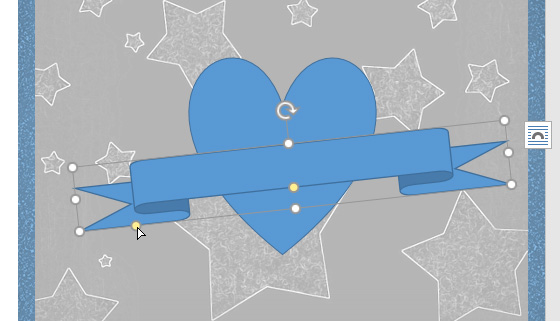
Some shapes include yellow adjustment handles. These allow you to modify specific parts of the shape, such as banner folds.
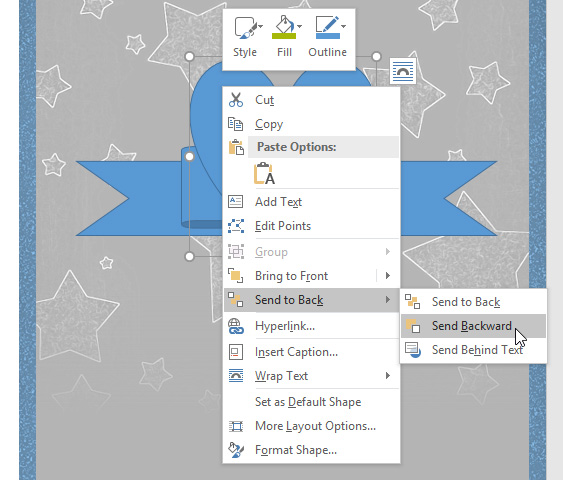
Changing Shape Order
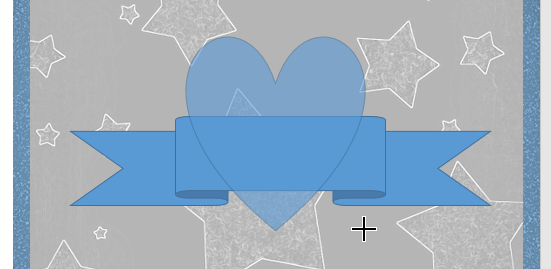
When shapes overlap, you can control which appears in front. Right-click the shape and choose Bring to Front or Send to Back.

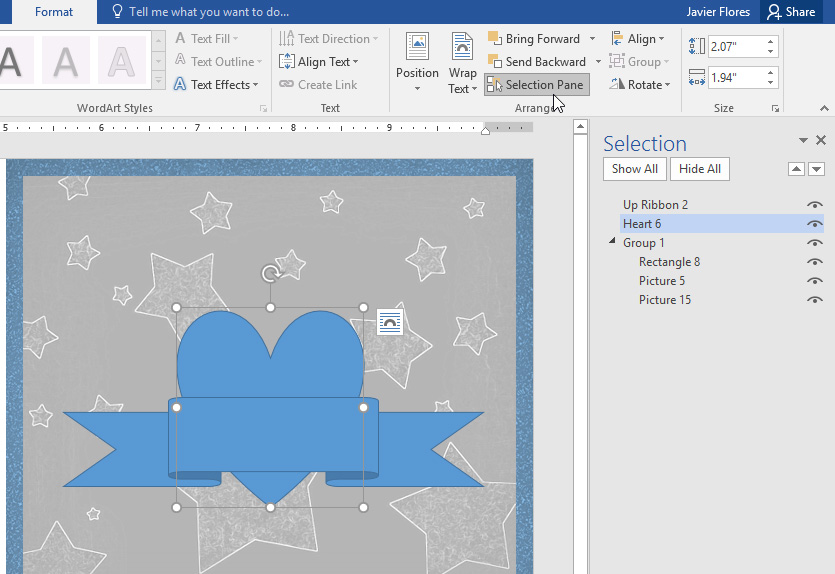
For complex documents, use the Selection Pane (Format tab → Selection Pane) to select and manage overlapping shapes.
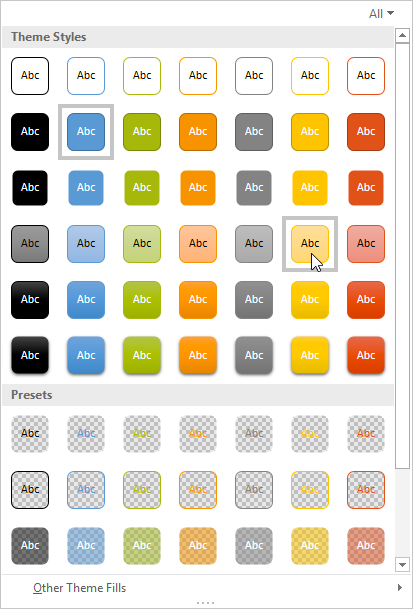
Applying Shape Styles
Use Shape Styles on the Format tab to quickly apply preset combinations of fill, outline, and effects.

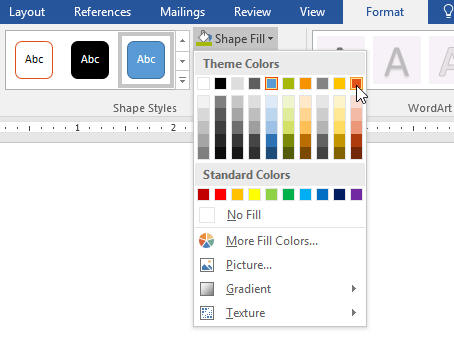
Changing Shape Fill
Click Shape Fill to change the interior color of a shape. You can choose theme colors, gradients, textures, or select No Fill for transparency.
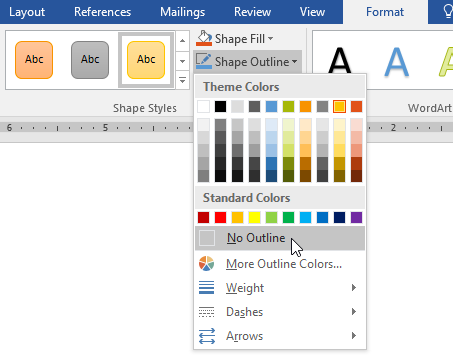
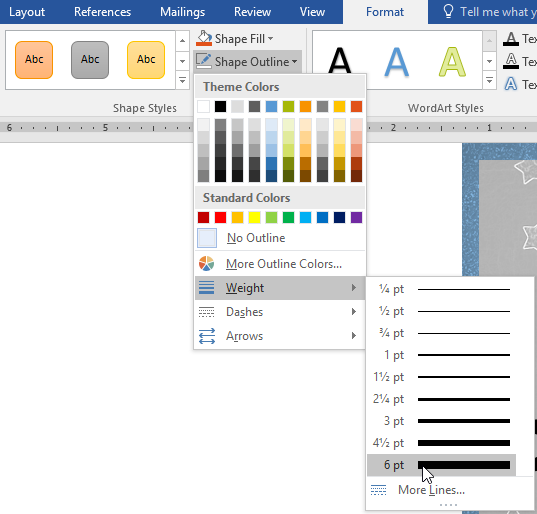
Changing Shape Outline
Use Shape Outline to change border color, thickness (weight), dashes, or remove the outline entirely.
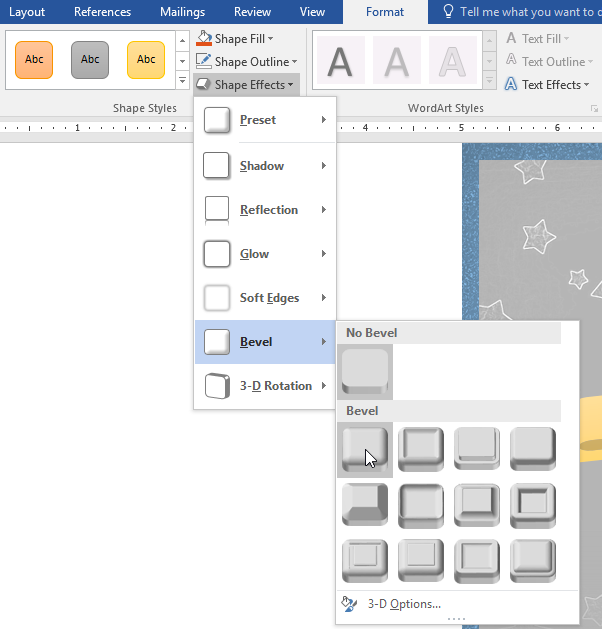
Adding Shape Effects
Select Shape Effects to add shadows, reflections, glow, bevel, or 3-D rotation effects.

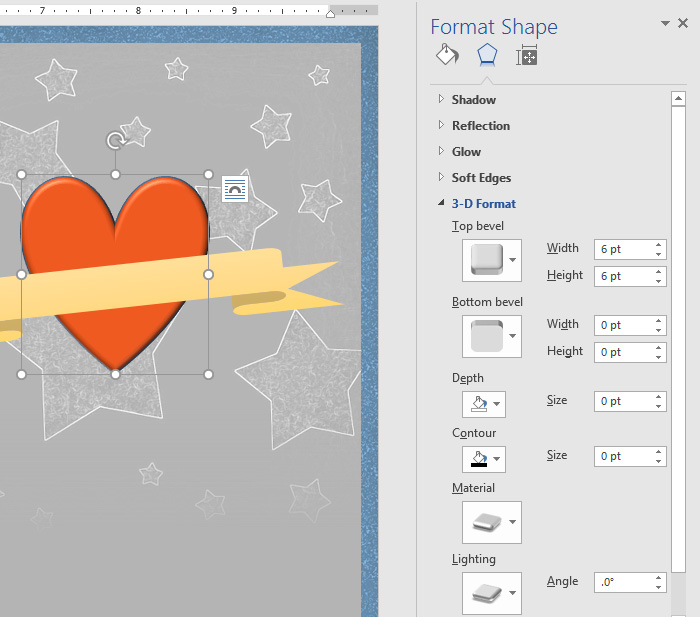
For advanced customization, open the Format Shape pane to fine-tune bevel size, depth, lighting, and more.
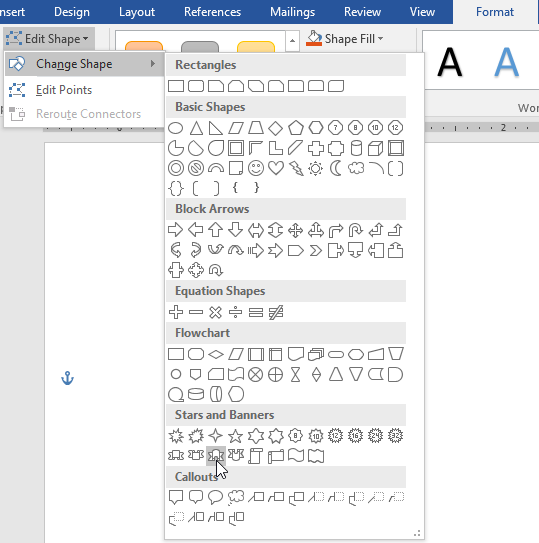
Changing to a Different Shape
You can convert one shape into another without deleting it. Go to Format → Edit Shape → Change Shape and choose a new option.

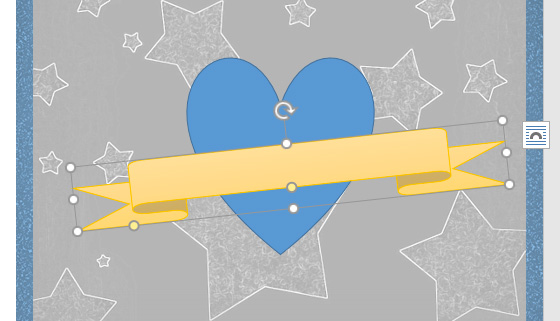
Final Example
After inserting, formatting, layering, and applying effects, your completed design might look like this:
Knowledge Check
What must you do to add text inside a shape in Word?
Practice File
Download this file and follow along with the lesson.
Challenge
Apply what you've learned in this lesson.
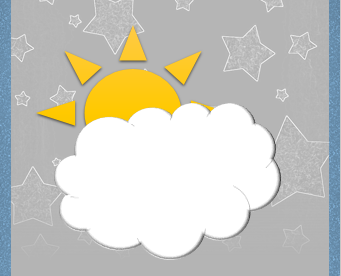
Using the provided practice file, complete the following tasks. Your finished result should resemble the example shown below:
- Insert a Cloud shape on the right side of the page.
- Change the shape fill to white.
- Change the outline color to gray.
- Apply a Circle Bevel effect from Shape Effects.
- Insert a Sun shape and apply a Gold style.
- Send the Sun backward so it appears behind the Cloud.
- Adjust positioning so the sun peeks out from behind the cloud.