Formatting Pictures
Learn how to crop images, apply picture styles, add borders, adjust color and corrections, and compress images in Microsoft Word.
By the end of this lesson you can
- Crop an image to improve its composition, and crop to a shape
- Adjust brightness, contrast, and color to make an image usable
- Compress images to keep file size manageable
- Judge when a picture style helps and when it distracts
Video
Watch the lesson video, then complete the reading and challenge.
Lesson Notes
Read through the key concepts before you try the challenge.
Cropping is editing, not trimming
You are building a staff directory at Lakeside Medical Associates.
Eleven staff photos arrive from eleven different phones. Some are portrait, some landscape, some show the whole waiting room with a person somewhere in it. Dropped into the directory as-is, they make the page look like a scrapbook. The document is going to new patients.
Your task: Crop and adjust the photos so they read as one consistent set.
Cropping serves composition, not just size. Cropping every headshot to the same aspect ratio and framing each face in roughly the same position makes eleven unrelated photos read as one deliberate set. Resizing alone cannot do that — a wide photo scaled down is still a wide photo of a waiting room.
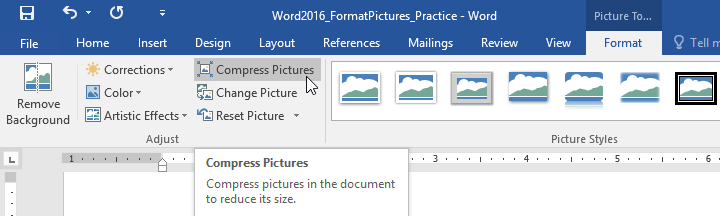
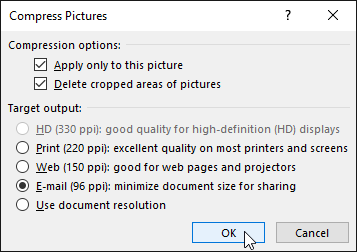
Compression is the practical companion. A modern phone photo can be several megabytes; eleven of them produce a document too large to email. Picture Format > Compress Pictures reduces resolution to what the output actually needs. Use 220 ppi for something that will be printed, 150 ppi for on-screen reading, and 96 ppi for email. Always uncheck 'Apply only to this picture' when you want the whole document reduced.
Introduction to Formatting Pictures
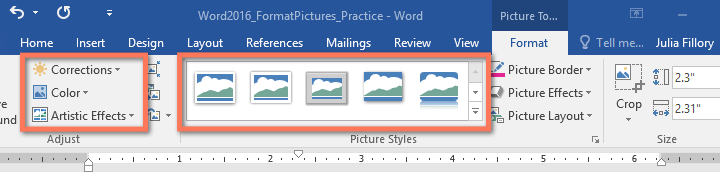
Microsoft Word provides powerful tools for formatting pictures. You can crop images, apply artistic effects, adjust brightness and color, add borders, and compress pictures to reduce file size.
Cropping an Image
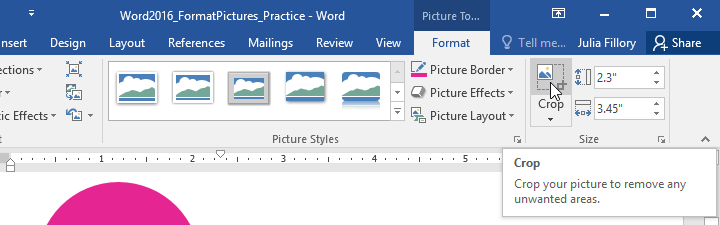
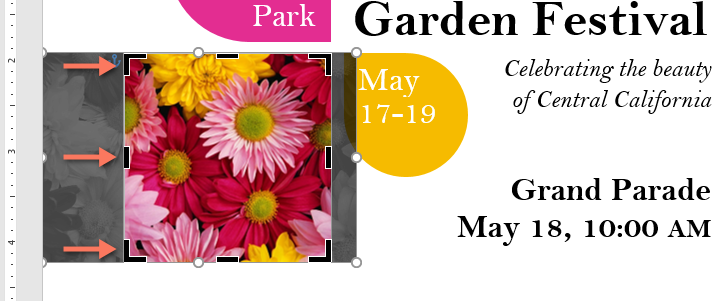
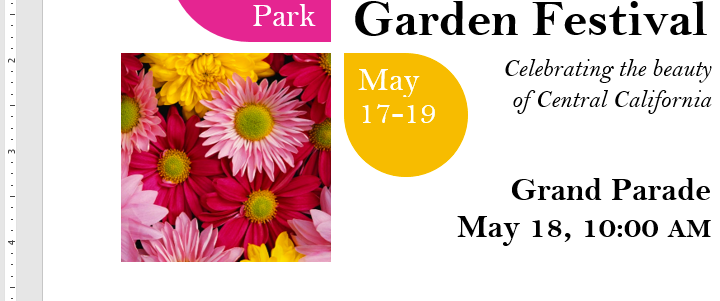
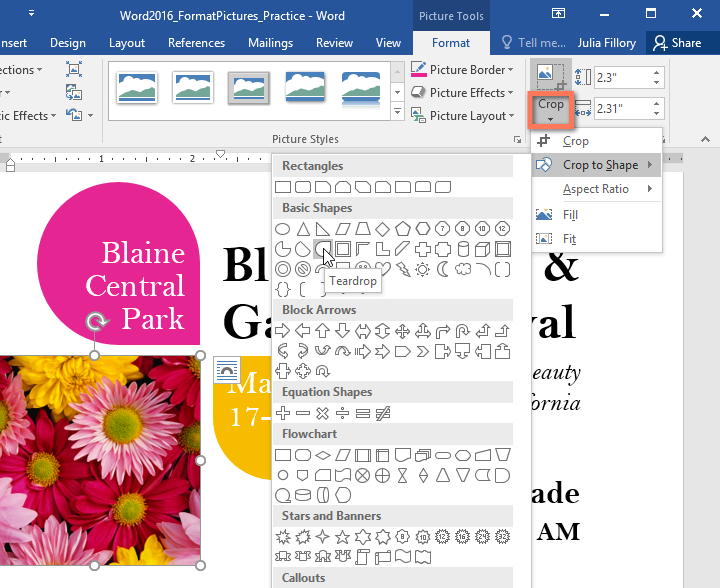
Cropping removes unwanted areas of an image. Select the image, go to the Format tab, and click Crop.
Crop to Shape
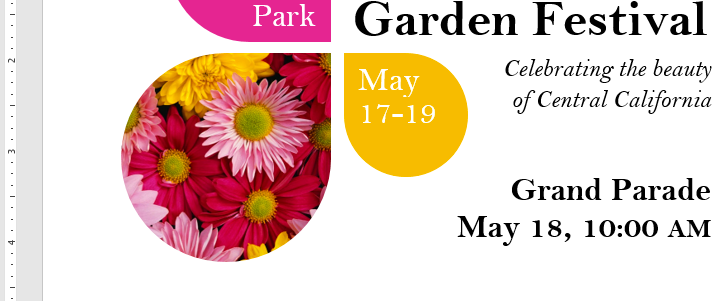
You can crop a picture into a specific shape. Click Crop → Crop to Shape and select a shape such as circle, star, or banner.
Adding a Picture Border
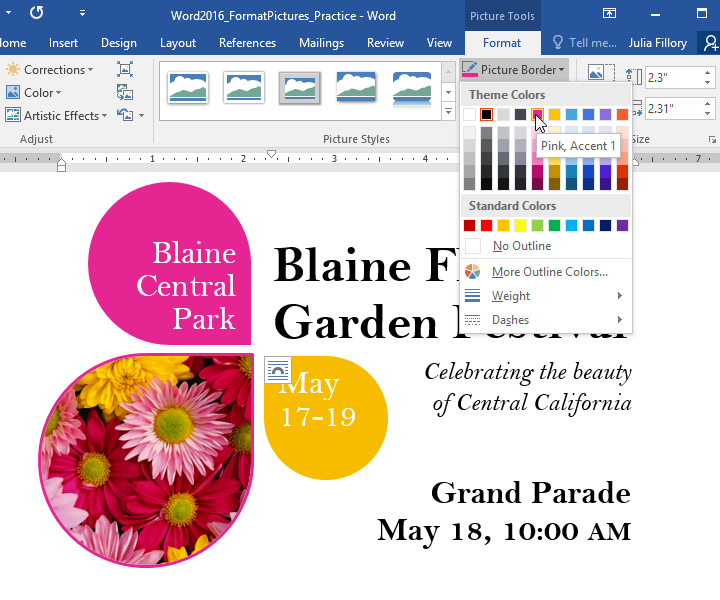
You can add a colored border to any image. Use Picture Border to choose a color, weight (thickness), and line style.
Using Corrections
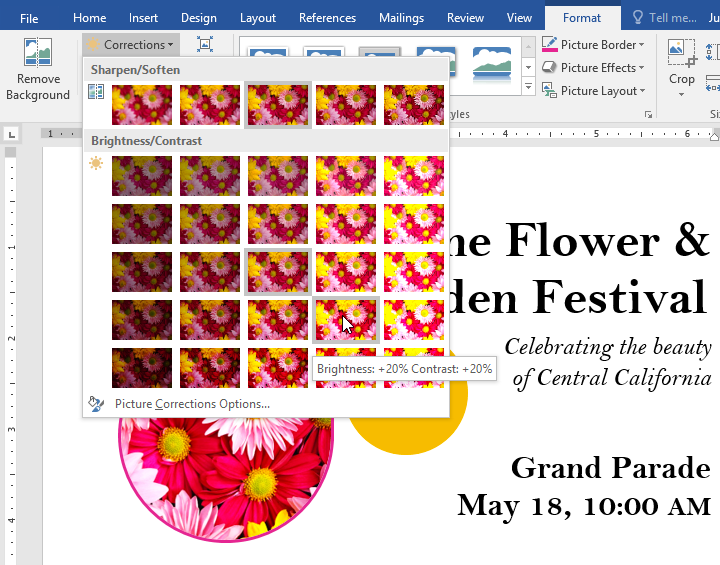
The Corrections tool allows you to sharpen or soften an image and adjust brightness and contrast.
Adjusting Color
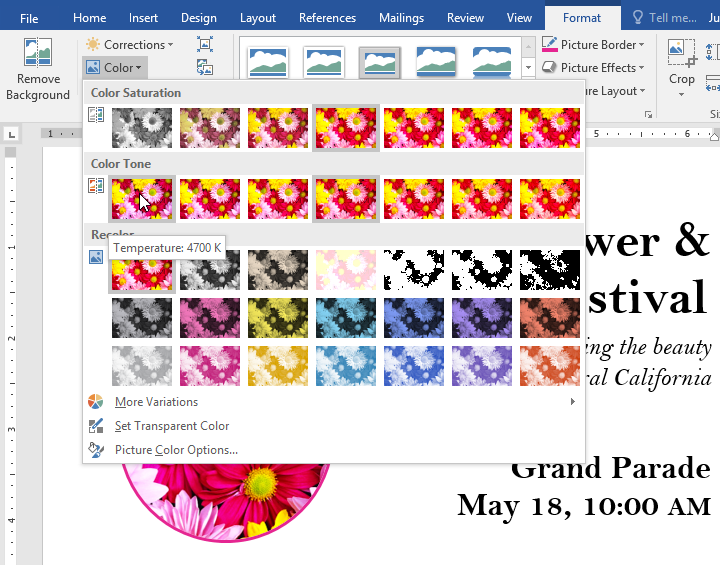
The Color tool allows you to adjust saturation (vibrancy), tone (warm or cool), and recolor the entire image.
Applying Artistic Effects
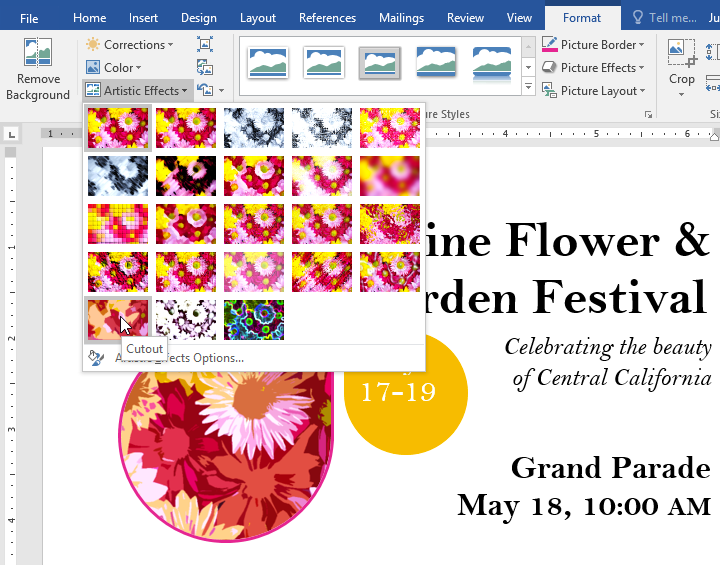
Artistic Effects apply stylized filters such as pastel, watercolor, or glow. These should be used carefully in professional documents.
Using Picture Styles
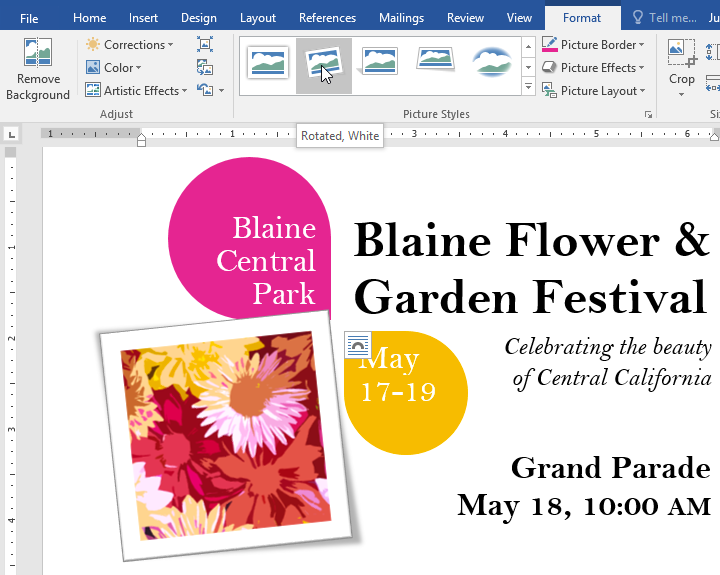
Picture Styles are predefined formats that quickly apply frames, shadows, and visual effects without manually adjusting settings.
Compressing Pictures
Large images increase document size. Use Compress Pictures to reduce resolution and delete cropped areas.
Final Result
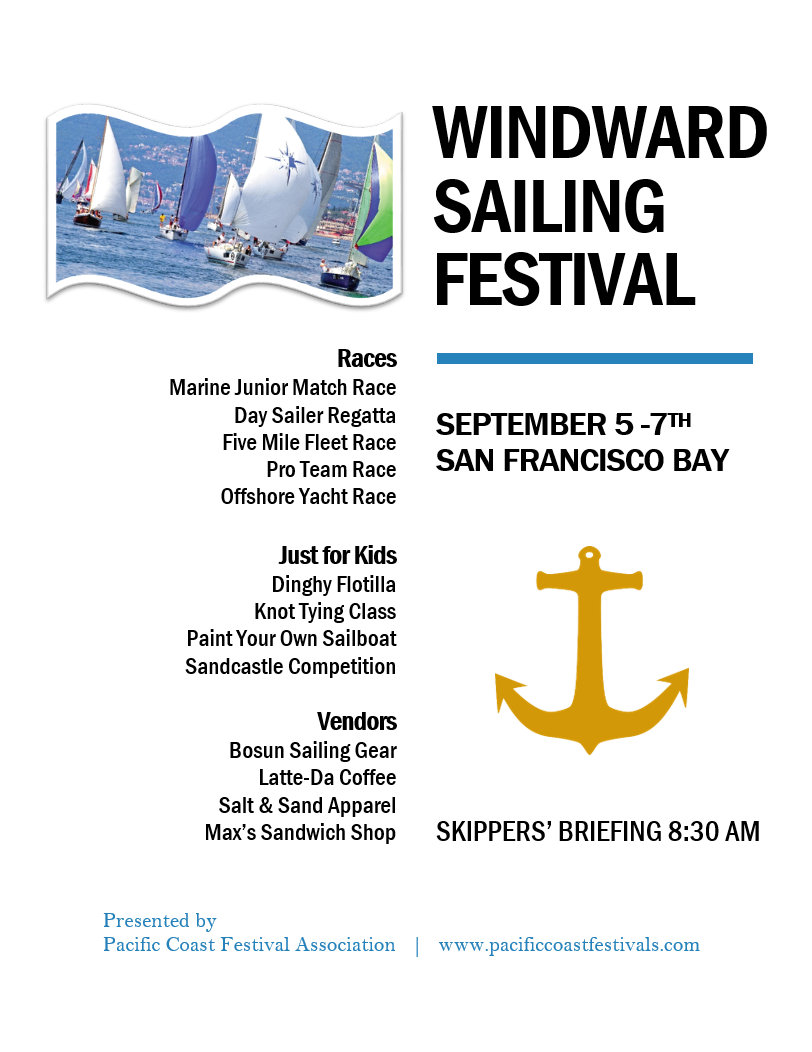
After applying picture styles, cropping to shapes, recoloring elements, and compressing images, your finished document should look like this:
Knowledge Check
What tool would you use to remove the outer edge of an image?
Practice File
Download this file and follow along with the lesson.
Challenge
Apply what you've learned in this lesson.
Using the provided practice file, complete the following tasks:
- Change the sailboat image to the 'Simple Frame, White' style.
- Crop the sailboat image to the Double Wave shape.
- Recolor the anchor to Gold, Accent 2 Light.
- Apply an artistic effect to one image.
- Compress all pictures using the Email (96 ppi) setting.
Finished this lesson?
Progress is saved in this browser only. It is not a grade — official progress lives in Brightspace.