Pictures & Text Wrapping
Learn how to insert images, resize them properly, and control how text wraps around pictures in Microsoft Word.
Video
Watch the lesson video, then complete the reading and challenge.
Lesson Notes
Read through the key concepts before you try the challenge.
Inserting a Picture from Your Computer
To insert a picture from your computer, go to the Insert tab and click Pictures. Then choose This Device and select your image.
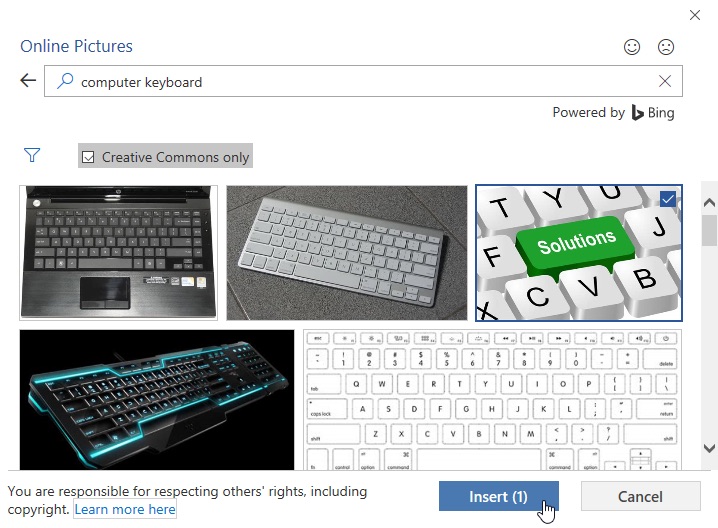
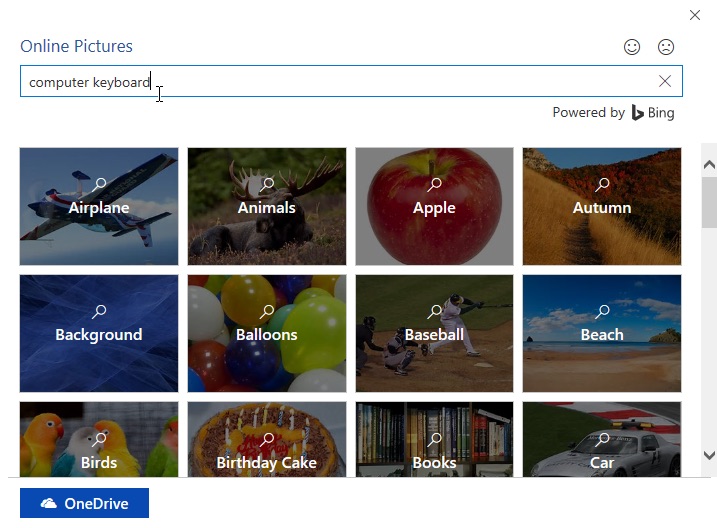
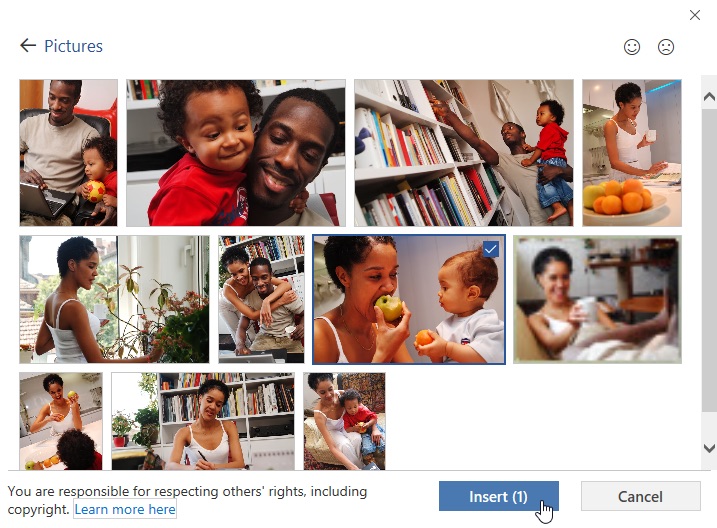
Inserting an Online Picture
You can also insert images from online sources. Click Insert → Online Pictures, search for a keyword, select an image, and click Insert.
Resizing a Picture
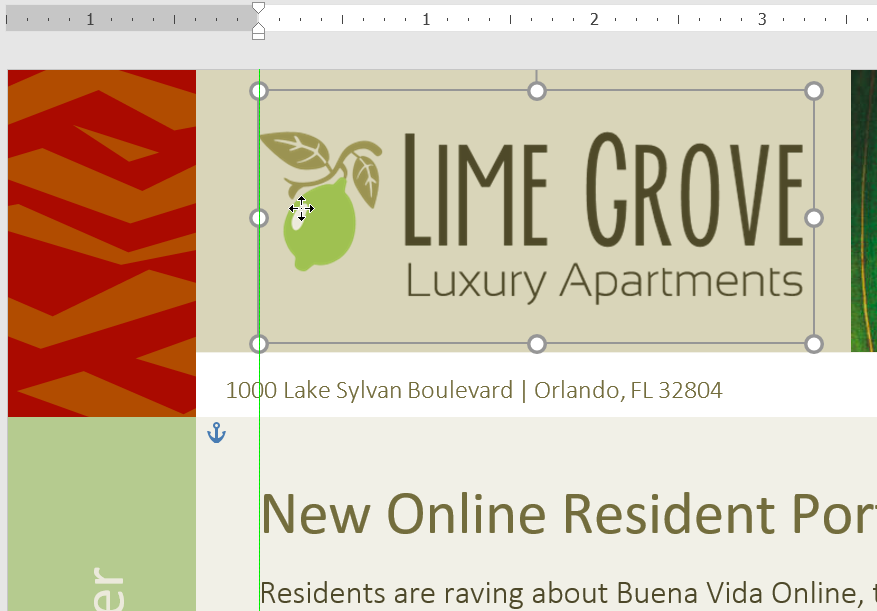
To resize a picture, click the image and drag a corner handle. Dragging from the corner keeps the image proportional and prevents distortion.

Understanding Text Wrapping
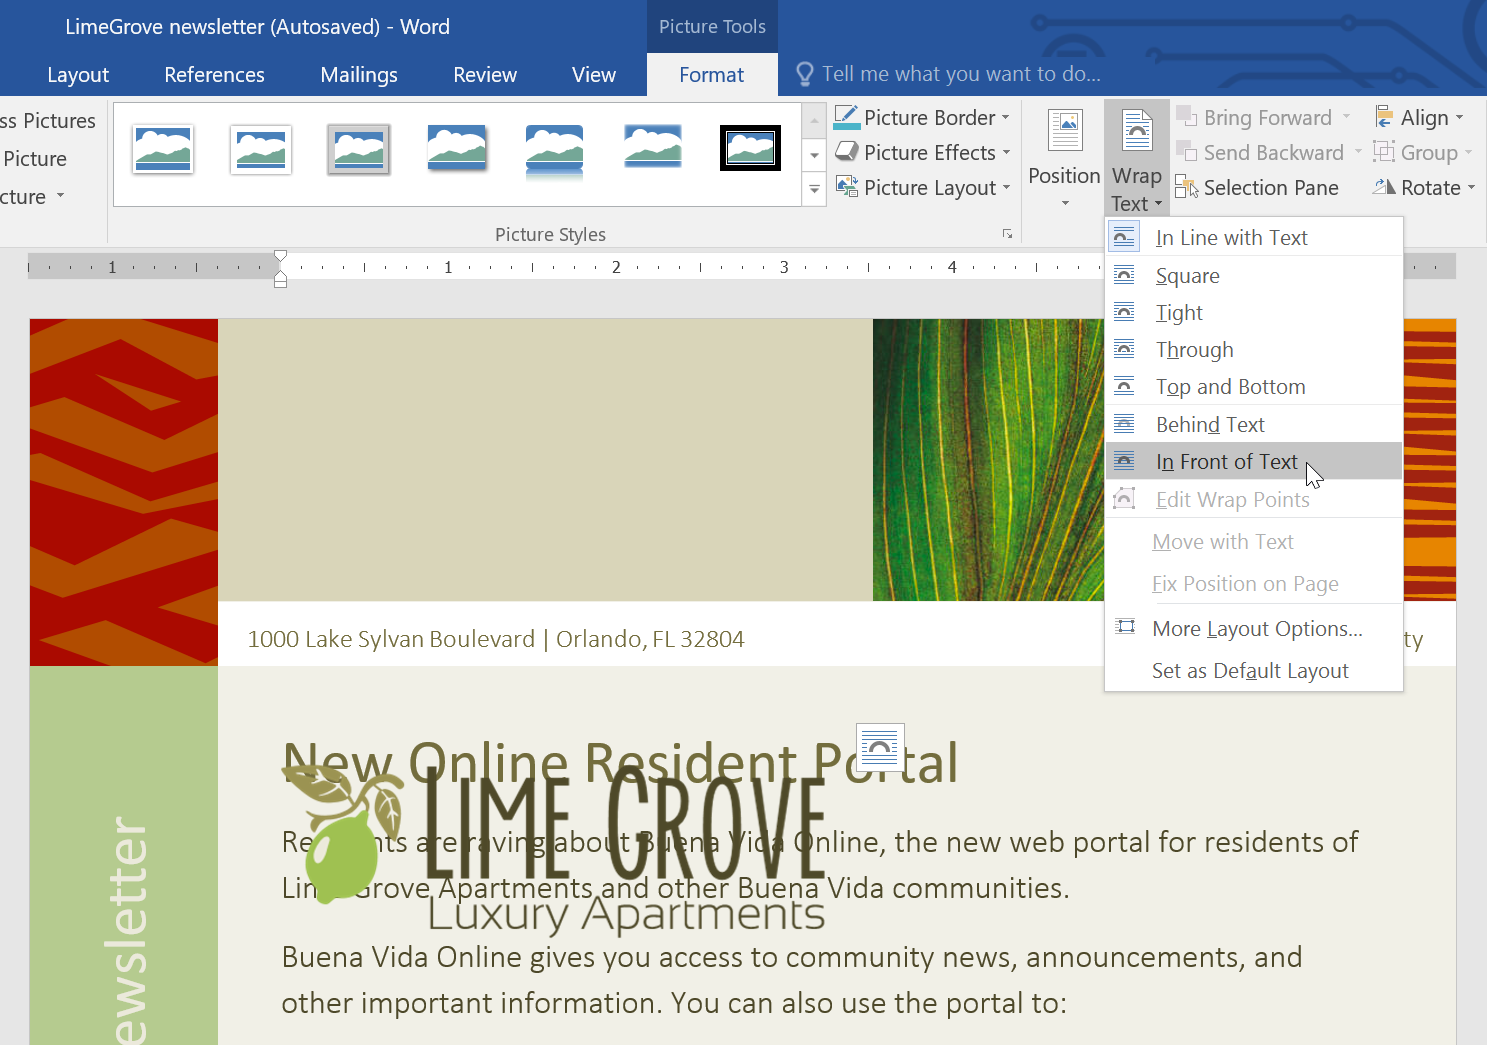
By default, pictures are inserted In Line with Text. To freely move and position a picture, you must change its wrapping style.
Select the image, then click the Layout Options icon or go to Picture Format → Wrap Text.
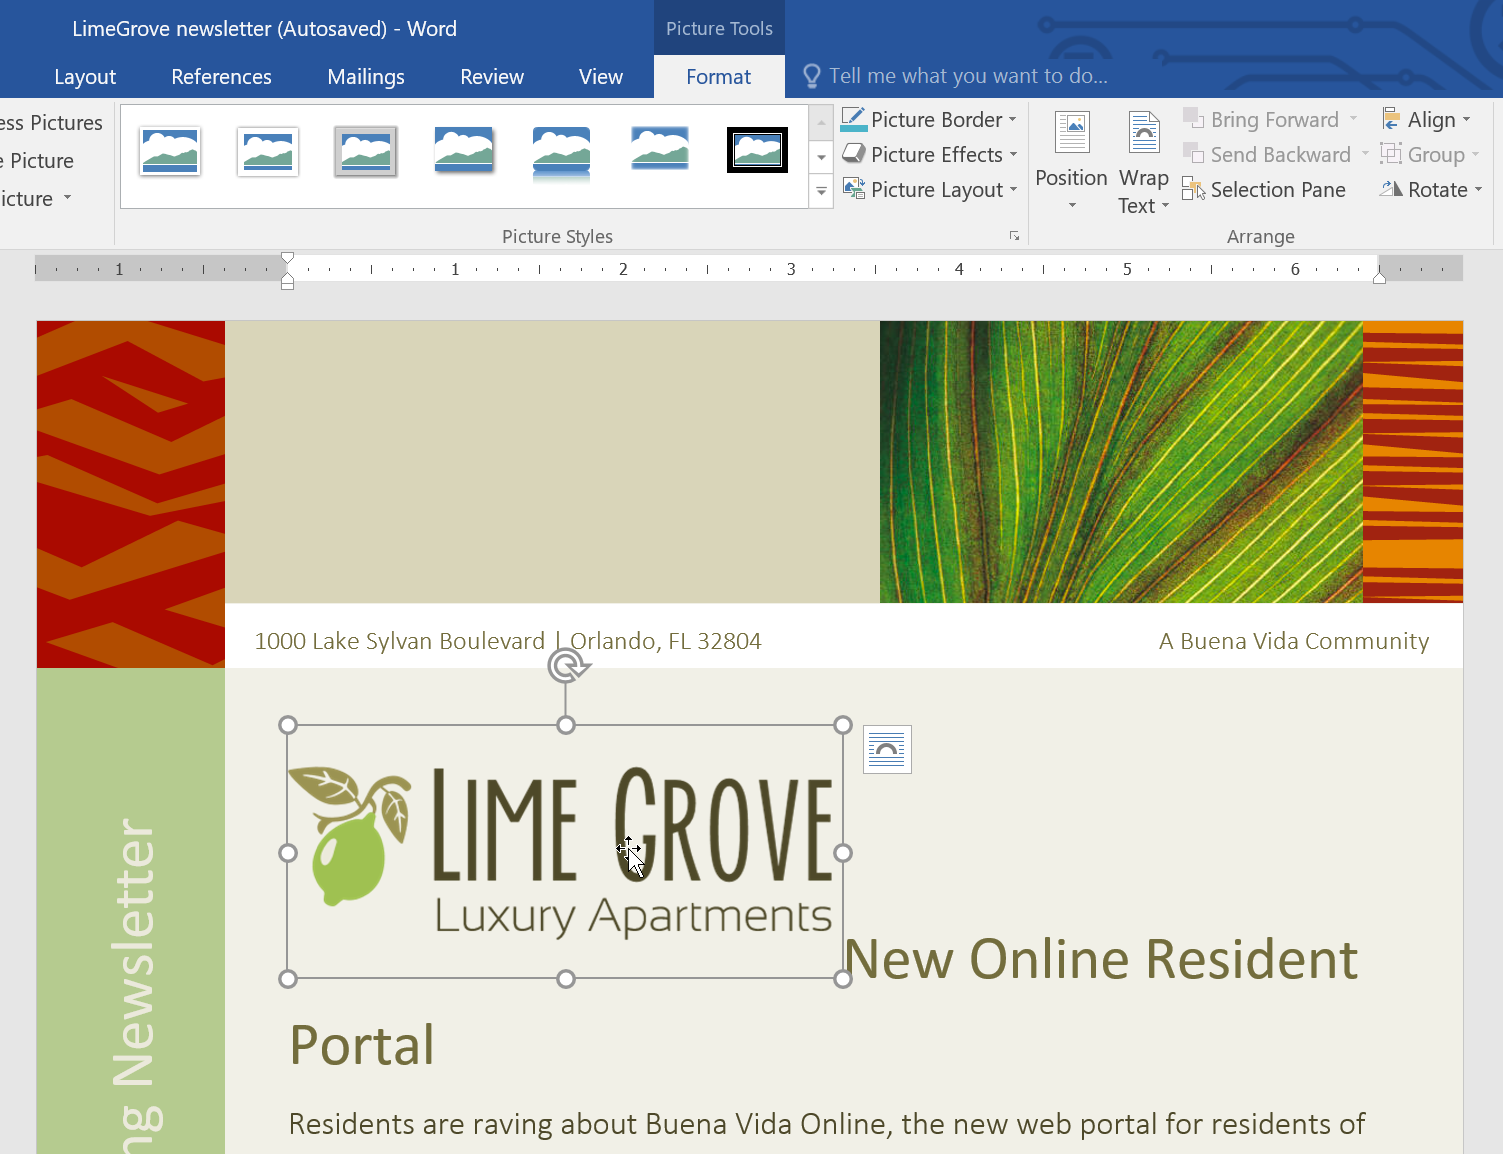
Wrap Text Options
Word provides several wrapping options: In Line with Text, Square, Tight, Through, Top and Bottom, Behind Text, and In Front of Text.
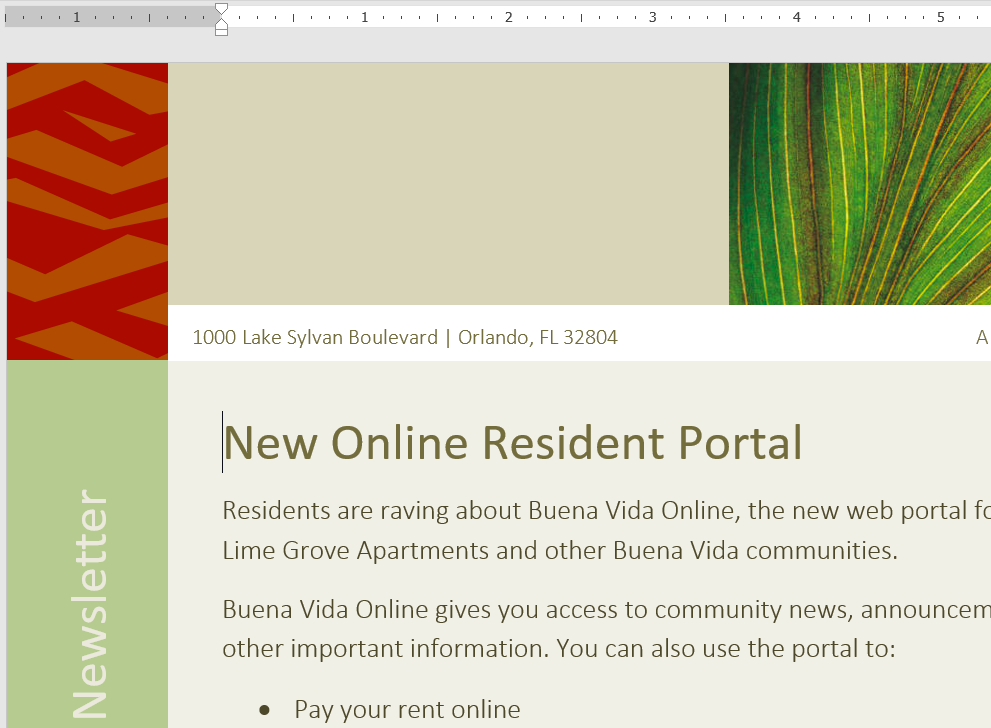
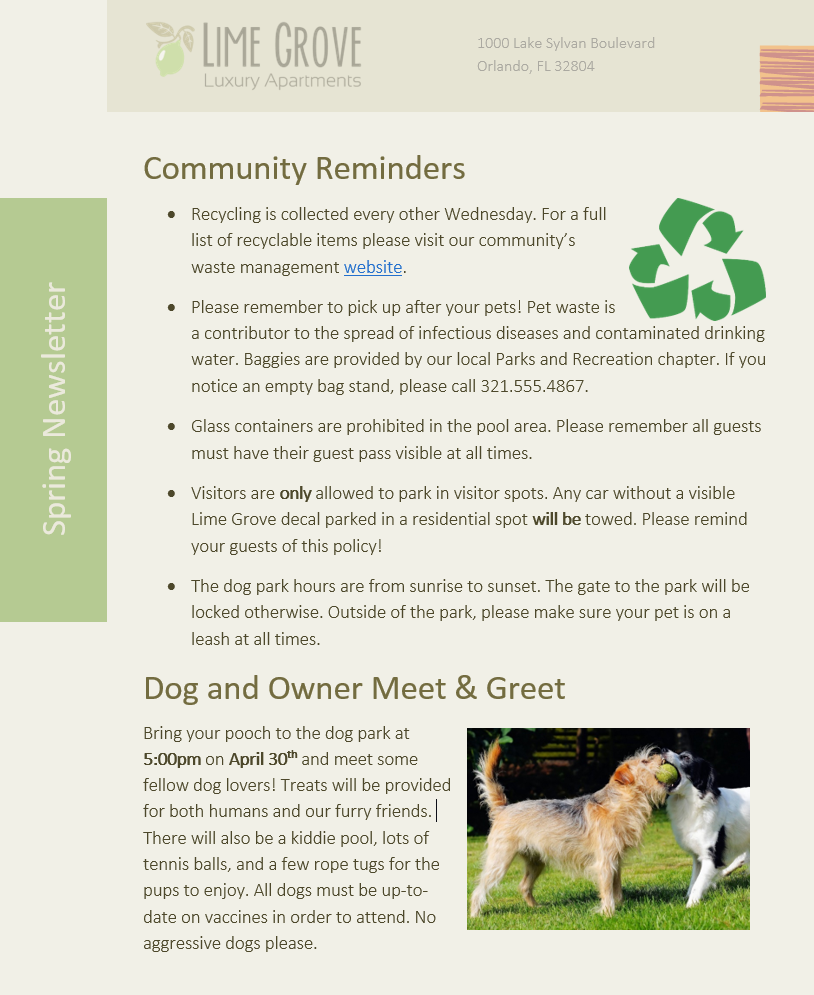
Square wrapping is commonly used in newsletters because it allows text to flow neatly around the image.
Using Square Text Wrapping
After selecting Square wrapping, drag the image to position it. The surrounding text will automatically adjust around the picture.
Using Top and Bottom Wrapping
Top and Bottom wrapping places text above and below the image only. This is useful when separating content sections.
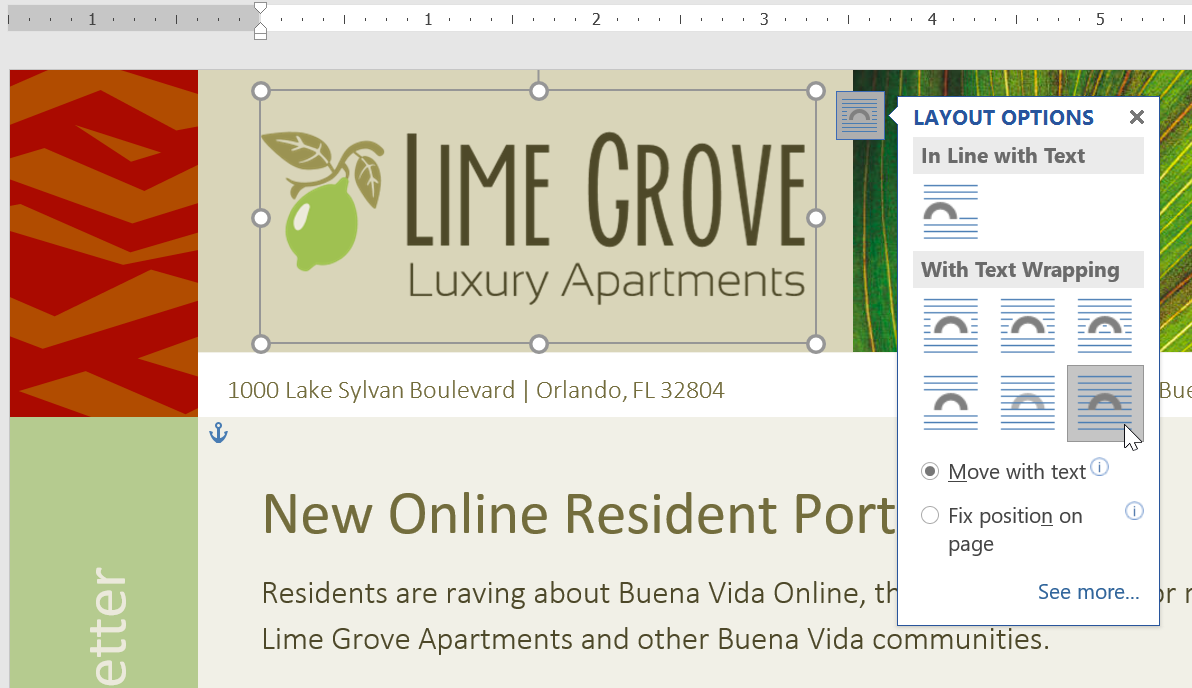
Move with Text vs Fix Position
When using wrapping styles, you can choose Move with Text or Fix Position on Page. Move with Text keeps the image connected to surrounding content.
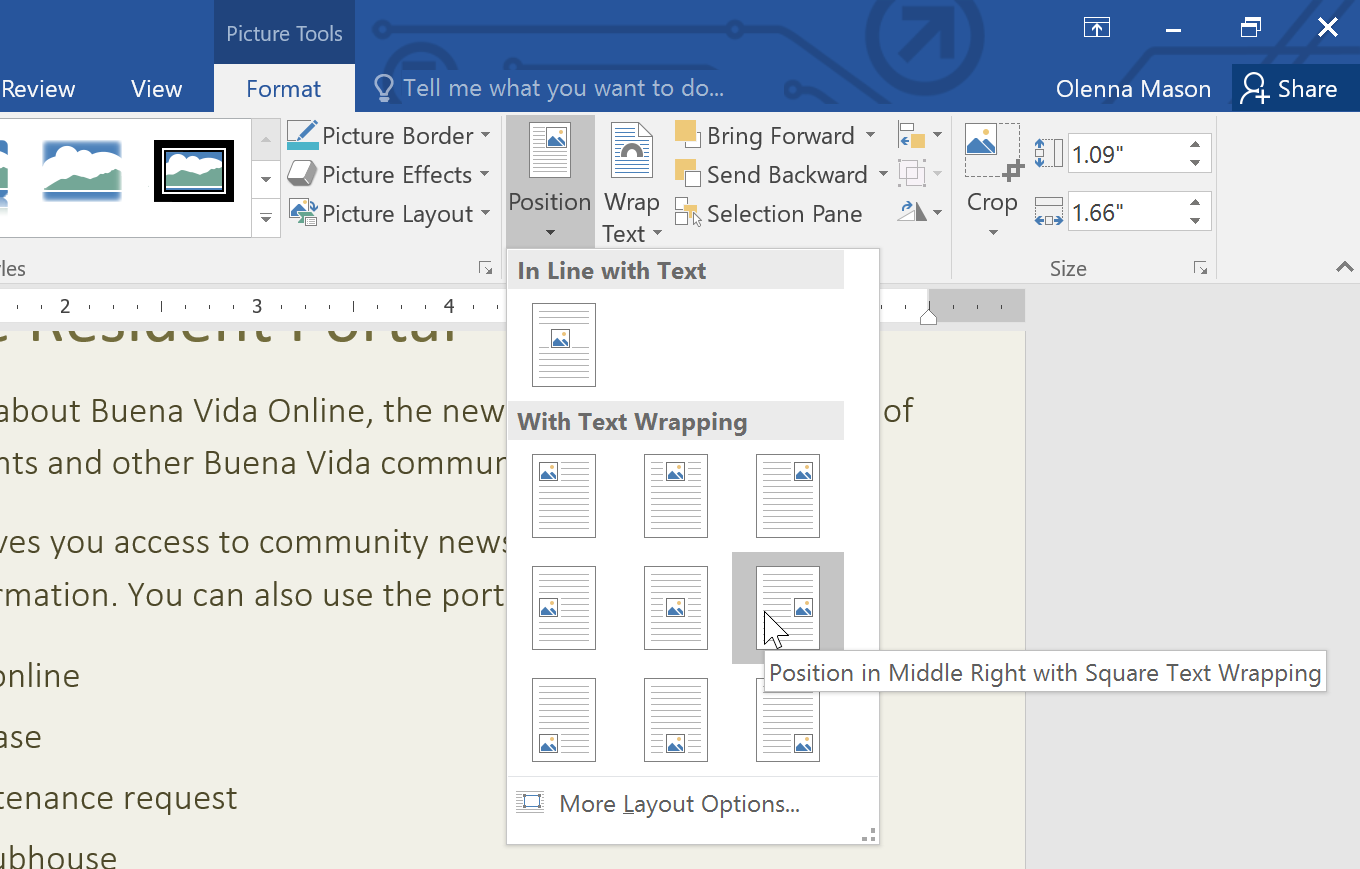
Using Position Presets
Instead of manually dragging images, use Picture Format → Position to choose preset layout options.
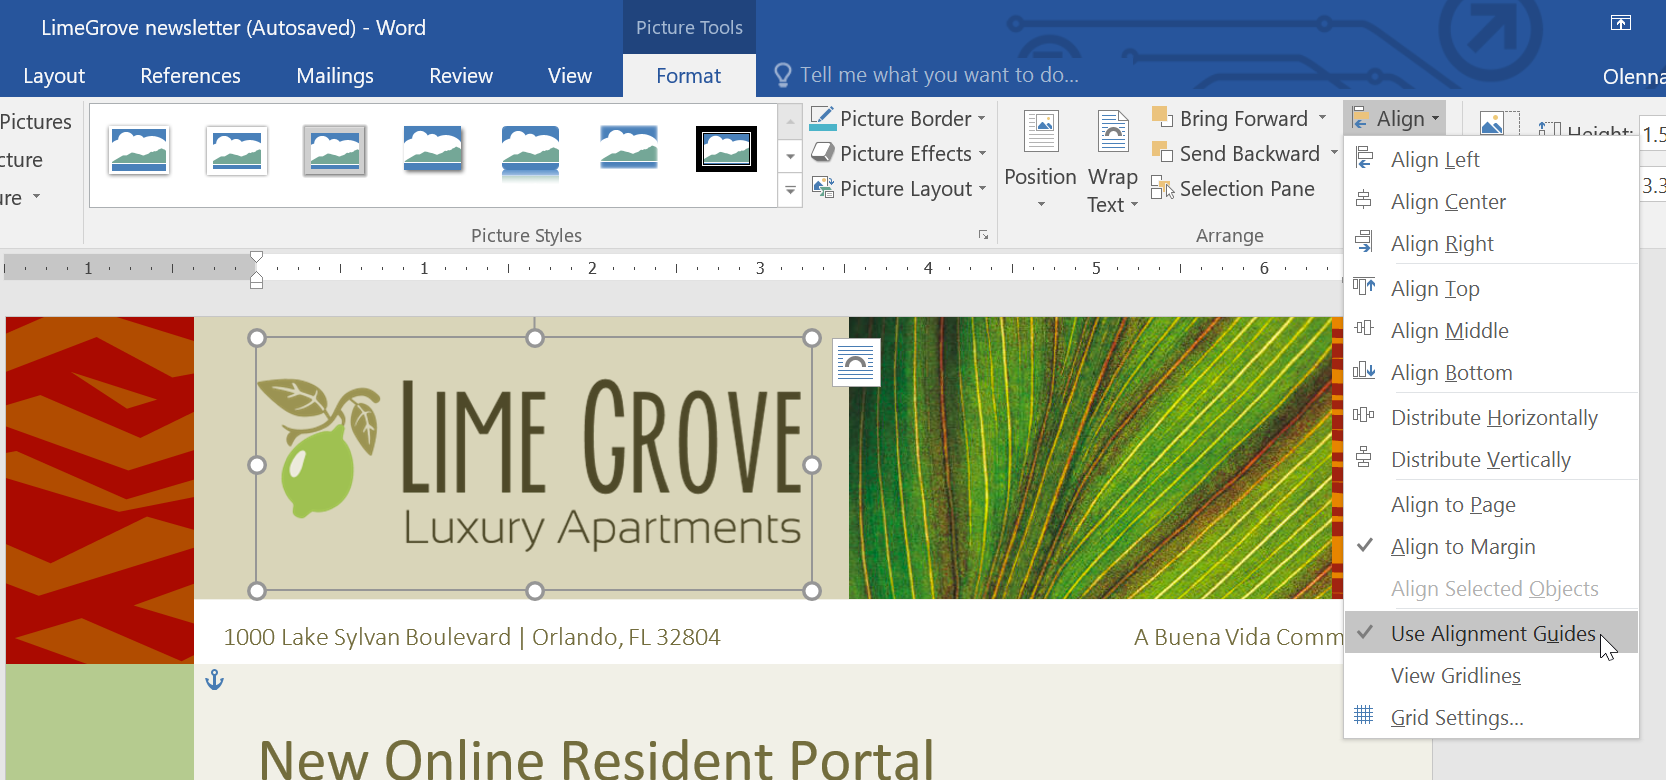
Aligning Images
Use Picture Format → Align to align images precisely. Alignment guides help create professional layouts.
Final Result
After inserting and wrapping images properly, your newsletter should have balanced spacing, clear structure, and professional image placement.
Knowledge Check
Which text wrapping style keeps an image on the same line as surrounding text?
Practice File
Download this file and follow along with the lesson.
Challenge
Apply what you've learned in this lesson.
Using the provided practice file, complete the following tasks:
- Insert a picture from your computer.
- Apply Square text wrapping.
- Insert an online image.
- Apply Top and Bottom wrapping to one image.
- Use Position presets to adjust layout.
- Align the image using alignment tools.
- Ensure images are set to Move with Text.