Shapes in PowerPoint
Learn how to insert, format, resize, rotate, and customize shapes to make your slides more visually engaging and professional.
Video
Watch the lesson video, then complete the reading and challenge.
Lesson Notes
Read through the key concepts before you try the challenge.
Why Shapes Matter
Shapes are more than decorative objects. In PowerPoint, they can be used to highlight important ideas, create visual emphasis, build diagrams, and make slides feel more polished and intentional.
A simple shape can help direct attention to key content or add personality to a slide. In this lesson, shapes are used to support a wellness presentation by turning plain slides into more visually appealing ones.
Inserting a Shape
To insert a shape, go to the Insert tab and click Shapes. PowerPoint includes lines, rectangles, arrows, stars, banners, callouts, and many other built-in shape options.
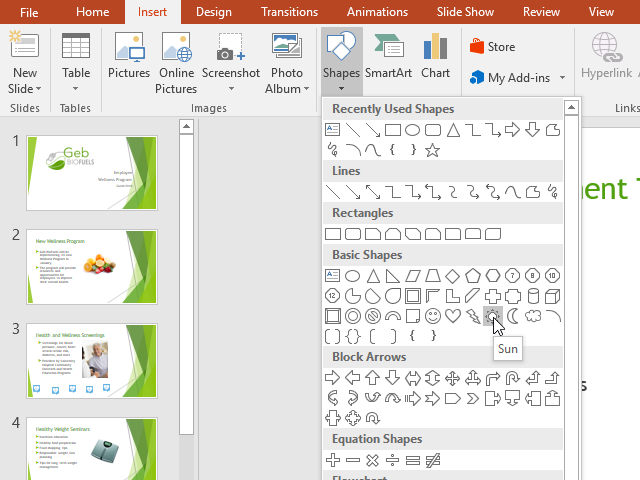
After selecting a shape, click and drag on the slide to draw it. The size and proportions of the shape will depend on how far you drag.
In this example, a sun shape is inserted onto the slide as a starting point for a visual callout.
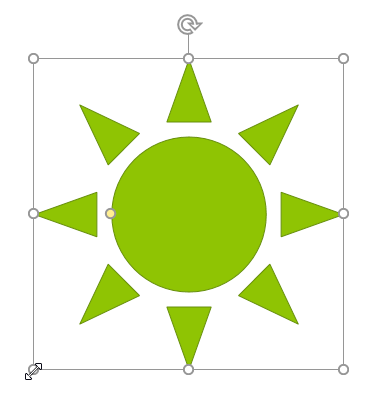
Resizing and Rotating Shapes
Once a shape is inserted, you can resize it using the sizing handles around the border. Drag a corner handle to scale the shape larger or smaller.
To rotate a shape, drag the circular rotation handle above it. This allows you to angle the shape to better fit your design.
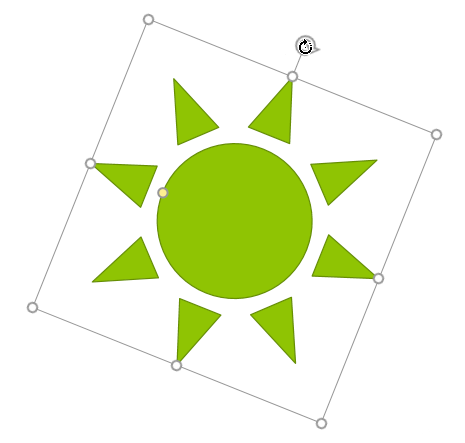
Resizing and rotating are basic but important adjustments. Even a simple angle change can make a shape look more dynamic and eye-catching.
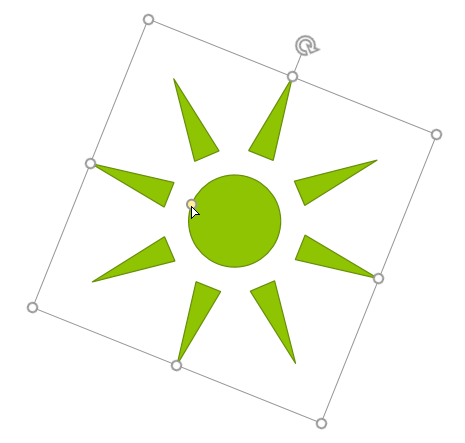
Using the Yellow Adjustment Handle
Some shapes include one or more yellow adjustment handles. These allow you to modify the appearance of the shape itself.
For example, with the sun shape, the yellow handle changes the length and spacing of the rays. Other shapes may use this handle to alter corners, arrowheads, banner folds, or other design details.
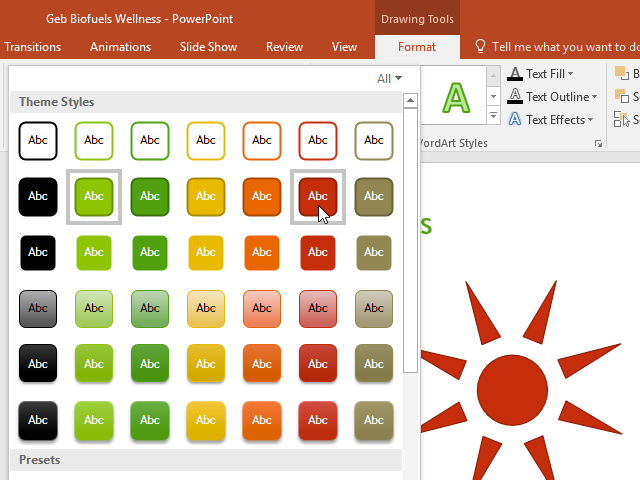
Applying Shape Styles
PowerPoint includes built-in Shape Styles that instantly apply combinations of fill colors, outlines, and effects.
To use them, select the shape and go to the Drawing Tools Format tab. In the Shape Styles group, choose a preset style from the gallery.
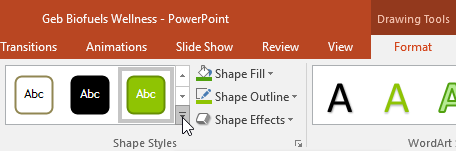
Applying a style is a quick way to improve the appearance of a shape without manually adjusting every setting.
Changing Shape Fill
Shape Fill controls the interior color or appearance of a shape. You can apply a solid fill, gradient, texture, picture fill, or choose No Fill.
To change the fill, select the shape, go to the Format tab, and click Shape Fill.
You can use one of the theme colors for consistency, or choose More Fill Colors for additional customization.
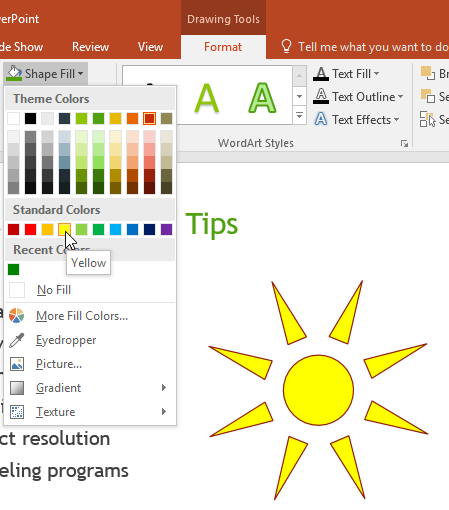
In this example, changing the fill color helps transform the sun from a simple green shape into a brighter, more attention-grabbing graphic.
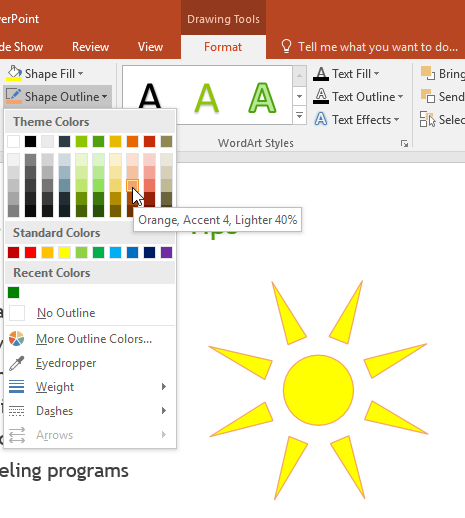
Changing Shape Outline
Shape Outline controls the border around a shape. You can change its color, thickness, dashes, or remove it entirely.
To change the outline, select the shape and click Shape Outline on the Format tab.

Increasing the outline weight makes the border thicker and more visible. Removing the outline creates a cleaner, flatter look.
In this lesson, outline changes help define the shape and make it coordinate more effectively with the slide theme.
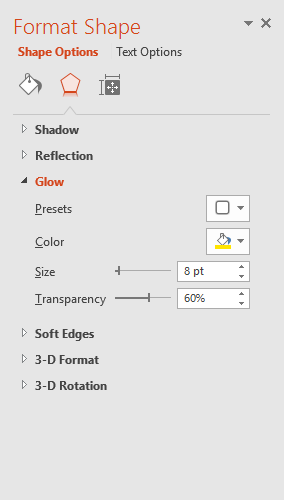
Applying Shape Effects
Shape Effects add visual enhancements such as shadows, glows, reflections, bevels, and 3-D rotation.
To apply an effect, select the shape, go to Shape Effects, and choose the effect you want to use.
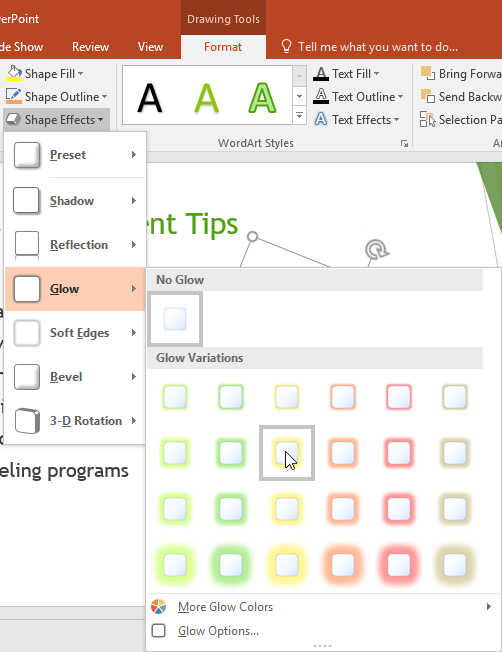
Glow effects are especially useful when you want a shape to stand out from the background.
Editing and Changing a Shape
You are not locked into the original shape you insert. PowerPoint allows you to change a shape into a different one while keeping much of its formatting.
Select the shape, go to Edit Shape, and choose Change Shape. Then select a new shape from the gallery.
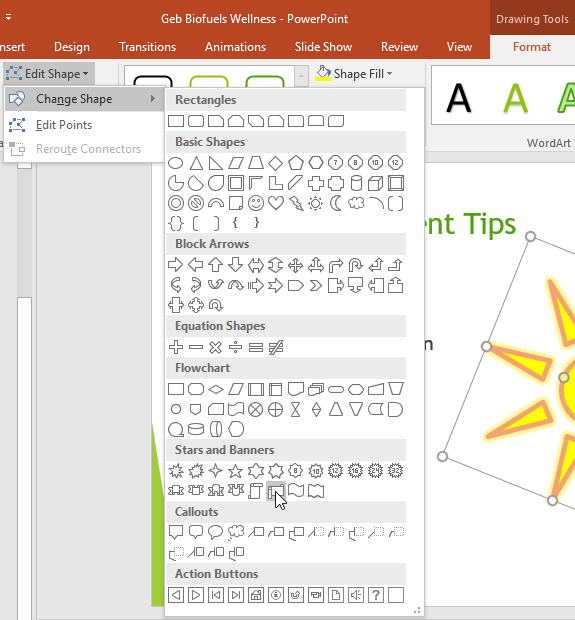
This is useful when you like the color, size, and effects you already applied, but want the object to take on a different form.
Adding Text to a Shape
You can type directly inside most shapes. Simply select the shape and start typing, or right-click and choose Edit Text.
Once text is added, you can format it using the usual font, color, size, alignment, and WordArt options.
Adding text makes shapes especially useful for labels, callouts, banners, and highlighted messages on a slide.
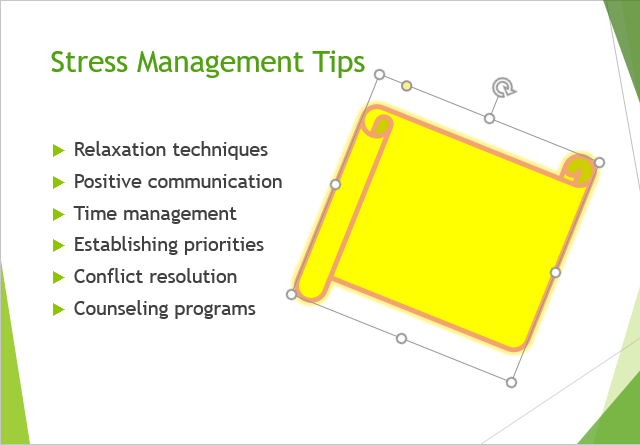
Completed Slide Example
After inserting a shape, adjusting its size, rotating it, changing its fill and outline, applying effects, and adding text, the slide becomes much more visually dynamic.
In this example, a plain shape evolves into a bold visual element that reinforces the message of the slide.
Knowledge Check
Which handle allows you to rotate a shape in PowerPoint?
Which command lets you turn one shape into a different shape without starting over?
Practice File
Download this file and follow along with the lesson.
Challenge
Apply what you've learned in this lesson.
Download and open the practice presentation.
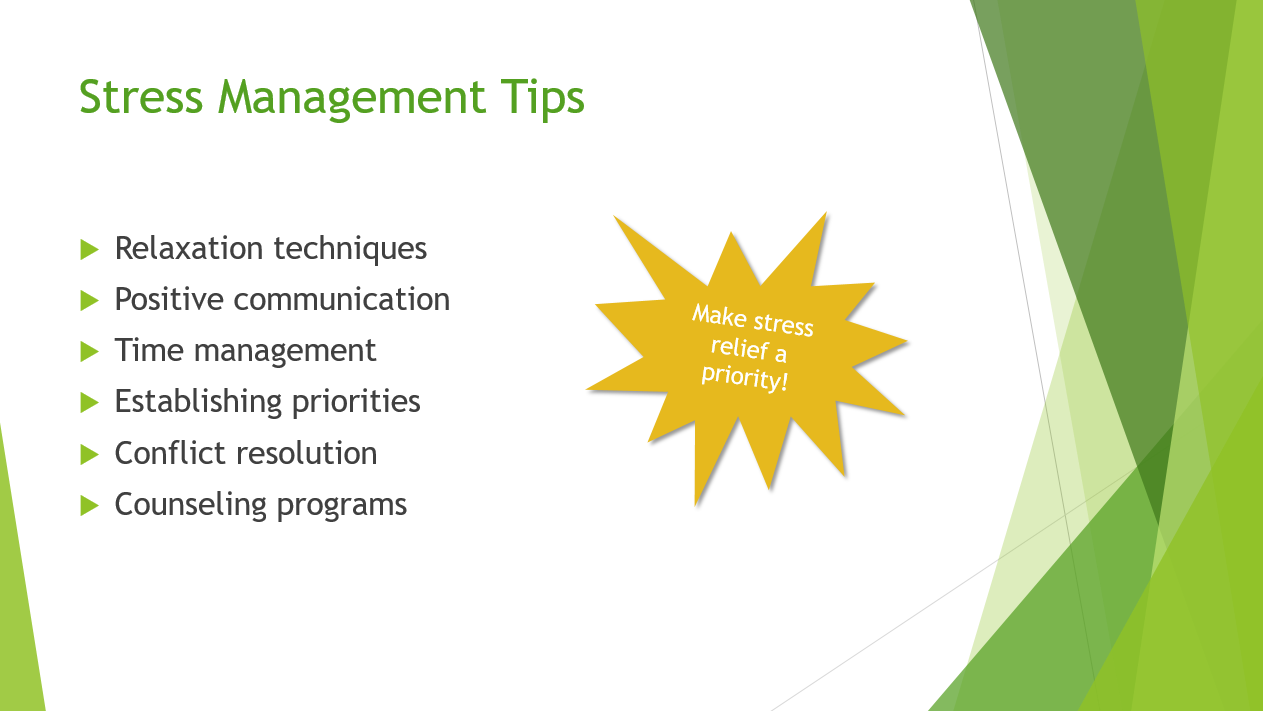
- Select slide 6.
- Insert a Folded Corner shape onto the slide.
- Rotate the shape so it is slightly angled.
- Change the shape fill to a gold or yellow color.
- Change the outline settings or remove the outline to improve the appearance.
- Apply a shadow or glow effect to make the shape stand out.
- Type a short wellness message inside the shape, such as Make stress relief a priority!
- Optional: Use Edit Shape → Change Shape to transform the object into a different shape while keeping the formatting.