Aligning, Ordering, and Grouping Objects
Learn how to align objects, distribute them evenly, group and ungroup items, control object layering, and rotate objects to create cleaner, more professional slides.
Video
Watch the lesson video, then complete the reading and challenge.
Lesson Notes
Read through the key concepts before you try the challenge.
Why Object Arrangement Matters
A slide can have great colors, strong images, and useful content, but still look messy if the objects are poorly arranged. In PowerPoint, pictures, shapes, and text boxes can be aligned, spaced, layered, grouped, and rotated so the slide looks intentional instead of random.
This lesson focuses on the arrangement tools that help you clean up your layouts. These tools are especially useful when working with multiple pictures or overlapping objects.
Aligning Objects
When you move objects manually, PowerPoint displays alignment guides and spacing guides to help you line them up. These guides are useful, but they are not always enough when several objects need to line up perfectly.
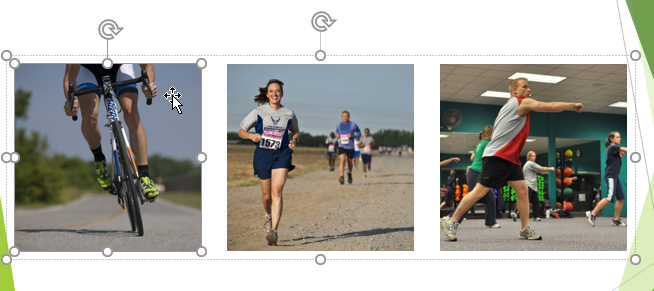
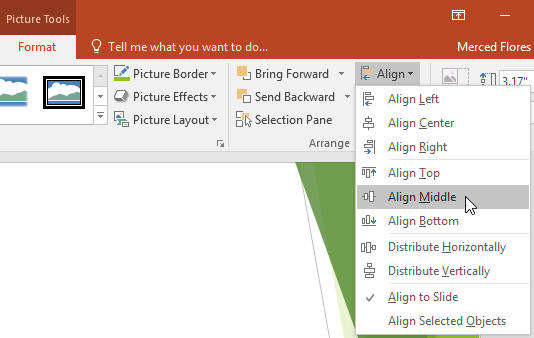
To align two or more objects, first select them together. Hold the Shift key while clicking each object so PowerPoint knows they should be treated as a set.
Once the objects are selected, open the Format tab and click the Align command. Then choose Align Selected Objects so PowerPoint aligns the objects relative to one another instead of to the slide itself.
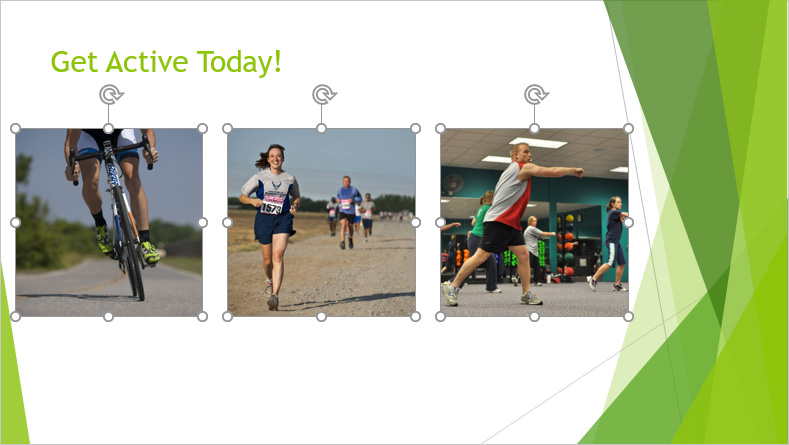
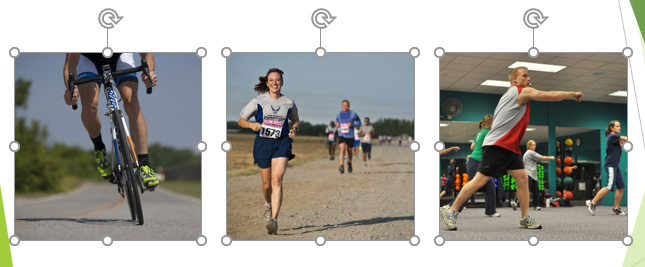
After that, open the Align menu again and choose one of the six alignment options. These include Align Left, Align Center, Align Right, Align Top, Align Middle, and Align Bottom.
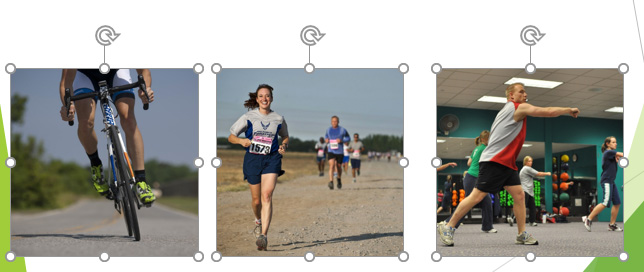
In this example, the pictures are aligned so they share a consistent position. This immediately makes the slide feel cleaner and easier to read.
Aligning Objects to the Slide
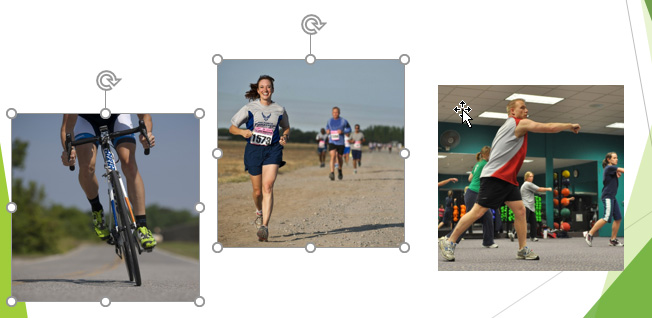
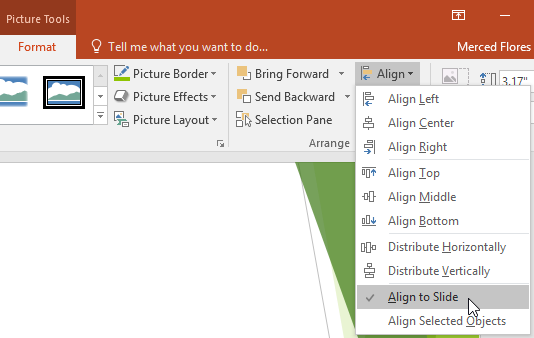
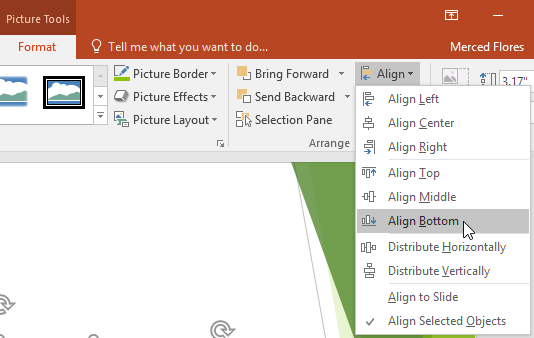
Sometimes you do not want objects aligned to each other. Instead, you want them aligned to a specific area of the slide, such as the top, middle, or bottom.
To do this, open the Align menu and switch from Align Selected Objects to Align to Slide.

Once Align to Slide is selected, choose an alignment command such as Align Middle or Align Bottom. PowerPoint will position the selected objects relative to the slide itself.
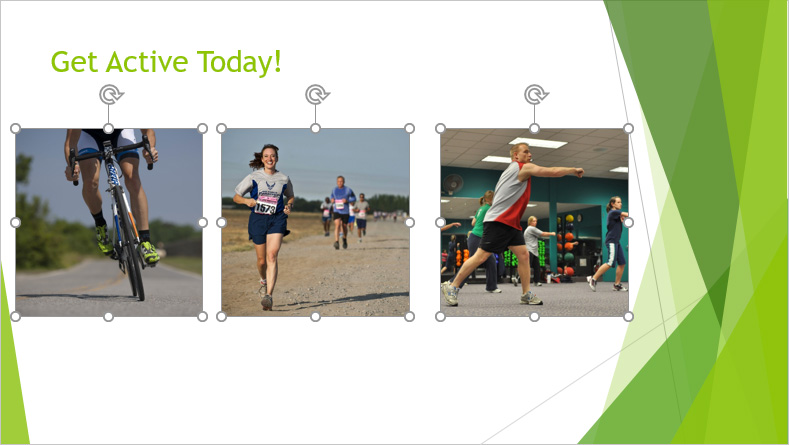
This is especially helpful when you want several objects to sit neatly across a slide without guessing at their vertical position.
Distributing Objects Evenly
Even after objects are aligned, they may still have uneven spacing between them. Distribution commands solve that problem by placing equal distance between each selected object.
If your objects are arranged in a row, use Distribute Horizontally. If they are arranged in a column, use Distribute Vertically.
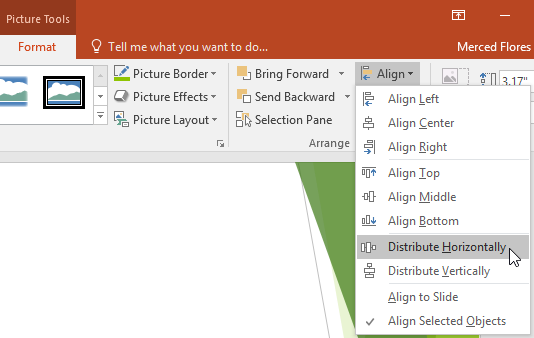
You can use distribution with either Align to Slide or Align Selected Objects, depending on whether the spacing should be based on the full slide or just the selected items.
This is one of the fastest ways to make a row of pictures or icons look professionally arranged.
Grouping Objects
Grouping lets you combine multiple objects into one object. After grouping, the objects can be moved or resized together instead of one at a time.
This is useful when you have finished arranging several objects and want them to stay together as a unit.
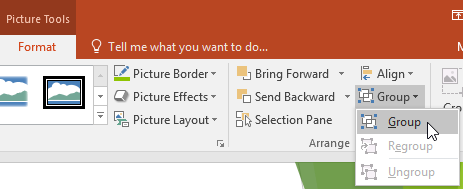
Select the objects you want to group, then go to Format and choose Group. PowerPoint will place a single selection box around the entire set.

Once grouped, the pictures behave like one larger object. You can move them together, resize them together, and rotate them together.
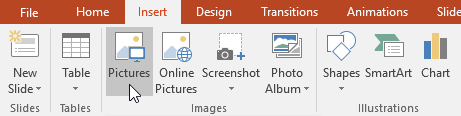
If that happens, reinsert the images using the Pictures command on the Insert tab instead of the placeholder picture icon.
Ungrouping Objects
If you need to edit one object inside a group, you can ungroup the set. This separates the objects so each item can be selected individually again.

After ungrouping, the objects return to individual items and can be moved, resized, or reformatted independently.
Ordering Objects and Understanding Layers
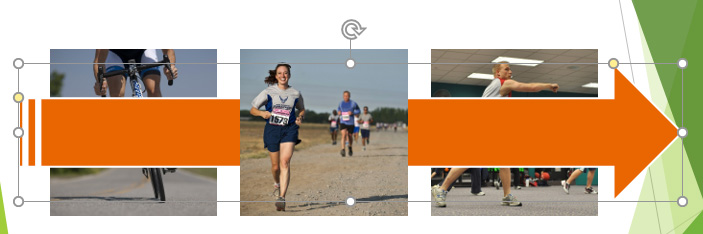
When objects overlap on a slide, their order determines what appears in front and what appears behind. PowerPoint stacks objects in levels based on the order in which they were inserted.
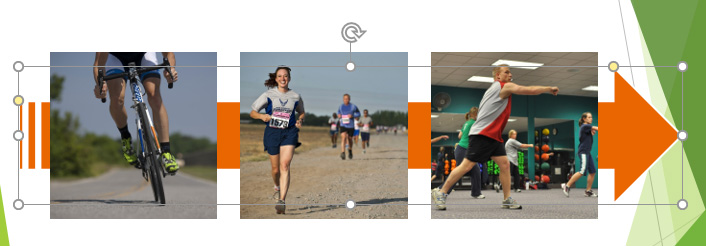
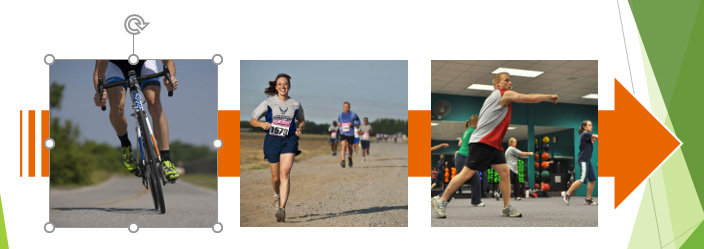
In this example, a large arrow shape sits on top of the pictures. That means it is currently on a higher layer than the images behind it.

To change the order by one level, select the object and use Bring Forward or Send Backward on the Format tab.
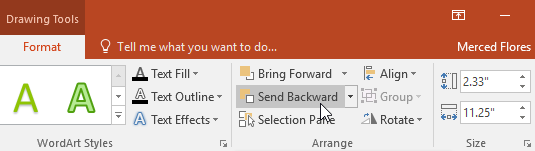
This is useful when you want gradual control over layering and only need to move the object one step.
Sending Objects to the Back and Using the Selection Pane
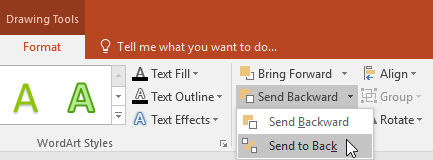
If an object needs to move behind several other objects, it is usually faster to use the drop-down menu and select Send to Back instead of clicking Send Backward multiple times.
After sending the arrow backward, the pictures become more visible and the design begins to make more sense visually.
When several objects overlap, selecting the right one can become difficult. The Selection Pane gives you a list of all objects on the slide so you can select and reorder them more precisely.
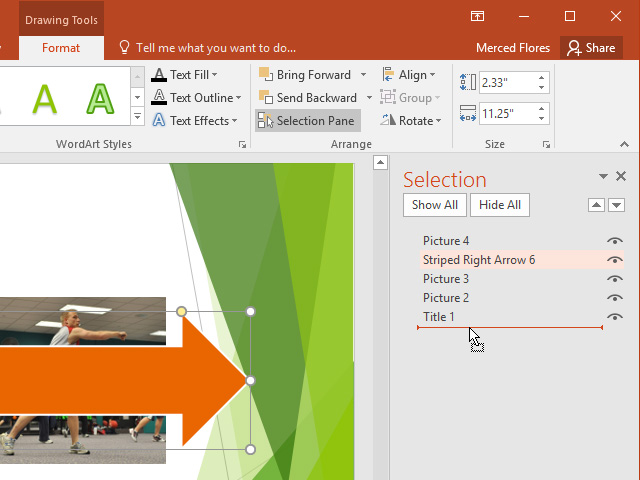
This is especially helpful in layered slides where clicking directly on the object is difficult.
Rotating Objects
In addition to aligning and ordering objects, PowerPoint also allows you to rotate them. Rotation is useful when an image or shape needs to face a different direction or better match the design of the slide.
Select the object, go to the Format tab, click Rotate, and choose the option you want. You can rotate left, rotate right, or flip the object horizontally or vertically.
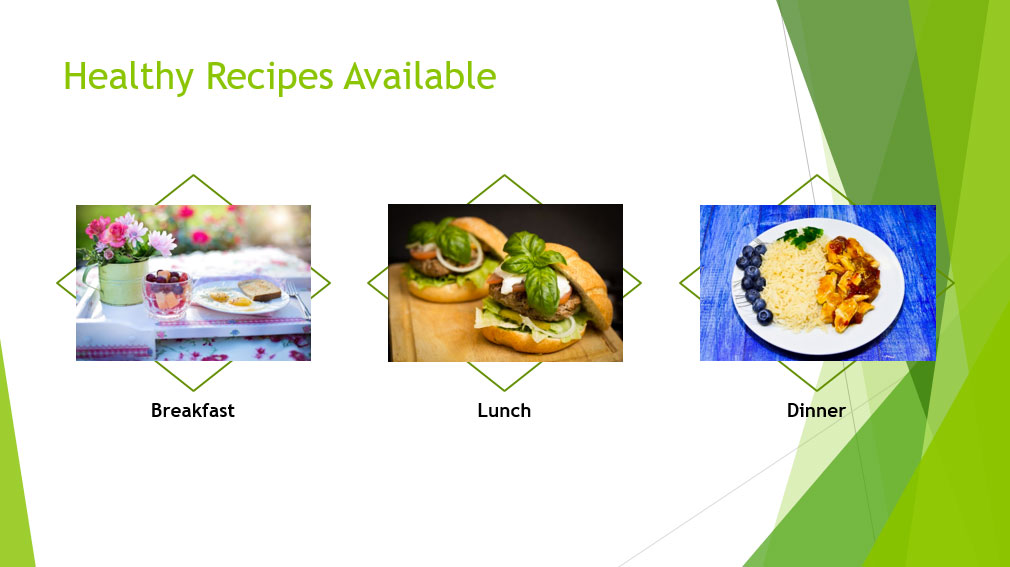
In this lesson, the food image is rotated so it better fits the final slide layout and makes the arrangement feel more dynamic.

Completed Slide Examples
Once alignment, distribution, grouping, ordering, and rotation are all working together, the slide becomes much cleaner and easier to follow.
This example shows how orderly spacing and correct layering make the design feel more intentional and professional.
Knowledge Check
Which PowerPoint command spaces selected objects evenly across a slide?
If the Group command is unavailable, what is a likely reason?
Practice File
Download this file and follow along with the lesson.
Challenge
Apply what you've learned in this lesson.
Download and open the practice presentation.
- On the last slide, select the picture of the hamburger and Rotate Left 90°.
- Hold down the Shift key and select all three food pictures. Make sure you do not select the green diamonds.
- Check Align to Slide under the Align command, then Align to Middle.
- With the pictures still selected, Distribute Horizontally.
- Select the first green diamond and send it behind the breakfast picture.
- When you're finished, your slide should look like this: