Formatting Pictures
Learn how to enhance and customize images using picture styles, corrections, color adjustments, artistic effects, cropping, and compression tools in PowerPoint.
Video
Watch the lesson video, then complete the reading and challenge.
Lesson Notes
Read through the key concepts before you try the challenge.
Introduction to Formatting Pictures
PowerPoint provides a wide range of tools that allow you to enhance and customize your images. These tools help you improve clarity, adjust colors, apply styles, and make your visuals more professional.
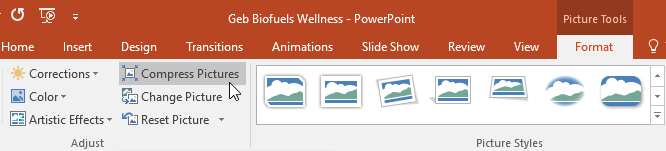
All picture formatting tools are located under the Picture Tools Format tab, which appears when you select an image.
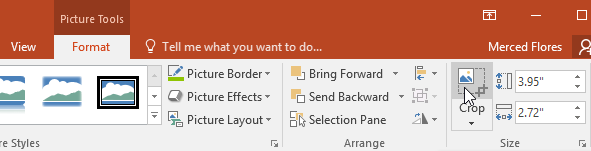
Cropping Pictures
Cropping allows you to remove unwanted parts of an image so you can focus on the most important content.
Select your image, go to the Format tab, and click Crop. Drag the black handles to trim the image.

Once you’re done adjusting, click Crop again to apply the changes.
Cropping to a Shape
You can also crop images into shapes to better match your slide design.
Click the Crop dropdown, choose Crop to Shape, and select a shape like a rounded rectangle or circle.
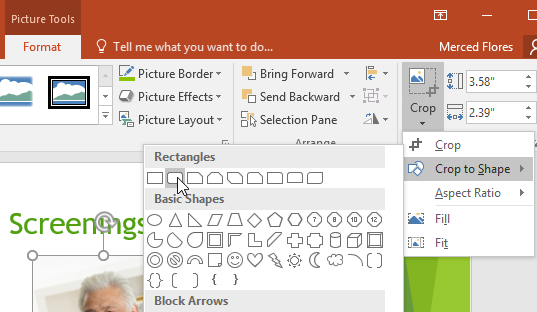
This instantly transforms your image into the selected shape.

Adding Picture Borders
Borders help your images stand out and match your presentation’s theme.
Select your image, click Picture Border, then choose a color, thickness, or style.
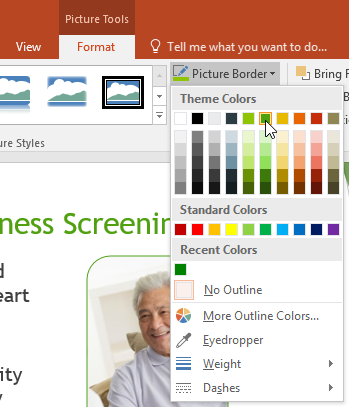
You can customize the border to match your slide’s color scheme.

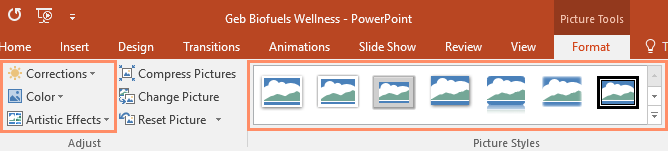
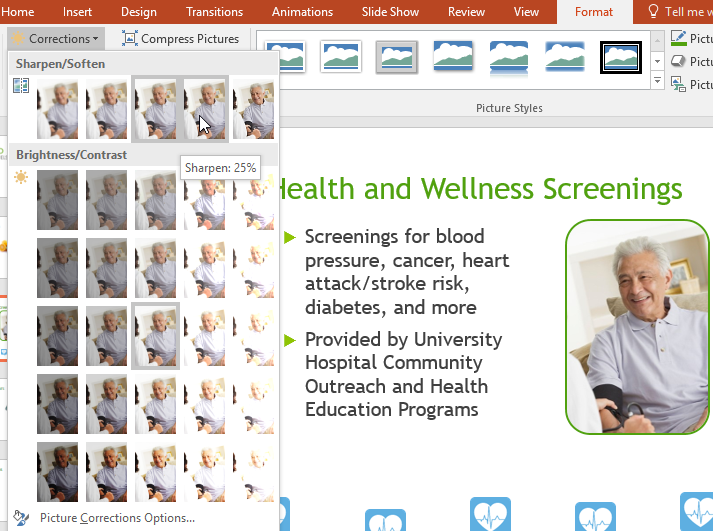
Image Corrections
Corrections allow you to adjust brightness, contrast, and sharpness to improve image clarity.
Use this when your image looks too dark, too bright, or slightly blurry.
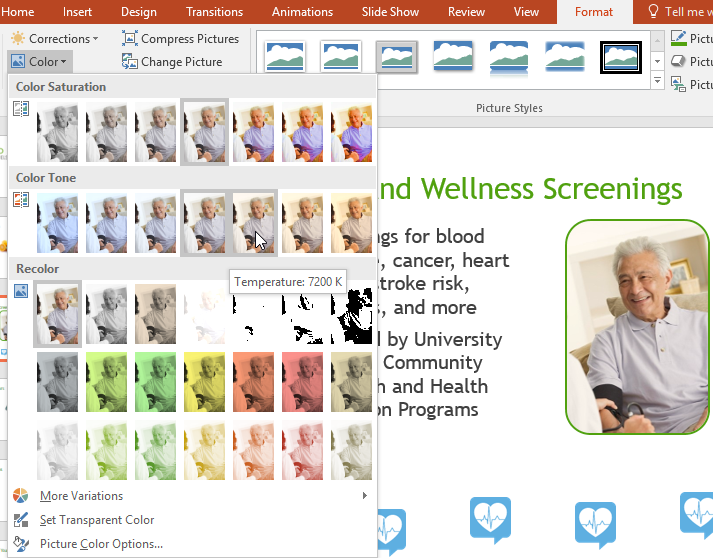
Adjusting Image Color
The Color tool allows you to modify saturation, tone, and recolor your image.
This is useful when you want to match your image with your presentation’s theme or create a specific mood.
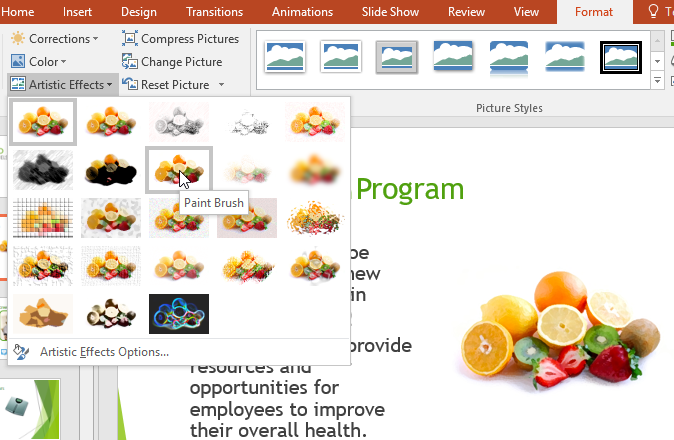
Applying Artistic Effects
Artistic Effects allow you to transform your image into stylized versions like sketches, paintings, or blur effects.
These are best used sparingly to enhance visual storytelling without distracting your audience.
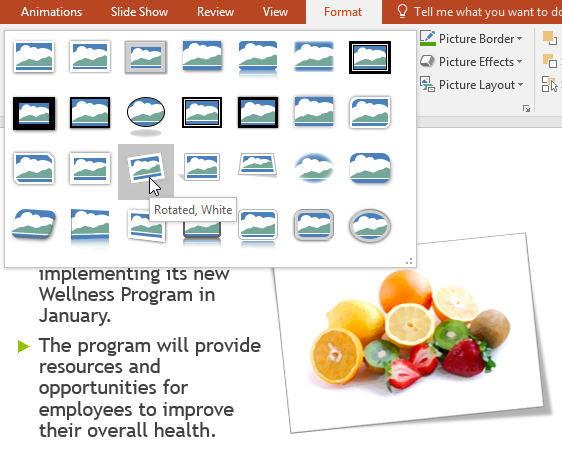
Using Picture Styles
Picture Styles provide quick, pre-designed visual enhancements like frames, shadows, and reflections.
These styles can instantly upgrade the appearance of your image with just one click.
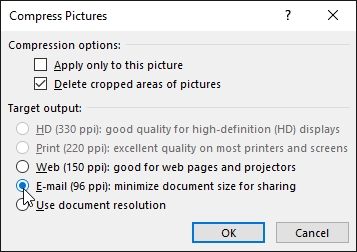
Compressing Pictures
Large images can make your presentation file size too big, especially when sharing via email.
PowerPoint allows you to compress images to reduce file size by lowering resolution and removing cropped areas.
For sharing presentations, choosing Email resolution creates the smallest file size.
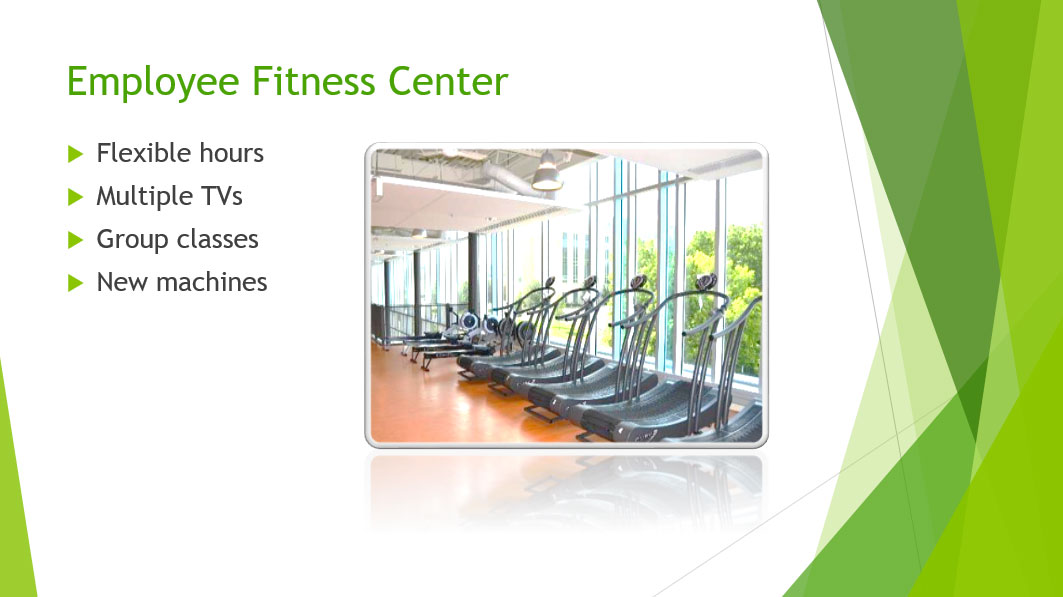
Completed Slide Example
By combining cropping, styles, borders, and adjustments, you can transform basic images into polished, professional visuals.
Knowledge Check
Which tool helps reduce presentation file size?
Practice File
Download this file and follow along with the lesson.
Challenge
Apply what you've learned in this lesson.
Download and open the practice presentation.
- On slide 7, select the treadmill picture.
- Crop the picture so it's slightly smaller and the treadmills take up a majority of the frame.
- Change the style of the picture.
- Apply a correction to the picture (for example, increase the brightness).
- Compress your picture and choose Email as your target output.
- When you're finished, your slide should look something like this: