Inserting Pictures
Learn how to insert pictures from your computer, online sources, screenshots, and screen clippings, then resize and position them on your slides.
Video
Watch the lesson video, then complete the reading and challenge.
Lesson Notes
Read through the key concepts before you try the challenge.
Why Pictures Matter
Pictures play a critical role in making presentations more engaging and easier to understand. Instead of relying only on text, visuals help communicate ideas faster and more clearly.
In professional presentations, images are used to reinforce key points, illustrate concepts, and maintain audience attention.
Inserting a Picture from Your Computer
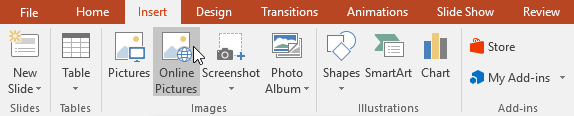
To insert a picture saved on your computer, go to the Insert tab and select Pictures from the Images group.
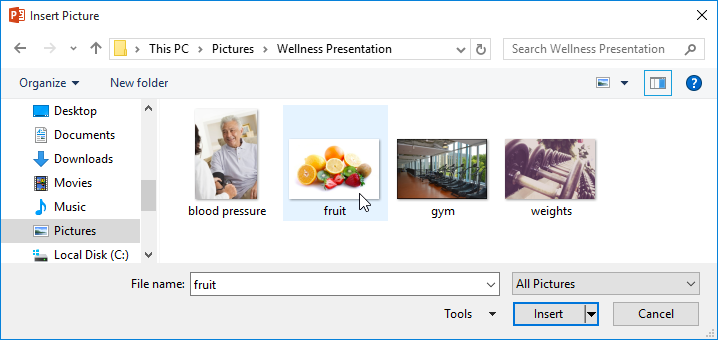
This opens a file browser where you can locate and select your image.
Once inserted, the image will appear directly on your slide and can be adjusted as needed.

Using Content Placeholders
Many slide layouts include content placeholders that allow you to insert images quickly without using the Ribbon.
Clicking the picture icon inside the placeholder lets you insert an image while keeping it aligned with the slide layout.
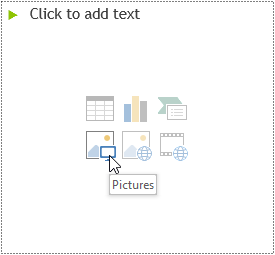
You can also insert online images directly from the placeholder using the Online Pictures icon.

Inserting Online Pictures
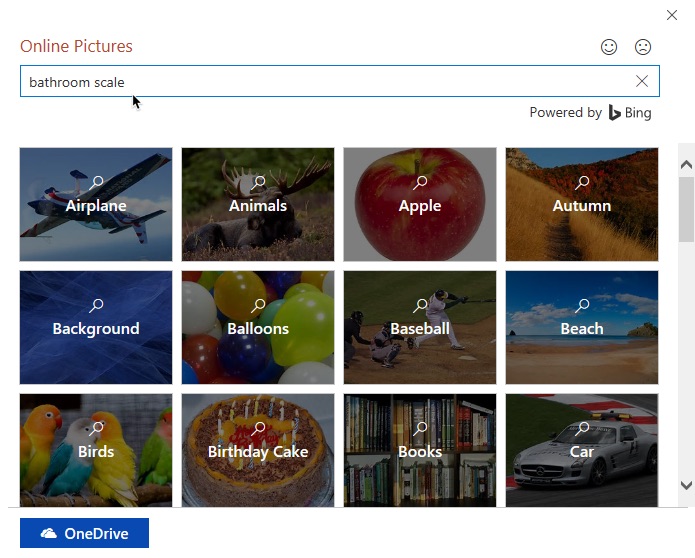
If you don’t already have an image saved, PowerPoint allows you to search for pictures online directly within the application.
Go to the Insert tab and select Online Pictures to begin searching.
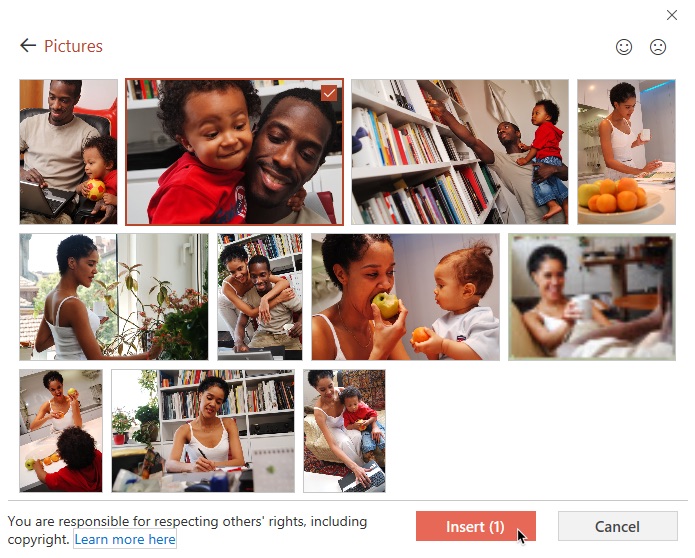
A search window will appear where you can browse categories or type keywords to find specific images.
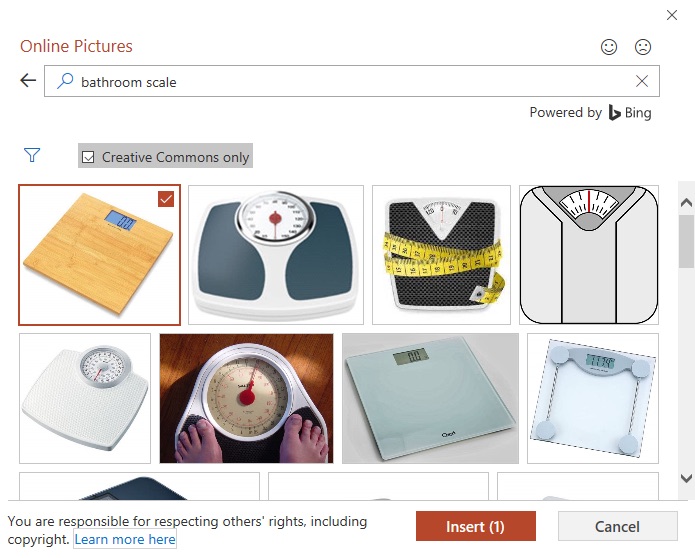
For example, searching for a topic like 'exercise' or 'healthy food' will return relevant images.
Select the image you want and click Insert. PowerPoint will automatically place it on your slide.

Resizing, Moving, and Rotating Pictures
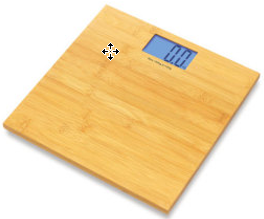
Once a picture is inserted, you can adjust it to fit your slide layout.
To move an image, click and drag it to a new position.

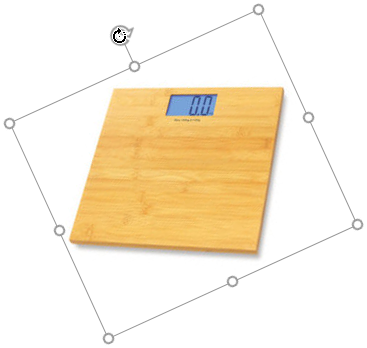
To resize an image, drag one of the corner handles. This keeps the image proportional.
To rotate an image, drag the circular rotation handle above the picture.
Inserting Screenshots
PowerPoint allows you to capture screenshots of open windows directly into your slide.
Go to Insert → Screenshot and choose from available windows.
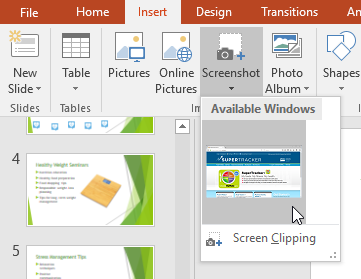
The selected window will be inserted onto your slide.

Using Screen Clipping
Screen Clipping allows you to capture a specific portion of your screen instead of an entire window.
Select Screen Clipping, then click and drag to capture only the area you need.
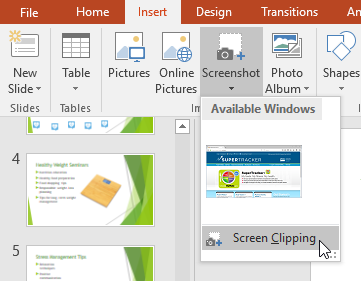
This is especially useful when you want to highlight a specific part of a website or application.

Completed Slide Examples
By combining images, layout positioning, and resizing, you can create visually appealing slides.

Knowledge Check
Which tool allows you to capture only part of your screen?
Practice File
Download this file and follow along with the lesson.
Challenge
Apply what you've learned in this lesson.
Download and open the practice presentation.
- Select the last slide.
- Use the Online Pictures command to insert a picture of your favorite form of exercise.
- Resize your picture so it takes up a majority of the slide without covering the title.
- When you're finished, your slide should look something like this:

- Insert a new slide with a Title Only layout.
- In the Title placeholder, type Learn More at Fitness.gov.
- Open https://odphp.health.gov/pcfsn in your browser, then insert a screen clipping of the website onto the slide you just created.
- When you're finished, your slide should look something like this: