Page Layout and Printing
Learn how to control margins, orientation, scaling, print area, print titles, and page breaks to produce professional printed reports.
By the end of this lesson you can
- Set a print area and control what appears on each page
- Repeat header rows on every printed page
- Use Page Break Preview to control pagination
- Fit a wide worksheet onto a sensible number of pages
Video
Watch the lesson video, then complete the reading and challenge.
Lesson Notes
Read through the key concepts before you try the challenge.
Spreadsheets print badly by default
You print the supply report for a meeting at Lakeside Medical Associates.
You press print. Fourteen pages emerge: columns A through F on pages one to seven, columns G through J on pages eight to fourteen, with no headers on any page but the first. Nobody can reassemble it into anything readable.
Your task: Configure the print setup so a spreadsheet becomes a document someone can read on paper.
The default assumes you want everything at full size, which almost never suits a worksheet wider than a page. Four settings fix nearly every printing problem, and they take about a minute.
| Setting | Where | What it does |
|---|---|---|
| Print Area | Page Layout > Print Area > Set | Prints only the selected range, not every stray cell |
| Print Titles | Page Layout > Print Titles > Rows to repeat at top | Repeats the header row on every page |
| Fit All Columns on One Page | File > Print > Scaling | Stops columns splitting across separate pages |
| Orientation | Page Layout > Orientation | Landscape suits most worksheets, which are wider than tall |
Accessing the Print Pane
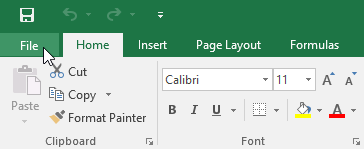
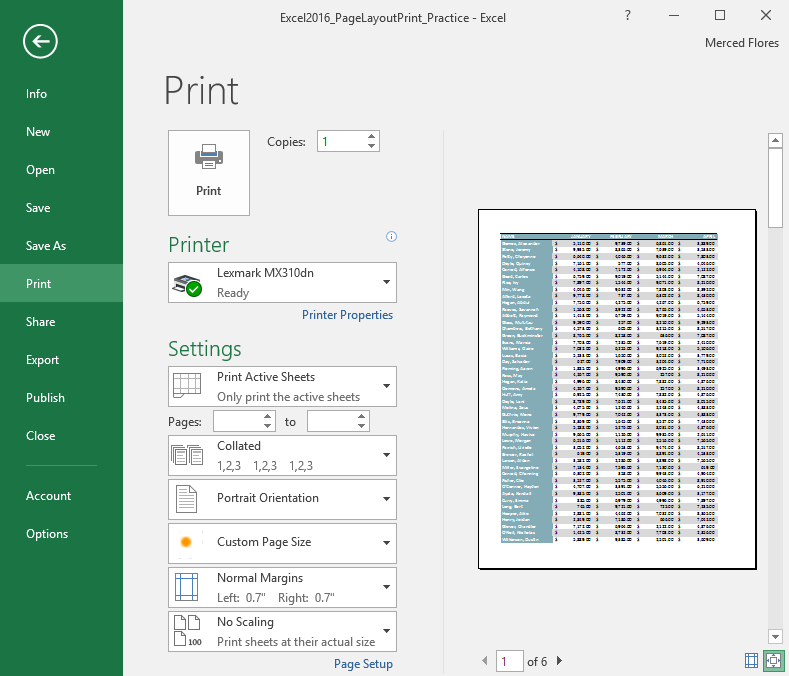
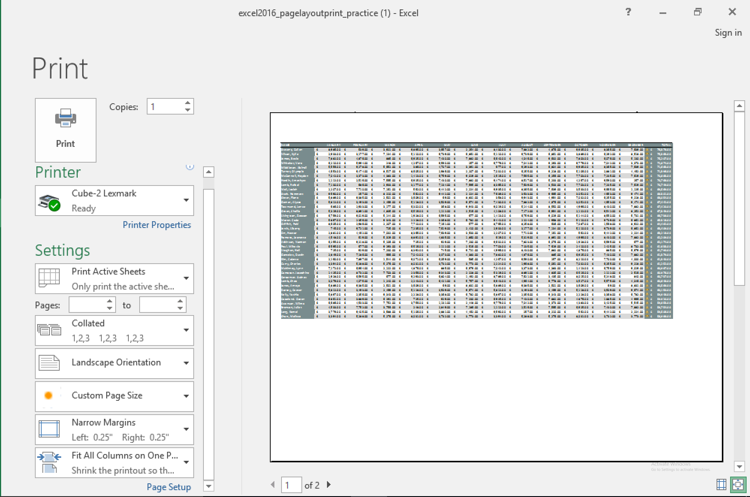
To begin printing in Excel, select the File tab to open Backstage View, then choose Print. The Print pane allows you to preview and configure all print settings.
Choosing What to Print
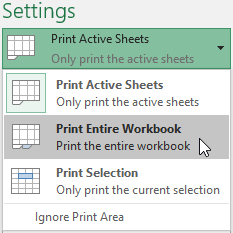
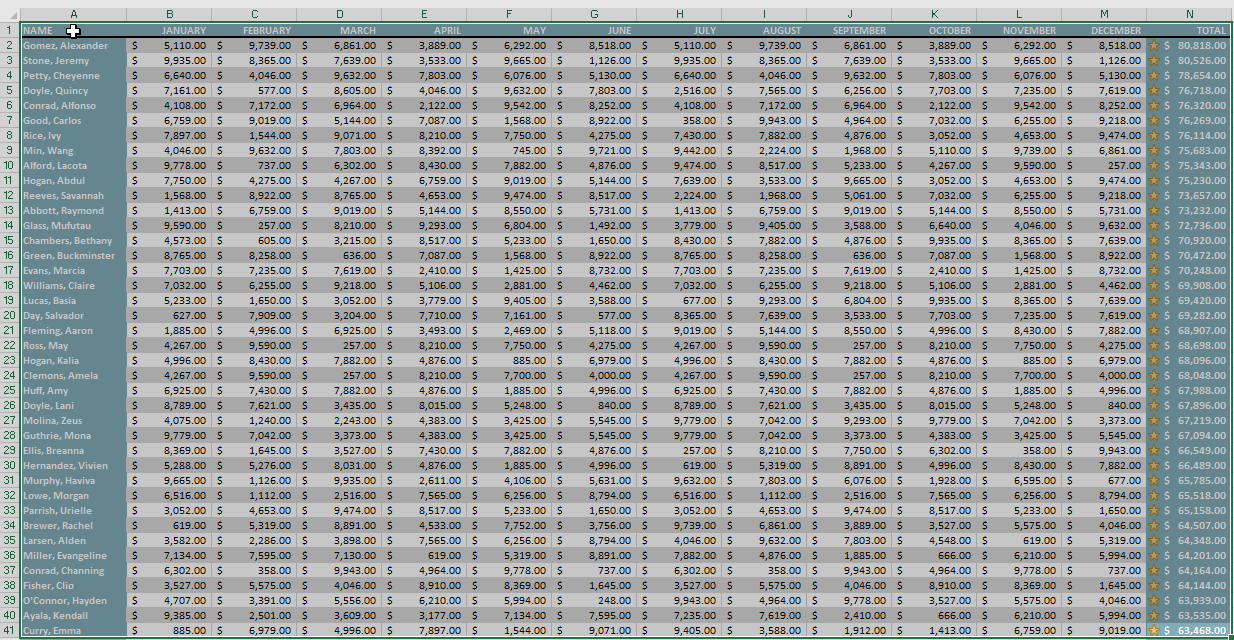
From the Settings section, you can choose to print Active Sheets, the Entire Workbook, or a Selection. Always verify the preview before printing.

Setting a Print Area
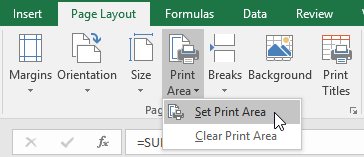
To define exactly what prints, select the desired cells, go to the Page Layout tab, click Print Area, and choose Set Print Area.
Changing Page Orientation
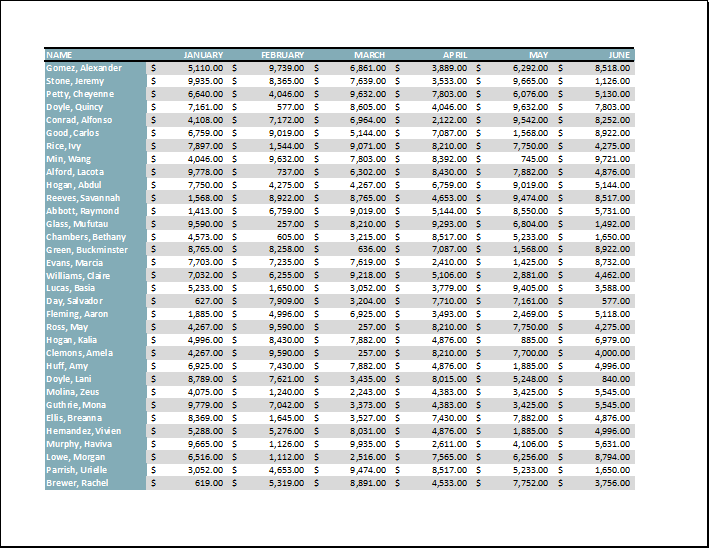
Excel offers Portrait (vertical) and Landscape (horizontal) orientation. Landscape is best for wide data tables.
Using Scaling Options
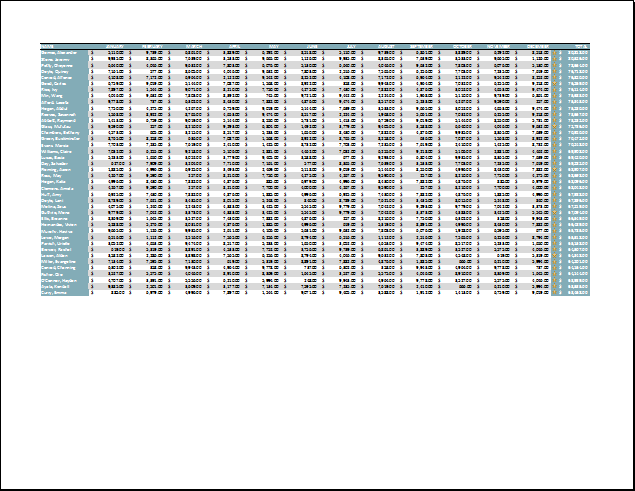
If your worksheet content is cut off, use scaling options such as 'Fit All Columns on One Page' or 'Fit Sheet on One Page'. Be aware that scaling reduces text size.
Adjusting Margins
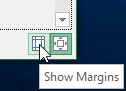
Margins control the spacing between your worksheet content and the page edge. Choose presets like Normal, Wide, or Narrow, or manually adjust margins in the preview pane.
Using Print Titles
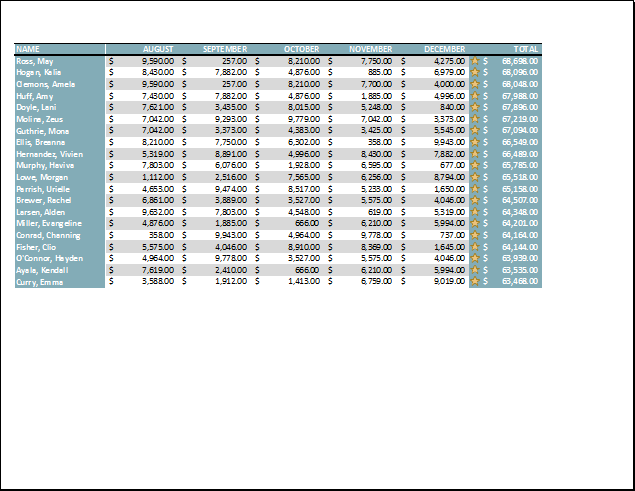
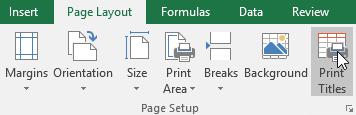
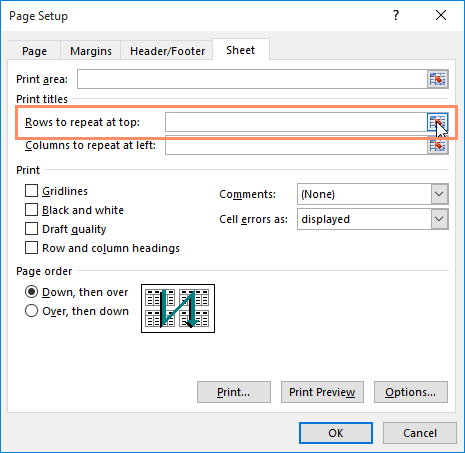
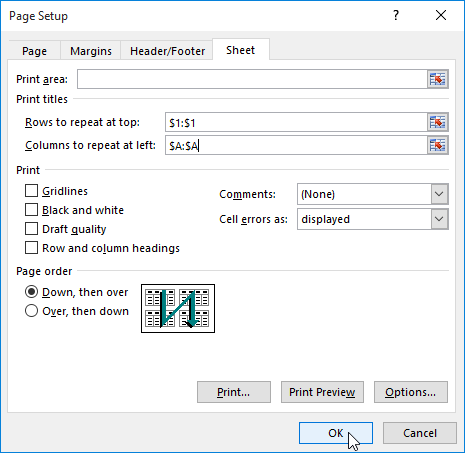
Use Print Titles to repeat header rows or columns on every printed page. Go to Page Layout → Print Titles and specify rows to repeat at top and columns to repeat at left.
Adjusting Page Breaks
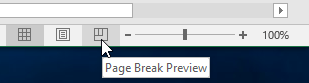
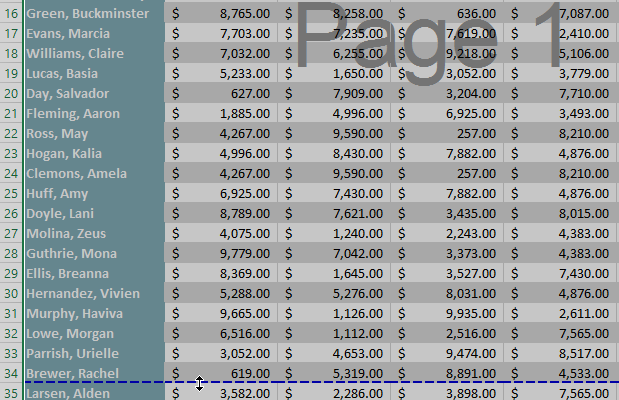
Switch to Page Break Preview to manually control where printed pages divide. Drag the blue lines to reposition page breaks.
Knowledge Check
What does setting a print area do in Excel?
Practice File
Download this file and follow along with the lesson.
Challenge
Apply what you've learned in this lesson.
Complete the following tasks:
- Open the East Coast worksheet.
- Repeat row 1 at the top and column A at the left.
- Move the page break so rows 1–40 print on the first page.
- Change orientation to Landscape.
- Set margins to Narrow.
- Use Fit All Columns on One Page.
- Verify the preview matches the expected layout.
Finished this lesson?
Progress is saved in this browser only. It is not a grade — official progress lives in Brightspace.