Formatting Cells in Excel
Learn how to format fonts, apply colors, borders, alignment, cell styles, and enhance worksheet presentation.
By the end of this lesson you can
- Apply fonts, borders, and fill colors purposefully
- Use cell styles for consistency across a workbook
- Explain why formatting should never be the only carrier of meaning
- Use Format Painter to copy formatting across ranges
Video
Watch the lesson video, then complete the reading and challenge.
Lesson Notes
Read through the key concepts before you try the challenge.
Formatting should help someone read the numbers
You prepare the monthly budget review at Lakeside Medical Associates.
You shade the over-budget rows red. The report is printed in black and white for the board meeting, where every row is now identical gray. The one thing the report existed to communicate is invisible.
Your task: Format so the meaning survives printing, photocopying, and colorblind readers.
The rule is that color may reinforce meaning but must never be the only thing carrying it. Add a status column reading 'Over budget,' or a symbol, or bold. Then the red shading is a helpful accent rather than the sole signal — and the report still works in greyscale.
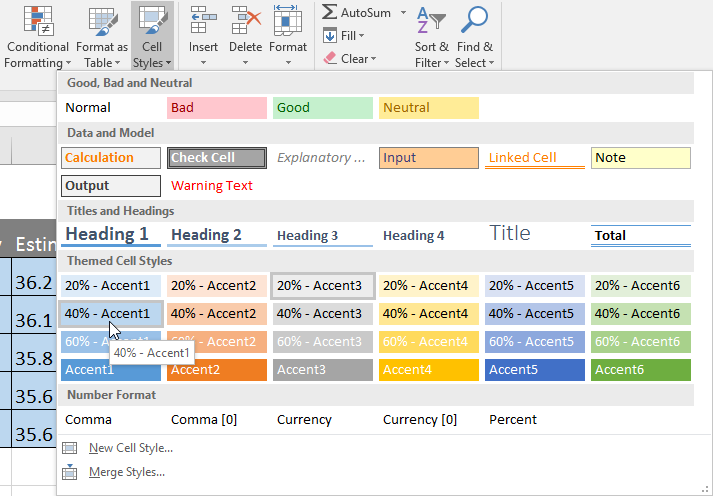
Cell Styles (Home > Cell Styles) are Excel's equivalent of Word's styles: named formatting you apply by reference. Using the built-in Heading, Total, and Input styles means a workbook stays consistent, and restyling it later is one change rather than a hunt through every sheet.
Changing Font Type
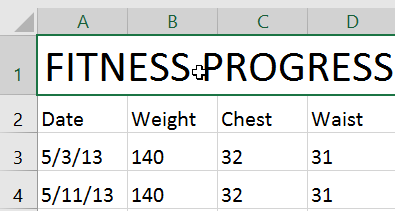
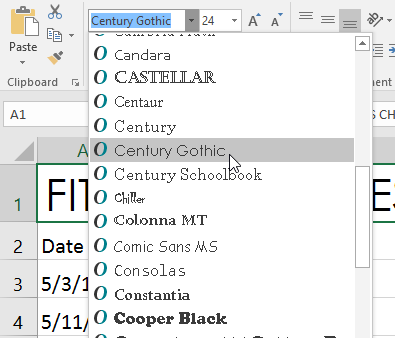
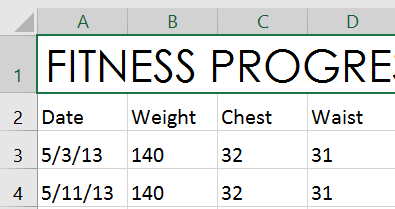
You can change the font type from the Font group on the Home tab.
Changing Font Size
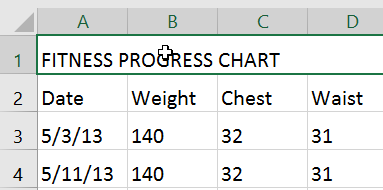
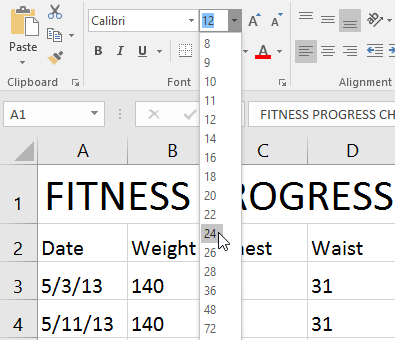
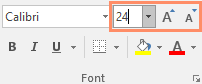
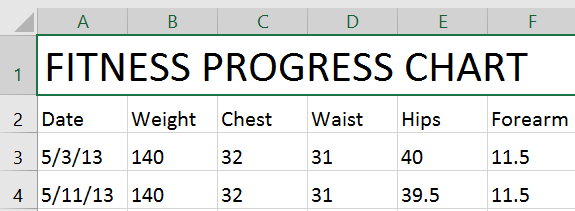
You can choose a font size from the dropdown or use the Increase and Decrease Font Size buttons.
Bold, Italic, and Underline
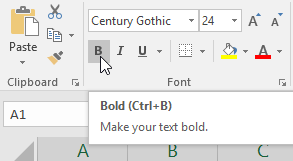
Use Bold, Italic, and Underline to emphasize important text.
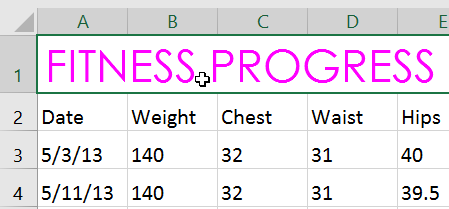
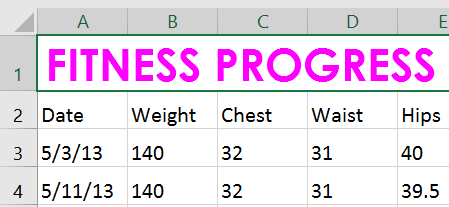
Changing Font Color
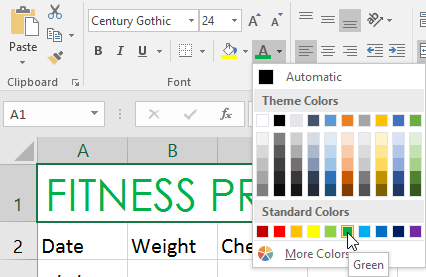
Font color can be changed using Theme Colors or Standard Colors.
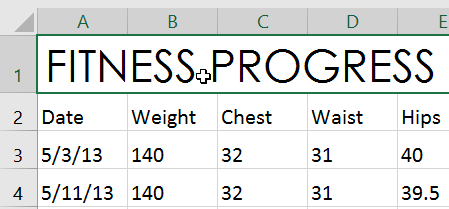
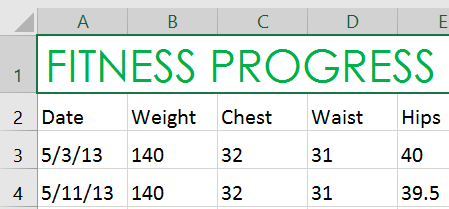
Applying Fill Color
Fill color changes the background color of selected cells.
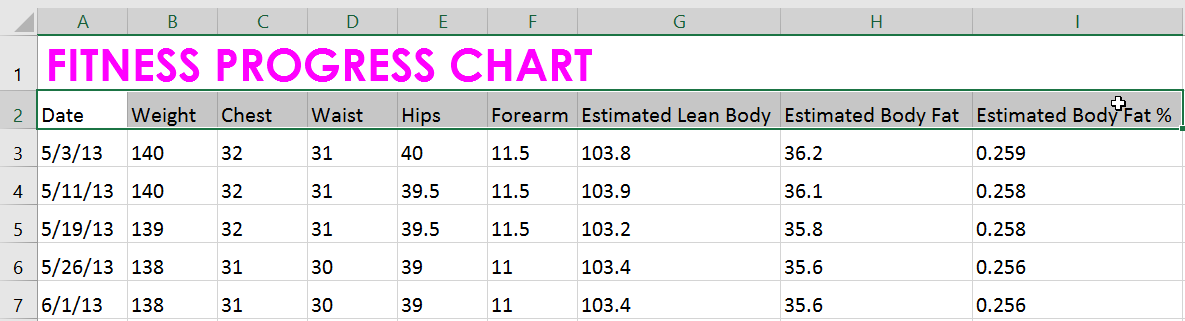
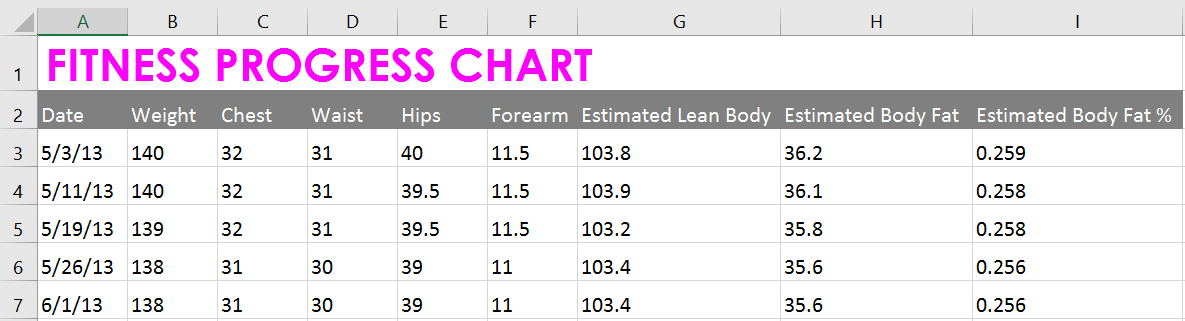
Applying Borders
Borders help define data tables and improve readability.
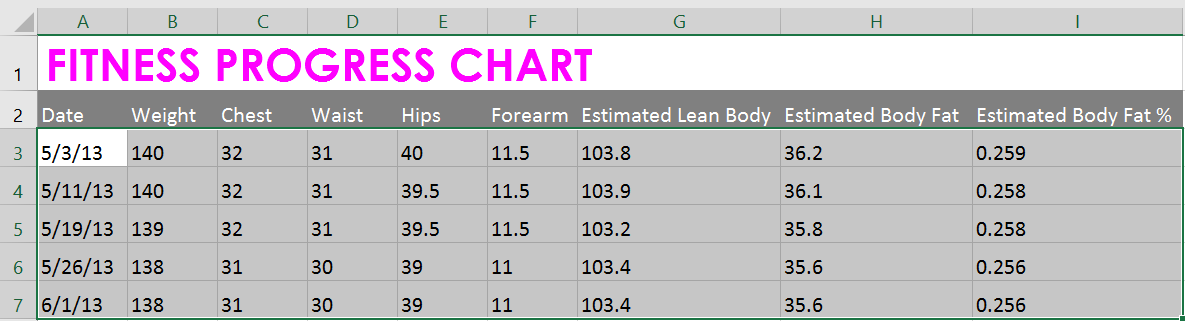
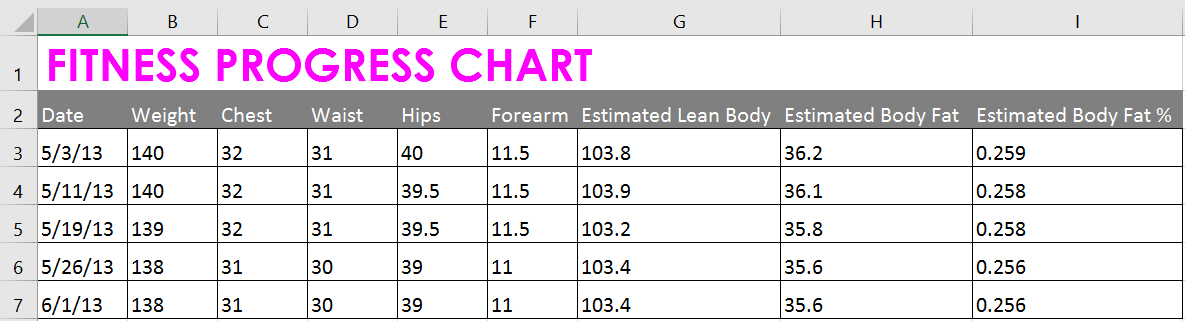
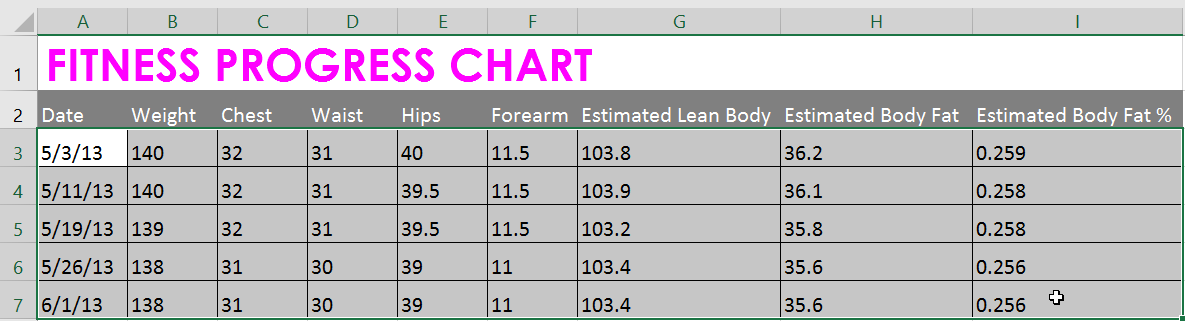
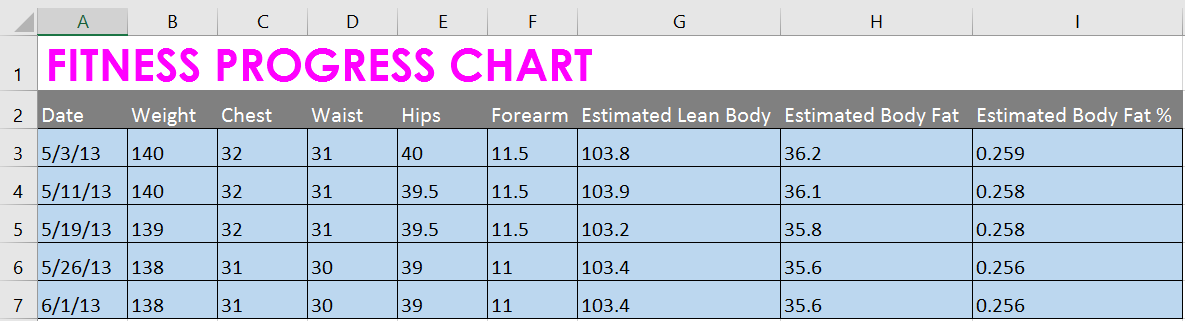
Using Cell Styles
Excel provides built-in cell styles for quick formatting.
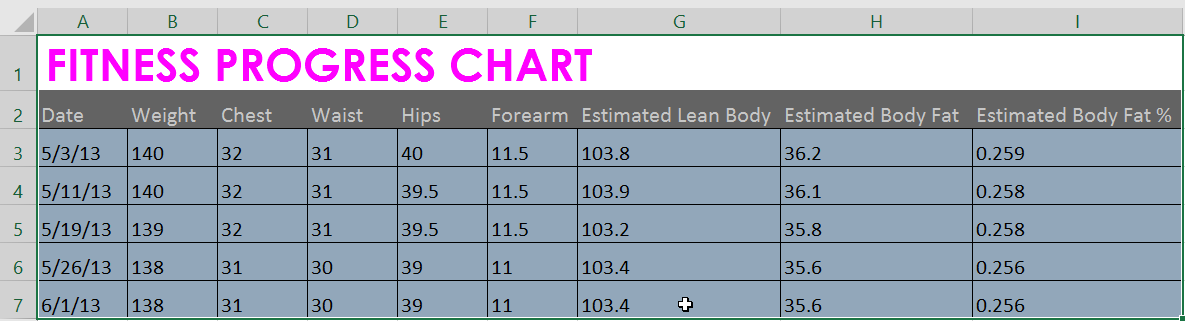
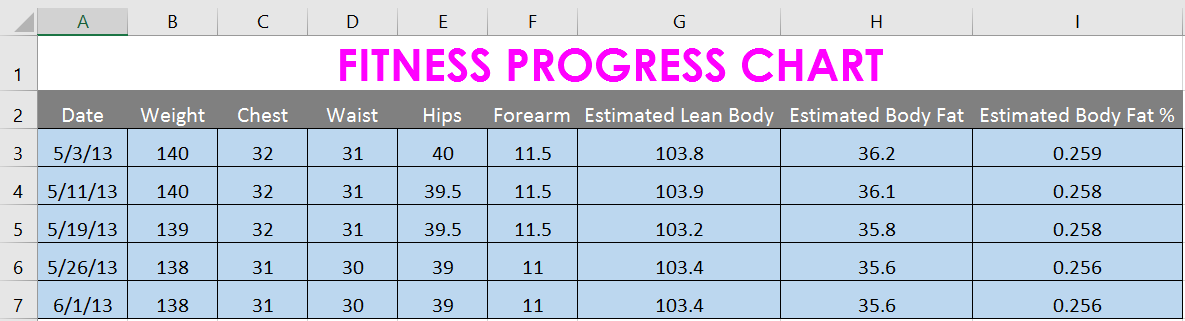
Horizontal Alignment
Horizontal alignment positions text left, center, or right within a cell.
Vertical Alignment
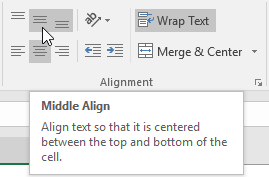
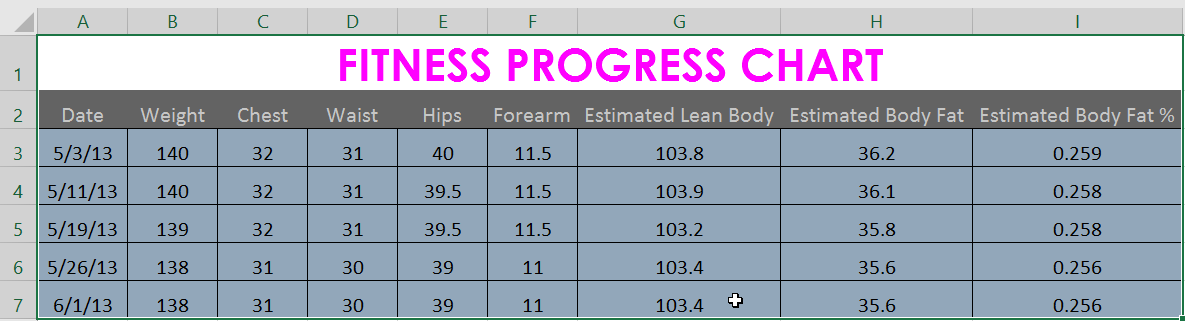
Vertical alignment positions text at the top, middle, or bottom of a cell.
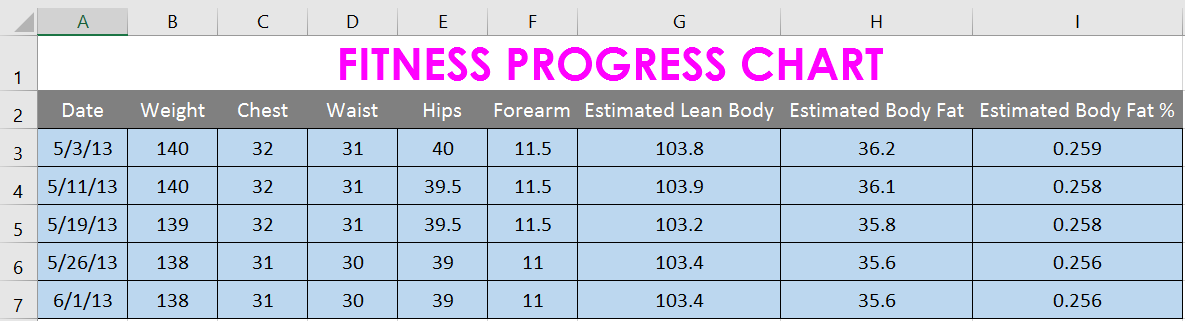
Knowledge Check
Which formatting option applies color to the background of a cell?
Practice File
Download this file and follow along with the lesson.
Challenge
Apply what you've learned in this lesson.
Complete the following tasks:
- Change the font type and size of the worksheet title.
- Apply Bold formatting to the header row.
- Change the font color of the title.
- Apply fill color to the header row.
- Add borders to the entire data table.
- Center-align column headers horizontally.
- Apply Middle Align vertically.
- Apply a built-in cell style.

Finished this lesson?
Progress is saved in this browser only. It is not a grade — official progress lives in Brightspace.