Page Layout
Learn how to adjust margins, orientation, paper size, and use the Page Setup dialog box in Microsoft Word.
Video
Watch the lesson video, then complete the reading and challenge.
Lesson Notes
Read through the key concepts before you try the challenge.
Changing Margins
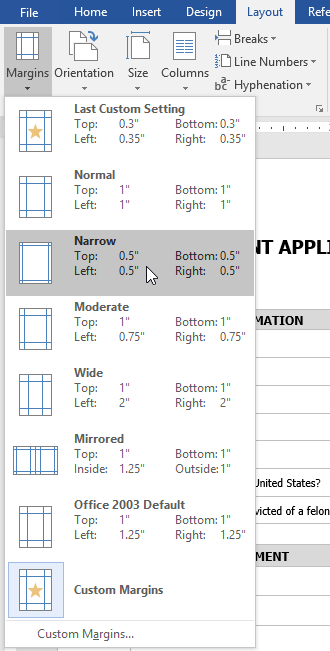
Margins control the space between your text and the edge of the page. To change margins, go to the Layout tab and click Margins.

Custom Margins
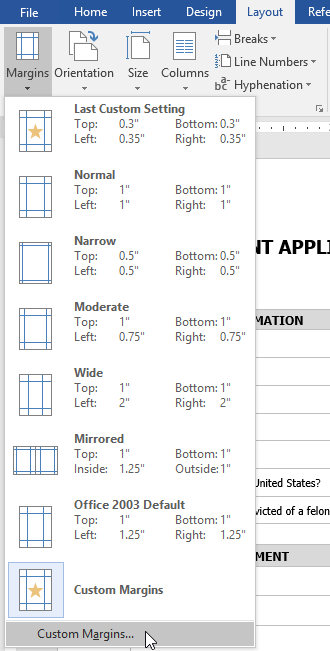
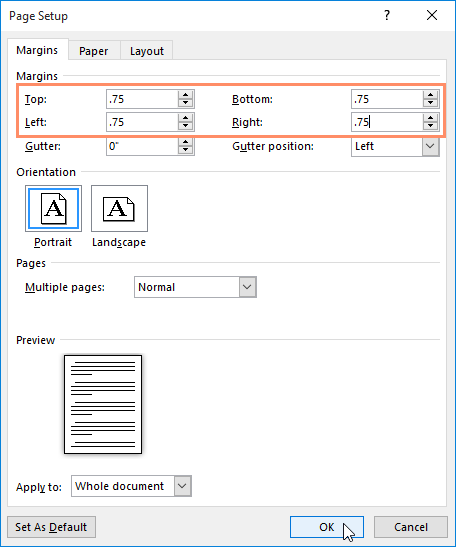
For precise control, click Custom Margins to open the Page Setup dialog box. Here you can manually adjust top, bottom, left, and right margins.
Changing Page Orientation
Orientation determines whether your document prints vertically (Portrait) or horizontally (Landscape).


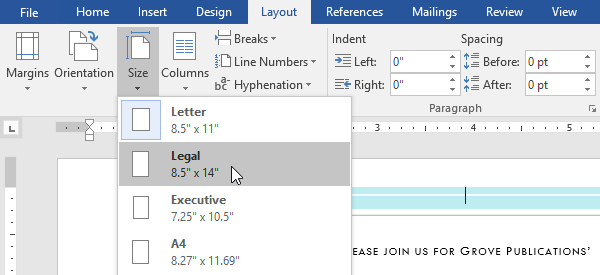
Changing Paper Size
You can change the paper size from the Layout tab by clicking Size. Word provides preset sizes such as Letter, Legal, and A4.

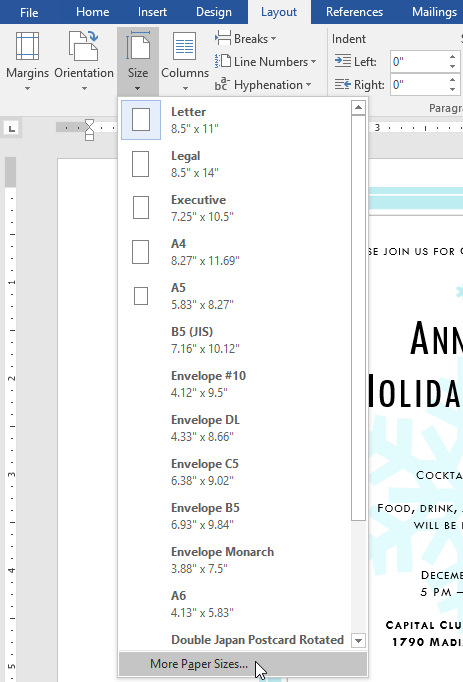
Custom Paper Size
To define a custom paper size, click More Paper Sizes to open the Page Setup dialog box and manually enter width and height.
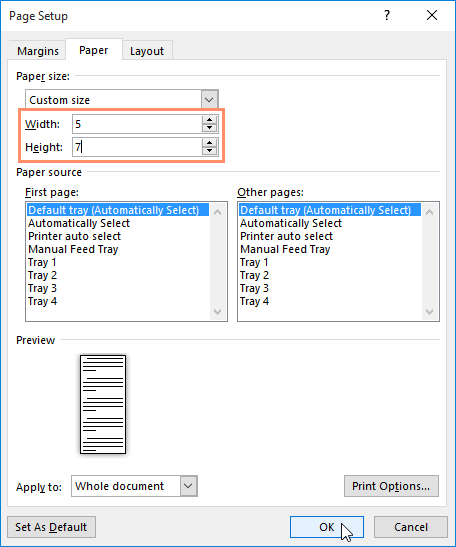
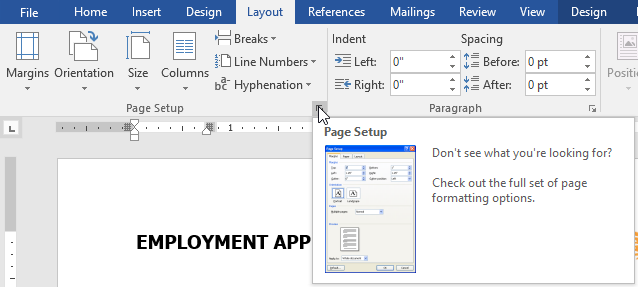
Using the Page Setup Dialog Box
The Page Setup launcher provides full control over margins, paper size, orientation, and layout options in one place.
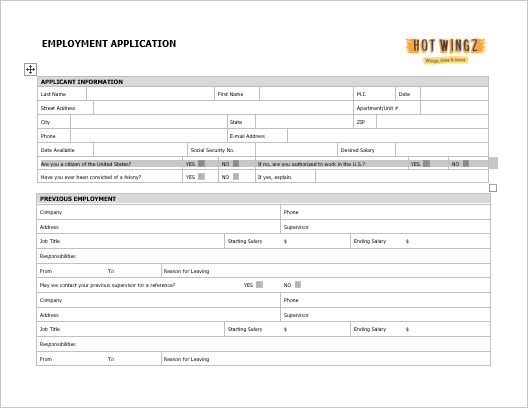
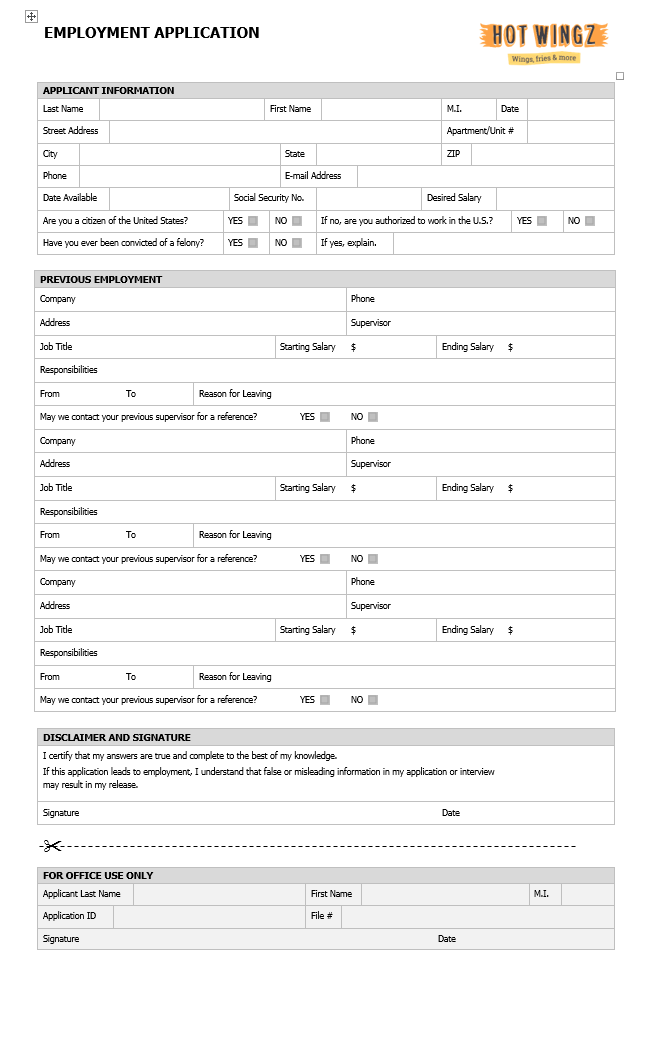
Final Result
After adjusting margins, orientation, and paper size, your completed document should look like this:
Knowledge Check
Which page orientation makes the page wider than it is tall?
Practice File
Download this file and follow along with the lesson.
Challenge
Apply what you've learned in this lesson.
Using the provided practice file, complete the following tasks:
- Change the margins to Narrow.
- Set orientation to Landscape.
- Change the paper size to Legal.
- Create custom margins of 0.75 inches on all sides.
- Open the Page Setup dialog box and review all layout settings.