Columns
Learn how to create, customize, and remove columns in Microsoft Word, including how to use column breaks and adjust column spacing.
Video
Watch the lesson video, then complete the reading and challenge.
Lesson Notes
Read through the key concepts before you try the challenge.
Adding Columns
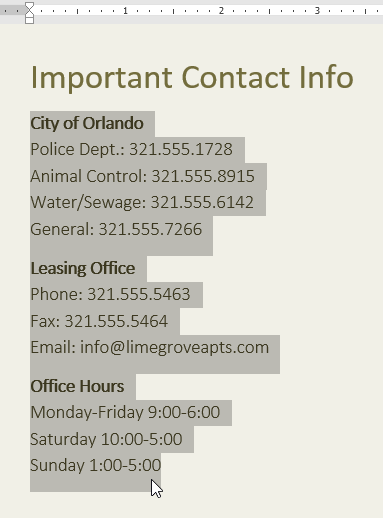
Columns allow text to flow from top to bottom in one column, then continue at the top of the next column—similar to newspapers or newsletters.
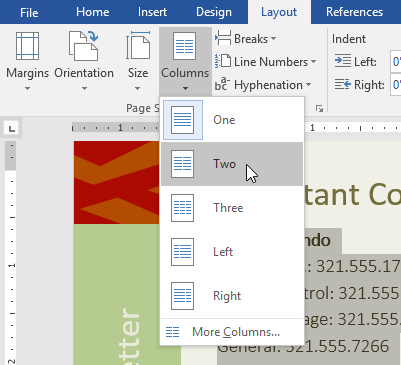
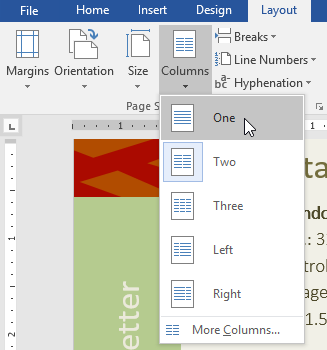
To add columns, select your text, go to the Layout tab, and click Columns. Then choose Two, Three, or another preset option.
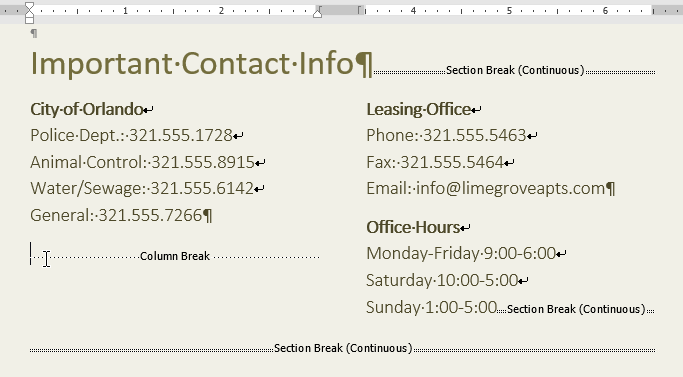
Inserting a Column Break
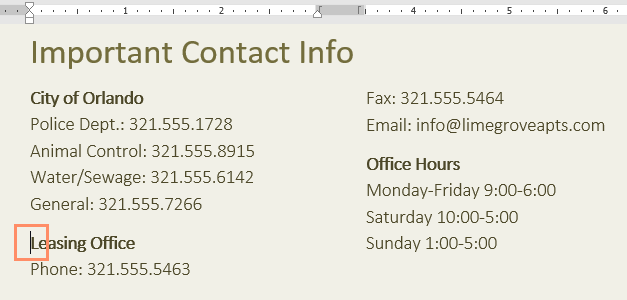
A column break forces text to move to the top of the next column immediately.
Place your insertion point where you want the new column to begin. Then go to Layout → Breaks → Column.

Customizing Columns
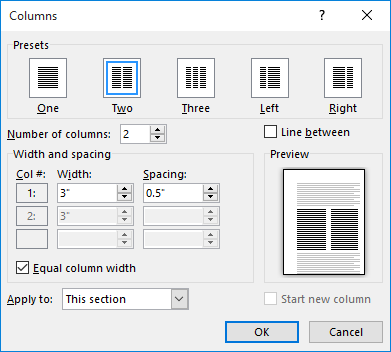
To adjust column width or spacing, click Columns and choose More Columns.
From the Columns dialog box, you can change the number of columns, adjust spacing, and add a line between columns.

Removing Columns
To remove columns, select the text and go to Layout → Columns → One.
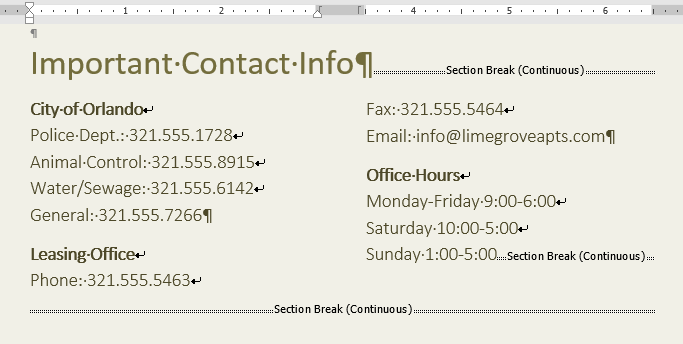
Removing a Column Break
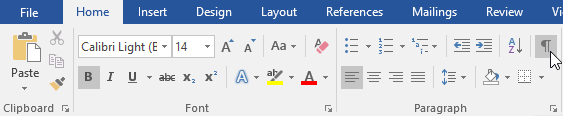
To delete a column break, turn on Show/Hide (¶) to reveal formatting marks. Then place your insertion point before the break and press Delete.
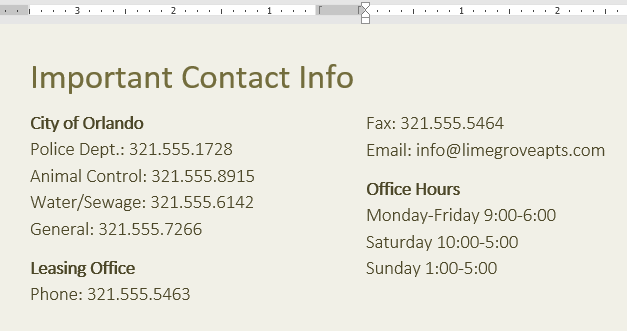
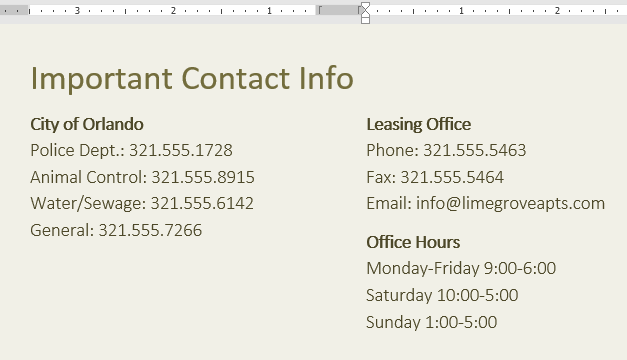
Final Result
After applying columns and adjusting spacing properly, your newsletter should look clean, balanced, and professionally formatted.

Knowledge Check
What is a column break used for?
Practice File
Download this file and follow along with the lesson.
Challenge
Apply what you've learned in this lesson.
Using the provided practice file, complete the following tasks:
- Convert the Community Reminders section into two columns.
- Insert a column break after the first bullet.
- Adjust spacing between columns using More Columns.
- Add a line between columns.
- Remove the column break.
- Return the section to one column.