Align, Order & Group Objects
Learn how to align objects, distribute spacing, change object order, flip images, group items, and use the Selection Pane in Microsoft Word.
Video
Watch the lesson video, then complete the reading and challenge.
Lesson Notes
Read through the key concepts before you try the challenge.
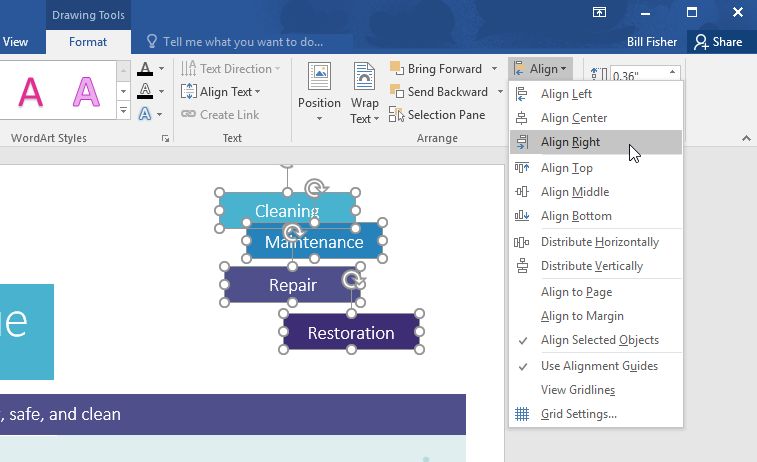
Aligning Objects
Select multiple objects by holding Ctrl and clicking each one. Go to Format → Align to align objects left, center, right, top, middle, or bottom.
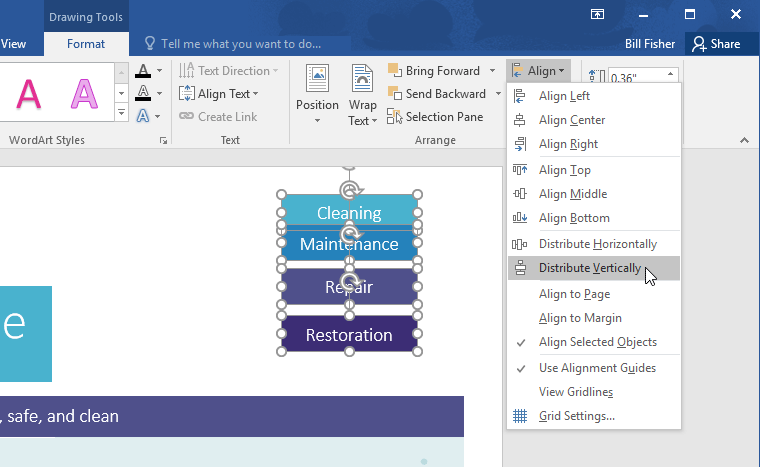
Distributing Objects Evenly
Use Distribute Horizontally or Distribute Vertically to evenly space selected objects.
Flipping and Rotating Objects
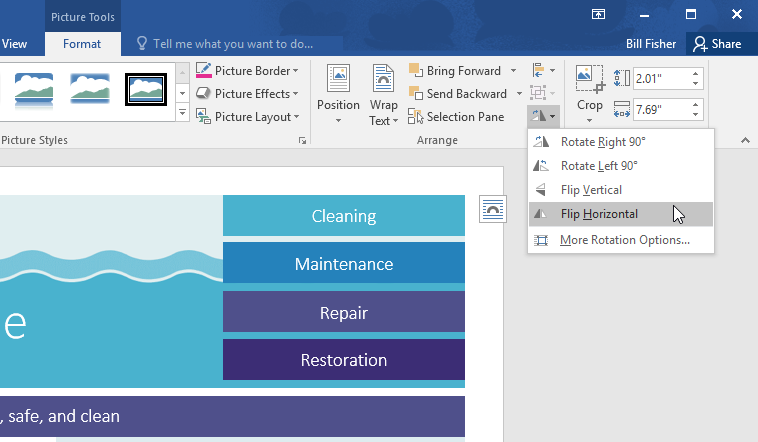
Use the Rotate dropdown in the Format tab to rotate or flip objects horizontally or vertically.
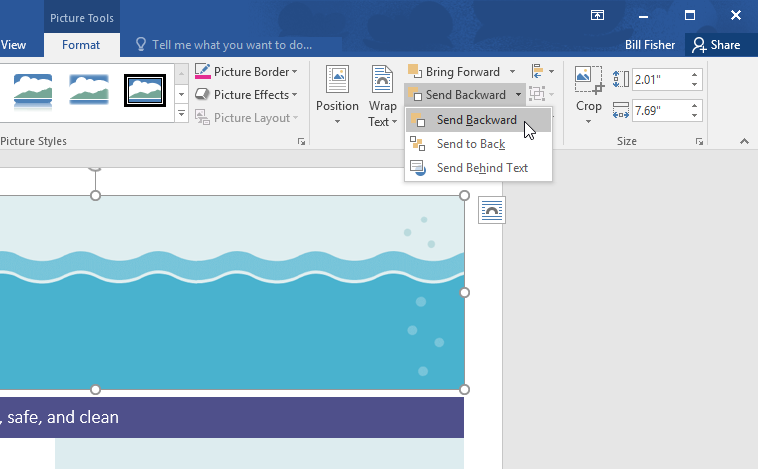
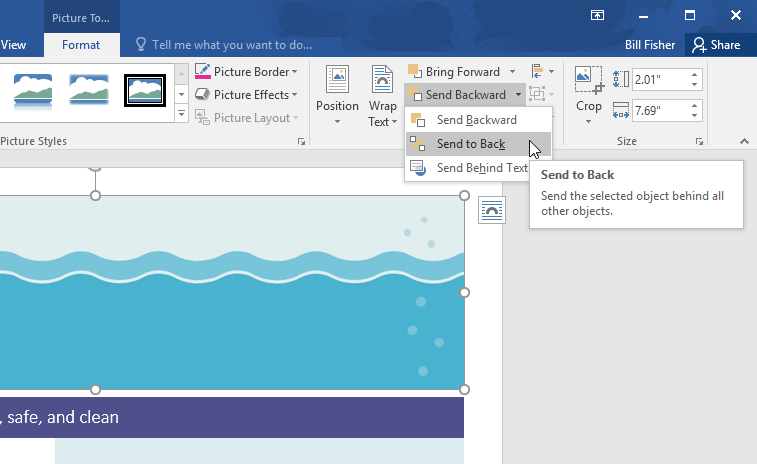
Changing Object Order
When objects overlap, use Bring Forward, Send Backward, Send to Back, or Bring to Front to control layering.
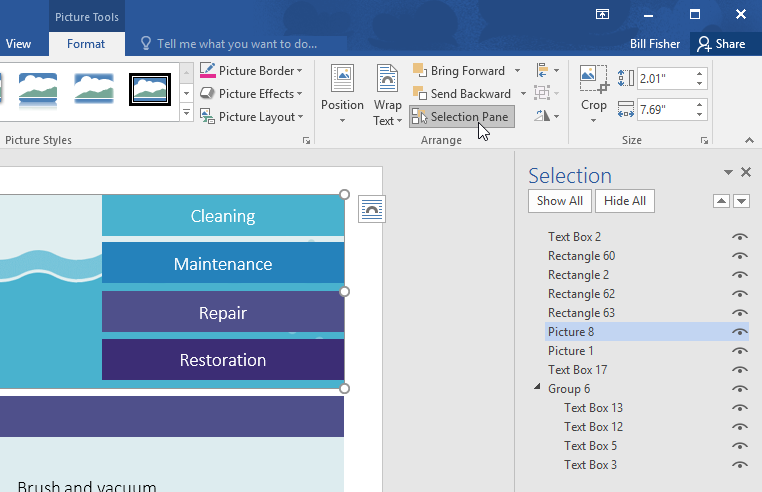
Using the Selection Pane
Open the Selection Pane (Format → Selection Pane) to view, rename, hide, or reorder objects easily.
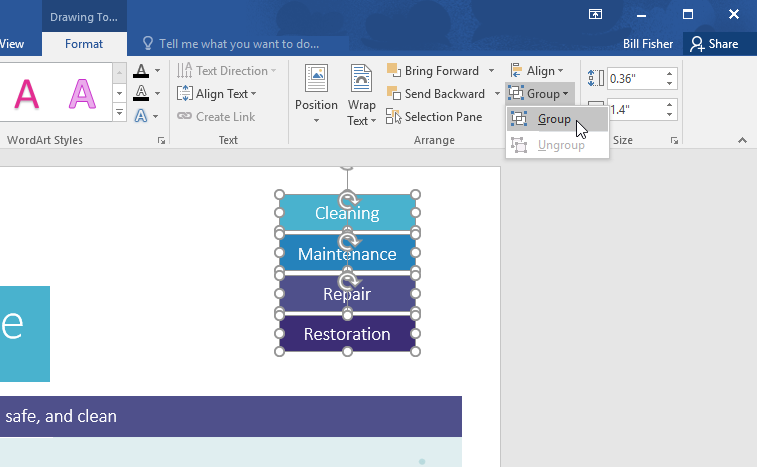
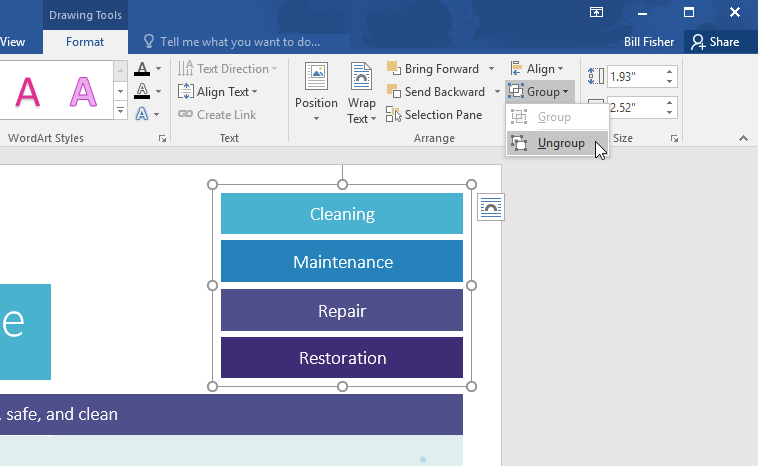
Grouping and Ungrouping Objects
Select multiple objects and click Group to combine them into one unit. Use Ungroup to separate them again.

Final Example
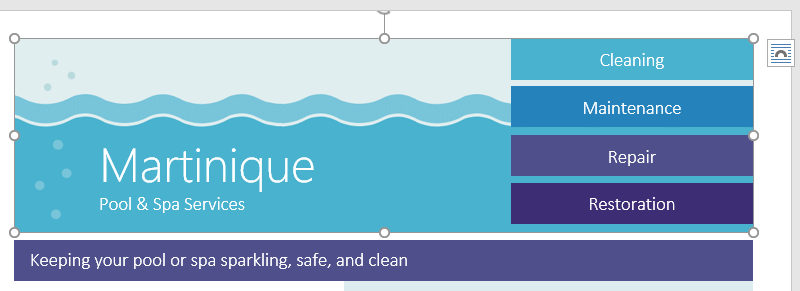
After aligning, ordering, and grouping objects, your completed layout should look clean, balanced, and professional.
Knowledge Check
What does grouping multiple objects do in Word?
Practice File
Download this file and follow along with the lesson.
Challenge
Apply what you've learned in this lesson.
Using the practice file, complete the following tasks:
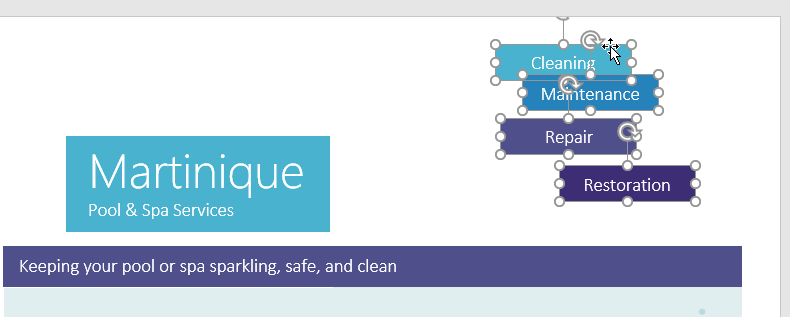
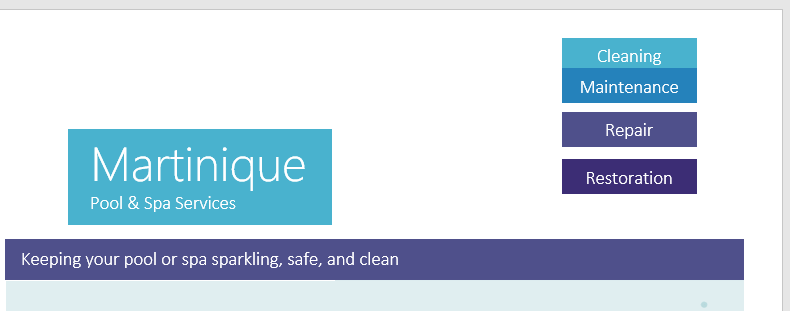
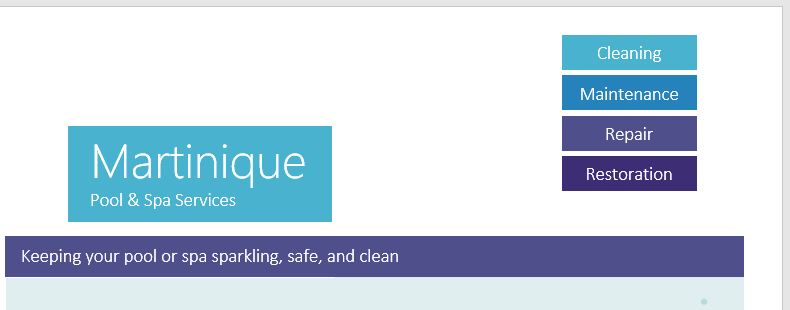
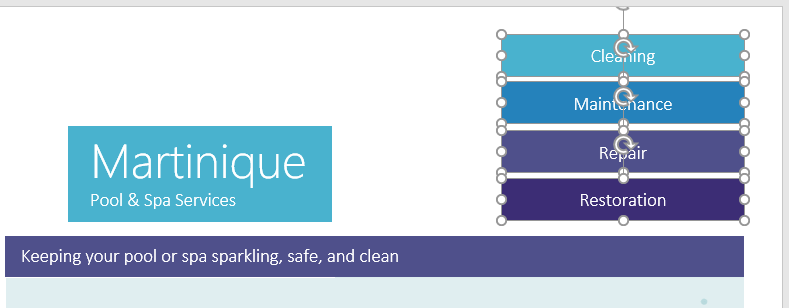
- Select the four service buttons and align them to the right.
- Distribute the buttons vertically so spacing is even.
- Group the four buttons together.
- Flip the banner image horizontally.
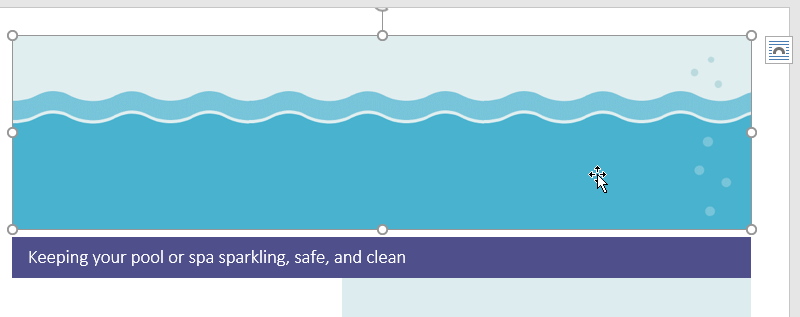
- Send the background image to the back.
- Use the Selection Pane to confirm object order.