Managing Slides
Learn how to organize slides using slide views, notes, and sections to manage large presentations more effectively.
Video
Watch the lesson video, then complete the reading and challenge.
Lesson Notes
Read through the key concepts before you try the challenge.
Slide Views
PowerPoint includes several slide views that help you work with slides in different ways.
The slide view buttons are located in the bottom-right corner of the PowerPoint window.
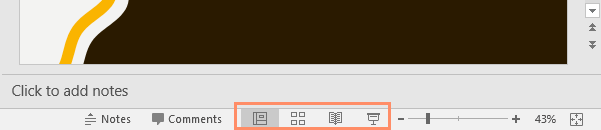
Each view provides a different way to work with slides, including editing, organizing, and presenting your presentation.
As presentations grow larger, switching to the right view becomes more important. Instead of doing everything in one workspace, PowerPoint gives you different ways to focus on structure, content, notes, and delivery.
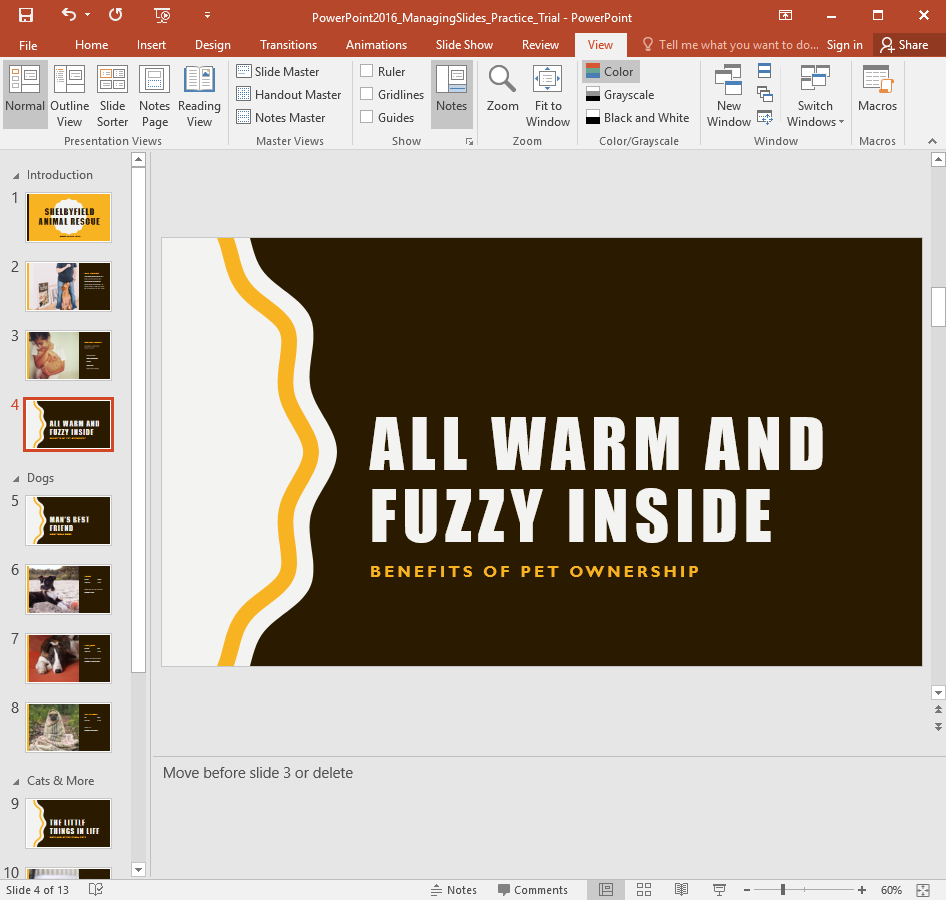
Normal View
Normal View is the default editing view used when creating and editing slides.
This view displays the current slide in the center, slide thumbnails on the left, and the notes pane below the slide.
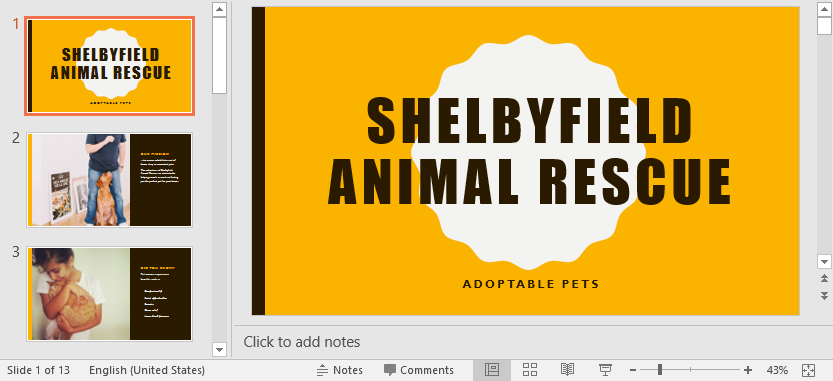
You can also drag slides in the navigation pane to quickly change their order.
Normal View is best when you are actively building content, editing text, inserting media, and making detailed slide changes. It is the main work area most users spend the majority of their time in.
Slide Sorter View
Slide Sorter View displays all slides as thumbnails so you can easily rearrange them.
This view is helpful when organizing presentations with many slides.
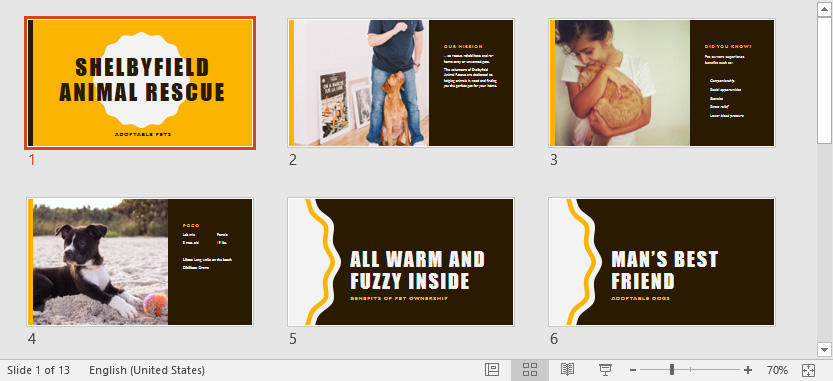
To move a slide, simply click and drag it to a new position.
Slide Sorter View is especially useful when you want to look at the overall flow of a presentation. Instead of focusing on one slide at a time, you can step back and evaluate the sequence of ideas across the full deck.
Reading View and Slide Show View
Reading View shows the presentation in a window while still allowing access to PowerPoint tools.

Slide Show View displays the presentation exactly as the audience will see it.

Reading View is useful when you want to preview slides without fully entering presentation mode. Slide Show View is better when you want to rehearse or present the deck as a finished product.
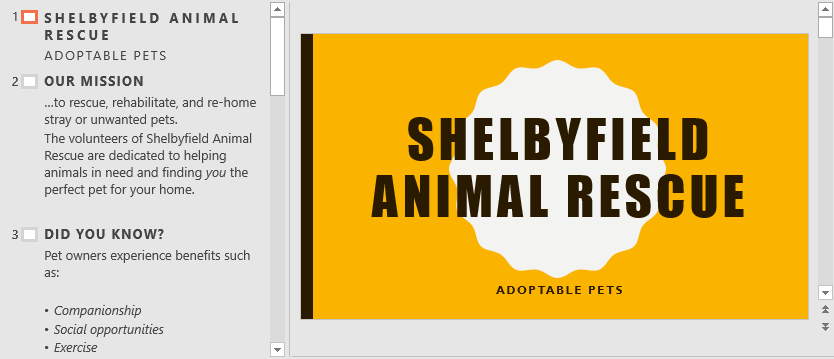
Outline View
Outline View displays the text from your slides in outline form.
This makes it easier to review or edit the text from multiple slides at once.

Outline View is ideal when you want to focus on the presentation’s message rather than its design. It helps you see whether your slides are logically organized and whether the text communicates your ideas clearly.
Adding Notes
You can add notes to slides using the Notes pane below the slide.
Notes are often used as speaker notes to help presenters remember what to say.
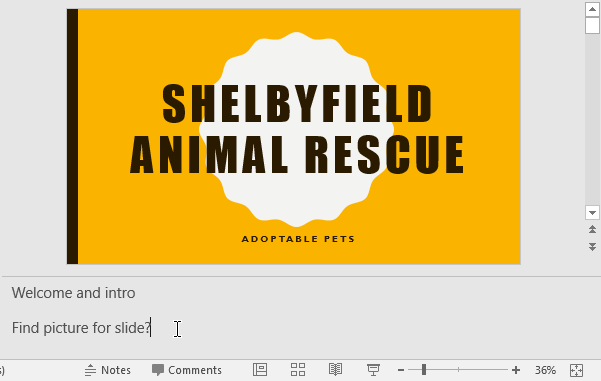

Speaker notes are not usually shown to the audience during a presentation, so they can include reminders, talking points, or extra detail that supports your delivery.
Notes Page View
You can also view notes in Notes Page view.
This view shows the slide at the top with a large area below it where you can edit notes.
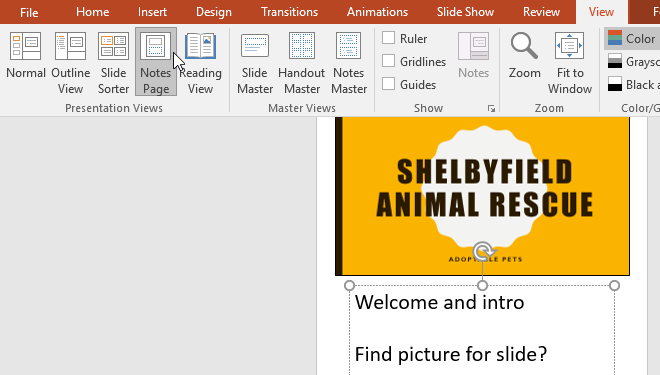
Notes Page View gives you more room to work with presenter notes than the standard Notes pane. This can be helpful when a slide needs more detailed speaking guidance.
Creating Slide Sections
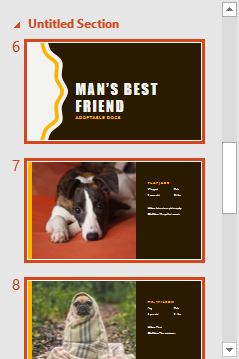
When presentations contain many slides, sections can help organize them into groups.
To create a section, select a slide, click the Section command on the Home tab, and choose Add Section.

A new Untitled Section will appear in the slide navigation pane.
Sections are especially useful for large presentations because they break the deck into smaller parts. Instead of managing one long slide list, you can organize slides by topic, audience, or stage of the presentation.
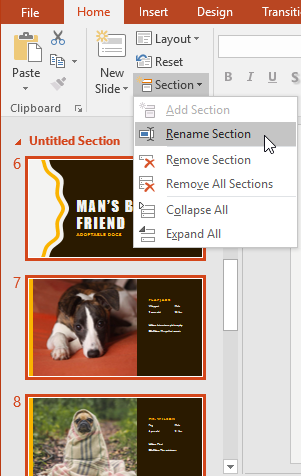
Renaming Sections
You can rename a section to better describe the slides it contains.
Click the Section command and choose Rename Section.
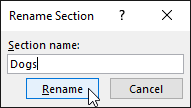
Clear section names make a presentation easier to navigate, especially when you revisit the file later or share it with another presenter.
Collapsing and Removing Sections
Sections can be collapsed in the slide navigation pane to hide slides inside them.
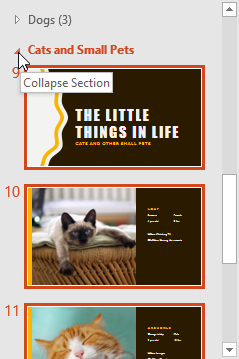
If you no longer need a section, you can remove it using the Section command.
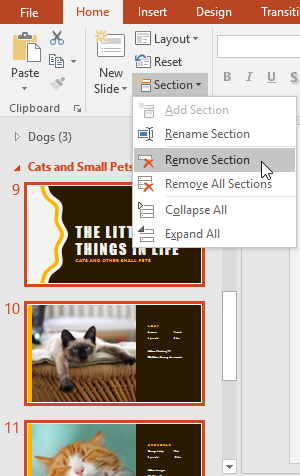
Collapsing sections helps reduce clutter in the navigation pane so you can focus on the part of the presentation you are currently editing. Removing a section deletes the grouping, but it does not automatically delete the slides inside it.
Completed Presentation Example
After organizing slides into sections and adding notes, the presentation becomes easier to navigate and manage.
A well-organized presentation saves time during editing, makes it easier to prepare for delivery, and helps you stay in control as your slide deck grows.
Pro Tip
Knowledge Check
Which view is best for rearranging slides quickly?
What are slide notes mainly used for?
What is the main benefit of using sections?
Practice File
Download this file and follow along with the lesson.
Challenge
Apply what you've learned in this lesson.
Complete the following tasks using the practice presentation:
- Open the practice presentation.
- Create a section for the first slide and name it Introduction.
- Create a section named Dogs beginning with the slide 'Man's Best Friend'.
- Create a section named Cats & More beginning with the slide 'The Little Things in Life'.
- Move the slide titled 'Pogo' so it appears in the Dogs section.
- Switch to Outline View.
- Add a note on slide 4 that says 'Move before slide 3 or delete'.
- Switch back to Normal View.