Slide Master View
Learn how to use Slide Master view to make global design changes, create custom layouts, manage placeholders, and keep an entire presentation consistent.
Video
Watch the lesson video, then complete the reading and challenge.
Lesson Notes
Read through the key concepts before you try the challenge.
What Slide Master View Does
Slide Master view allows you to control the overall design and layout structure of an entire presentation. Instead of editing slides one by one, you can update the master and its layouts so that design changes appear everywhere they are used.
This is especially useful when you want consistent branding, repeated logos, matching fonts, and reusable slide layouts throughout a presentation.
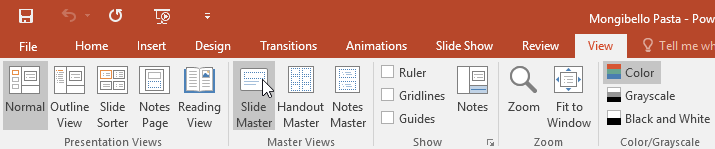
Opening Slide Master View
To begin working with slide masters, go to the View tab and select Slide Master. PowerPoint will switch from the normal editing view into the master editing workspace.

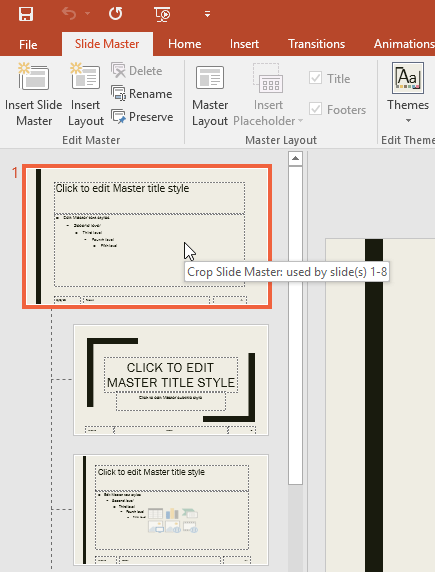
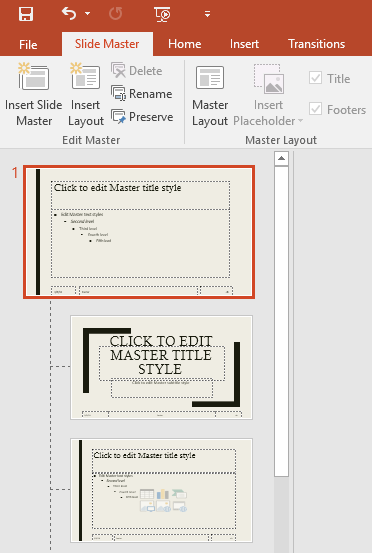
Once Slide Master view opens, the left pane will display the large master slide at the top and the related layouts below it.
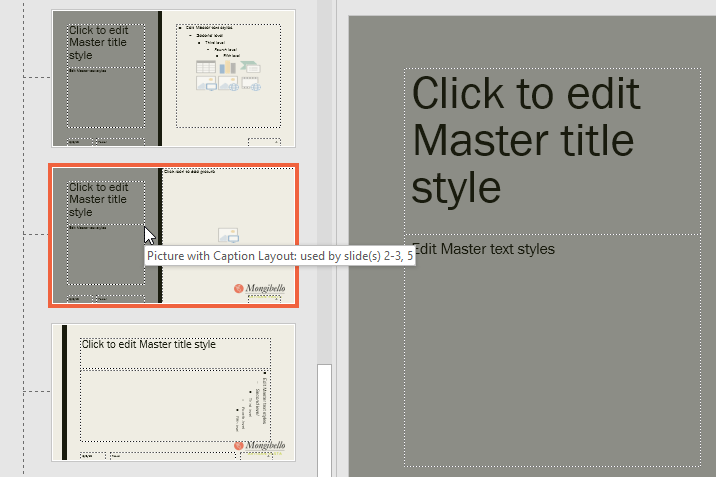
Understanding the Master Slide and Layouts
The top slide in Slide Master view is the master slide. It controls global elements such as theme fonts, background styling, and repeated objects like logos.
The smaller slides beneath it are layouts. Each layout controls the structure of a specific slide type such as title slides, content slides, or image-based slides.
When you apply a layout to a slide, that slide inherits all formatting and structure from that layout.
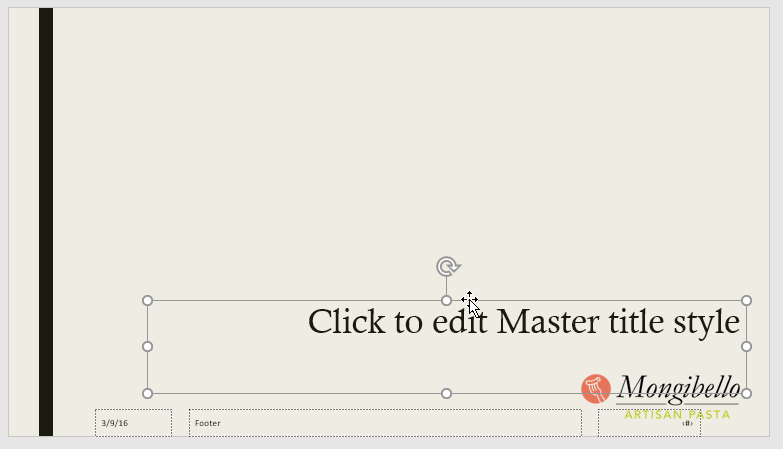
Editing Master Text and Branding
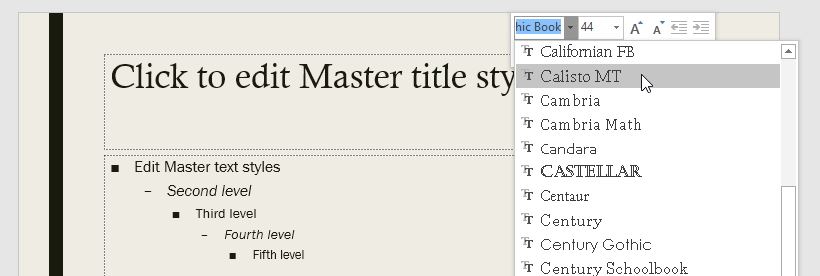
You can format text on the master or layouts just like regular slides, including font style, size, and alignment.
You can also insert logos or branding elements so they automatically appear on multiple slides.
Using Theme Fonts in Slide Master
Slide Master view works closely with themes. Changing theme fonts will update text across all layouts instantly.
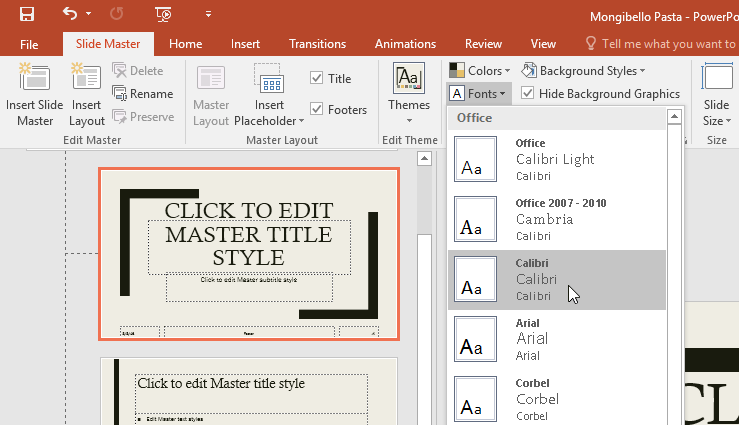
This ensures consistency and helps maintain a professional appearance.
Inserting and Managing Placeholders
Placeholders define where content such as text, images, charts, and media will appear on a slide.
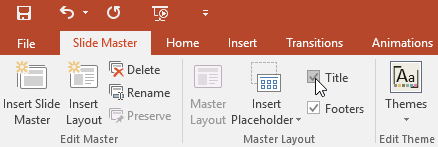
Use Insert Placeholder from the Slide Master tab to add placeholders to layouts.
Once placed, you can resize and position placeholders to create structured layouts.
Creating a Custom Layout
You can create your own layouts to standardize how slides are structured across a presentation.
Custom layouts are useful for things like product slides, team slides, or image-focused content.
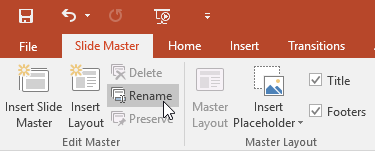
Renaming Layouts
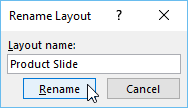
Renaming layouts makes them easier to identify and reuse later.
Click Rename and assign a meaningful name such as Product Slide.
Showing and Hiding Master Elements
You can control whether titles, footers, and background elements appear on specific layouts.
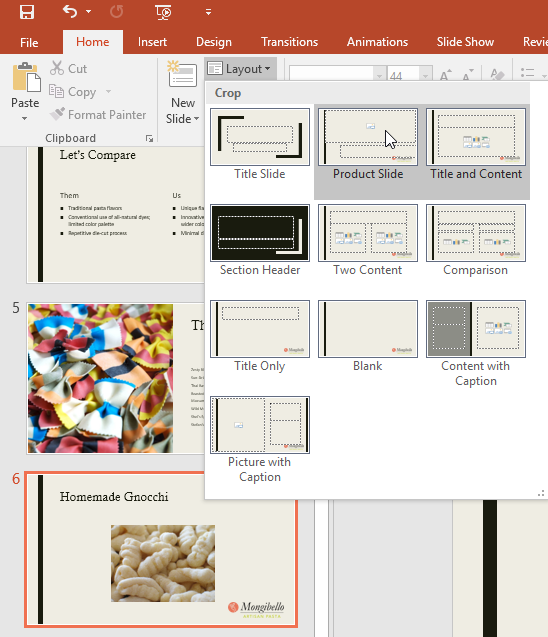
Applying Custom Layouts to Slides
Apply layouts from the Home tab to instantly update slide structure and formatting.
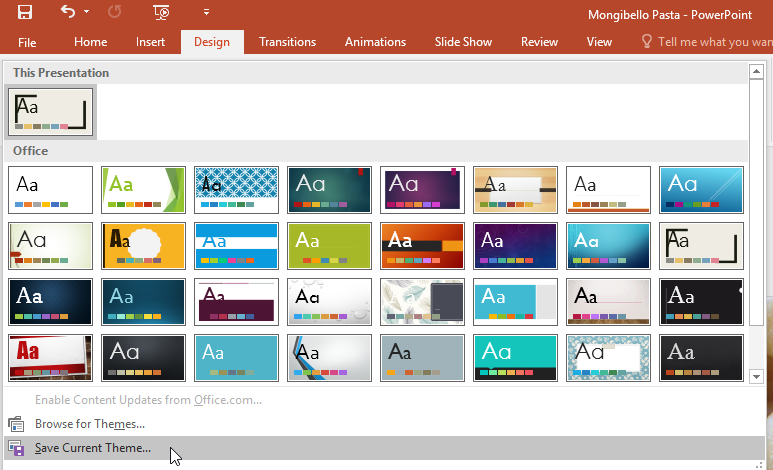
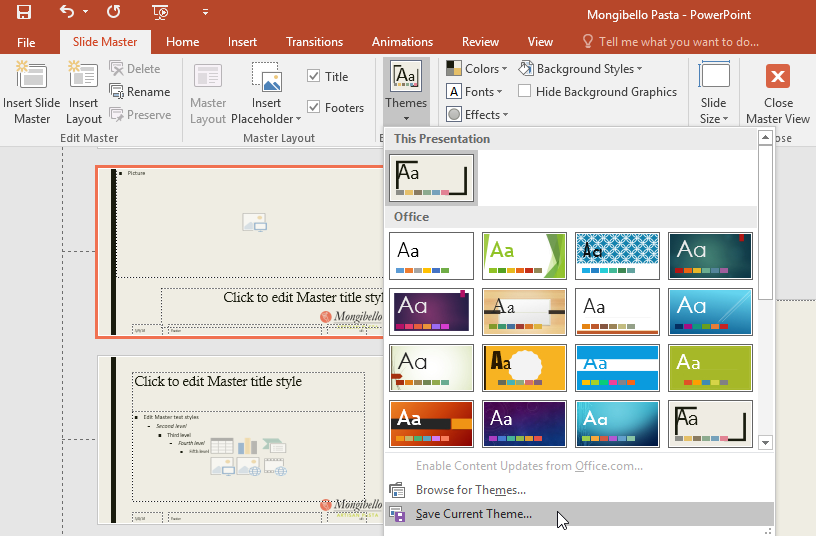
Saving the Theme
Save your customized theme to reuse it in future presentations.
Closing Slide Master View
Click Close Master View to return to the normal editing environment.
Completed Presentation Example

Pro Tip
Knowledge Check
What does Slide Master control?
What is a layout?
Why are placeholders important?
Practice File
Download this file and follow along with the lesson.
Challenge
Apply what you've learned in this lesson.
Complete the following tasks using the practice presentation:
- Open the practice presentation.
- Go to the View tab and open Slide Master view.
- Select one of the layouts and rename it Product Slide.
- Insert a Picture placeholder on a custom layout.
- Move and resize the logo so it is aligned consistently on the layout.
- Change the theme font used for the layout.
- Return to Normal view.
- Apply the custom Product Slide layout to an existing slide.
- Save the current theme for future use.