Slide Basics
Learn how to create slides, choose layouts, work with placeholders, duplicate and reorder slides, and apply design changes in PowerPoint.
By the end of this lesson you can
- Add, duplicate, delete, and reorder slides
- Choose a layout that matches the slide's content
- Explain why placeholders beat free-floating text boxes
- Use the outline to structure a deck before designing it
Video
Watch the lesson video, then complete the reading and challenge.
Lesson Notes
Read through the key concepts before you try the challenge.
Layouts are what keep a deck from drifting
You build a twenty-slide orientation deck at Lakeside Medical Associates.
You add text boxes wherever you need them rather than using layouts. Your titles land at slightly different heights on almost every slide. Watching the deck, the title jitters up and down from slide to slide, and the whole thing feels amateurish for reasons nobody can name.
Your task: Use layouts and placeholders so alignment is structural rather than something you re-achieve each time.
A layout is a set of placeholders positioned by the Slide Master. Type into placeholders and every title lands in exactly the same place on every slide, with the same font and size. That invisible consistency is most of what separates a professional deck from a homemade one.
Free text boxes place themselves wherever you drop them, which is why title jitter happens. They have a legitimate role — a caption over an image, an annotation on a diagram — but they should never be doing a placeholder's job.
Building a slide that stays consistent with the rest of the deck
Add a slide comparing two intake processes, without breaking the deck's alignment.
- 1
Home > New Slide, and pick the Two Content layout rather than accepting the default.
The layout is chosen for the content, not the other way round. Two Content gives two side-by-side placeholders already aligned to the master, so the comparison structure is built in before you type anything.
- 2
Click into each placeholder and type.
Placeholder text inherits the master's font, size, and position automatically, and it appears in the outline. Text in a free box does neither, which is also why it will not appear if anyone builds a summary from the outline.
- 3
If the text does not fit, cut the text rather than shrinking the font.
PowerPoint offers to autofit by reducing the size, which is how a deck ends up with eight different body sizes. Overflow is a signal that the slide is carrying too much — move the detail to the notes, which is where it belonged.
- 4
Use Outline View to check the slide's place in the argument.
The outline shows the deck as structure, stripped of design. If a slide's title does not make sense in that list, the problem is with the content rather than the layout.
Result: A comparison slide that matches every other slide's alignment and typography exactly.
Pick the layout that fits the content, type into placeholders, and treat overflow as a content problem rather than a font-size problem.
Understanding Slides
PowerPoint presentations are built one slide at a time. Each slide acts like a page in your presentation, and together the slides tell your full story.
Most slides begin with placeholders. Placeholders are built-in boxes that make it easy to add titles, text, pictures, charts, tables, and other content without having to build the layout yourself.
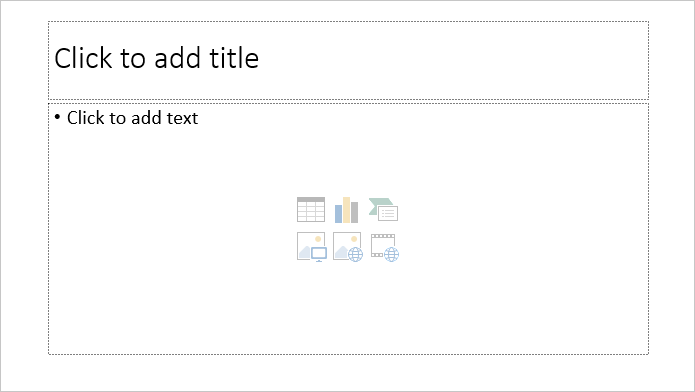
Using placeholders helps keep slides organized and consistent. Instead of dragging random objects around the screen, PowerPoint gives you a structured starting point.
Using the Slide Navigation Pane
The Slide Navigation Pane appears on the left side of the PowerPoint window. It displays thumbnails of every slide in the presentation.
This pane allows you to jump between slides quickly, see the order of your presentation, and make changes to slide arrangement without leaving the main editing view.
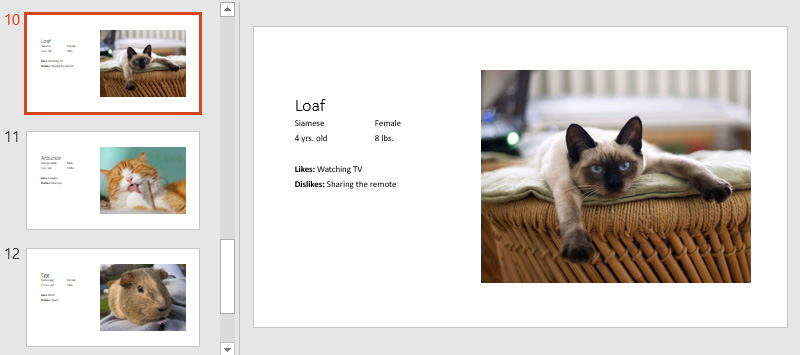
When a presentation begins to grow, the Navigation Pane becomes one of the most important tools for staying organized.
Adding a New Slide
To continue building a presentation, you will usually need to insert additional slides. PowerPoint makes this easy with the New Slide command on the Home tab.

Clicking the top half of the New Slide button inserts a new slide immediately. This is the fastest way to keep moving when you are building a presentation from scratch.
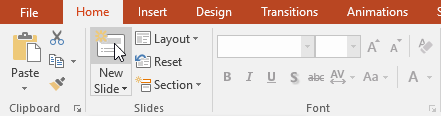
New slides usually appear directly below the currently selected slide in the Navigation Pane.
Choosing the Right Slide Layout
Not every slide should look the same. Some slides only need a title, while others may need text, pictures, or two side-by-side content areas.
That is where slide layouts come in. Layouts control how placeholders are arranged on the slide.
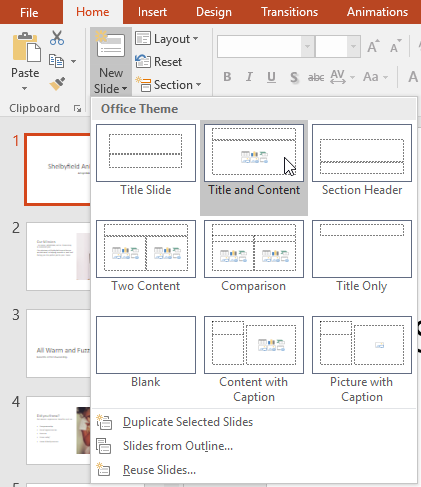
One of the most common layouts is Title and Content. It gives you a title placeholder at the top and one large content area below.
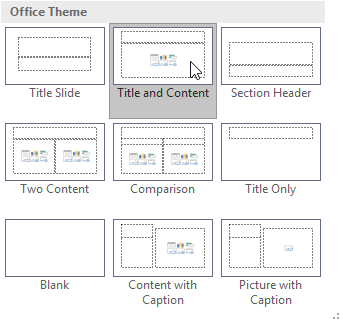
Choosing the correct layout early makes your slides easier to build and usually saves you from unnecessary resizing later.
Changing the Layout of an Existing Slide
Sometimes you create a slide and later realize it needs a different layout. Thankfully, you do not need to start over.
PowerPoint lets you change the layout of an existing slide using the Layout command on the Home tab.
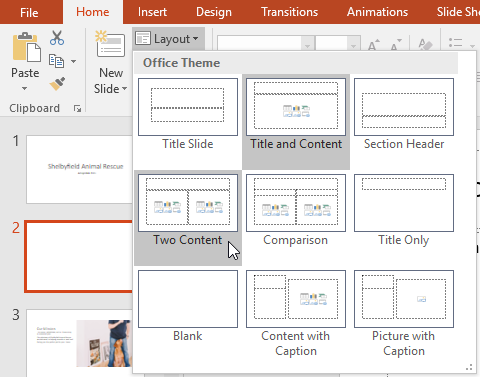
For example, you may want to switch to a Blank slide if you want full control over where objects appear.
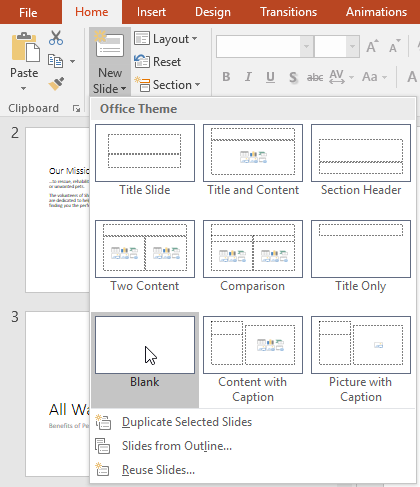
Changing layouts is a clean way to reshape a slide without deleting it and rebuilding everything from scratch.
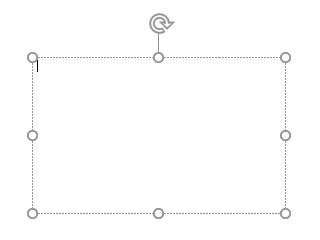
Adding a Text Box
Placeholders are useful, but sometimes you need more freedom. A text box allows you to place text exactly where you want it on the slide.
To insert one, go to the Insert tab and click Text Box.

After selecting the command, click and drag on the slide to draw the text box area.
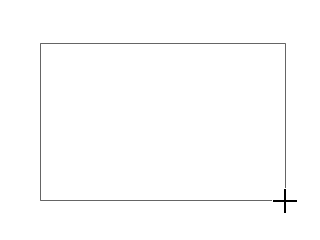
Once the text box appears, you can type directly inside it and format it like any other text in PowerPoint.
Moving and Resizing Placeholders
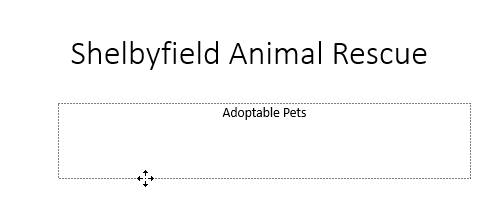
You are not locked into PowerPoint’s default object positions. Placeholders and text boxes can be moved and resized whenever needed.
To move an object, click its border and drag it to a new location.
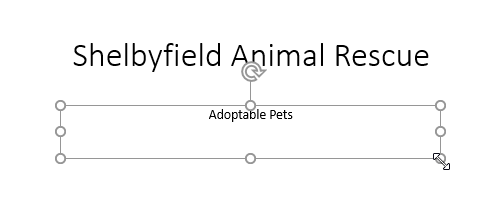
To resize an object, drag one of the sizing handles on the corners or sides. Corner handles adjust both height and width, while side handles adjust only one dimension.
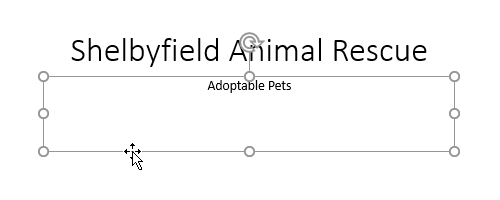
These adjustments help you improve spacing, balance your slide, and make room for other content.
Duplicating Slides
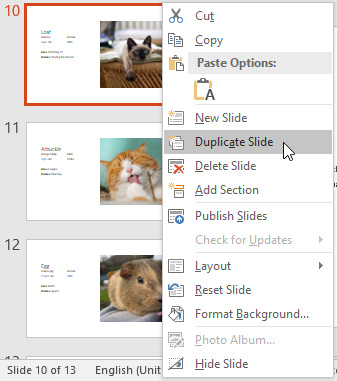
If you have a slide with a layout you want to reuse, duplicating it is much faster than rebuilding the entire slide from scratch.
To duplicate a slide, right-click the slide thumbnail in the Navigation Pane and choose Duplicate Slide.
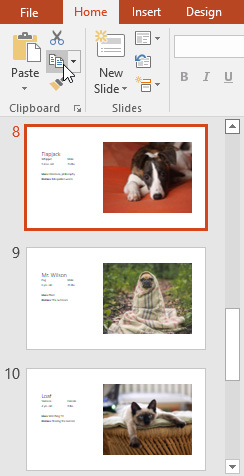
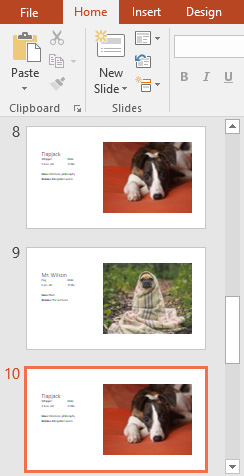
You can also copy and paste slides. This is useful when moving content between presentations or when you want even more control over placement.
Reordering Slides
As your presentation grows, you may decide that some slides belong earlier or later in the sequence.
To reorder slides, click and drag a slide thumbnail in the Navigation Pane. A horizontal insertion line shows where the slide will be placed.
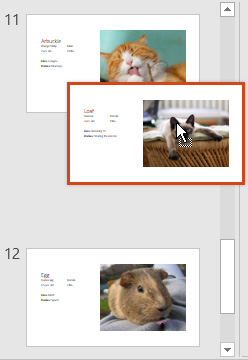
Reordering slides is one of the easiest ways to improve the flow of your presentation without changing the content itself.
Applying a Theme
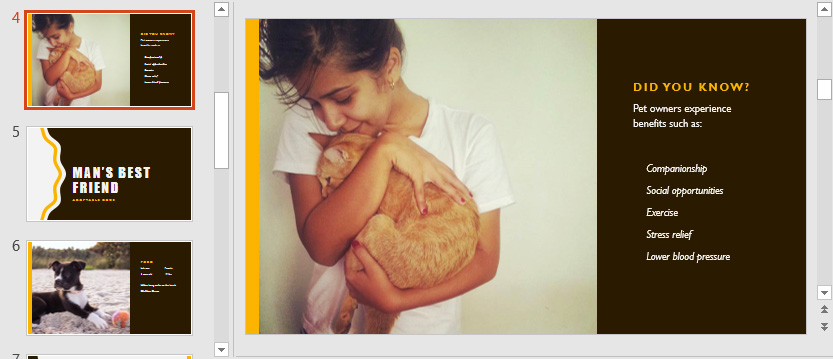
Themes give your presentation a consistent visual style by applying coordinated colors, fonts, and background styles across all slides.
To apply a theme, go to the Design tab and select one of the available theme thumbnails.

Once applied, the theme updates the appearance of your presentation instantly.
Formatting the Background
If you want to customize the appearance of a slide even more, you can modify the slide background.
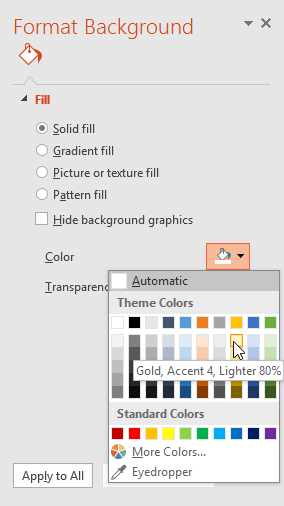
Use the Format Background command to choose a solid fill, gradient, texture, or picture background.

You can then select the background fill style and choose a color or other formatting option.
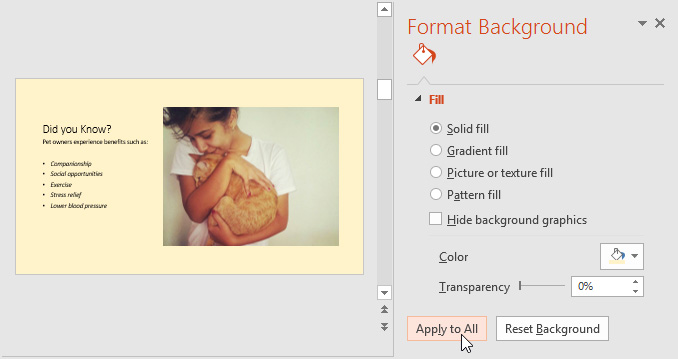
If you want the same background on every slide, click Apply to All.
Changing Slide Size
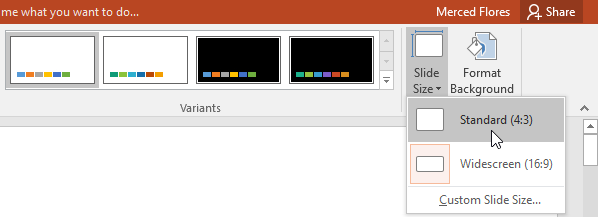
PowerPoint allows you to choose between Standard (4:3) and Widescreen (16:9) slide sizes.
Widescreen is the more modern format and is commonly used for classroom projectors, TVs, and online presentations.
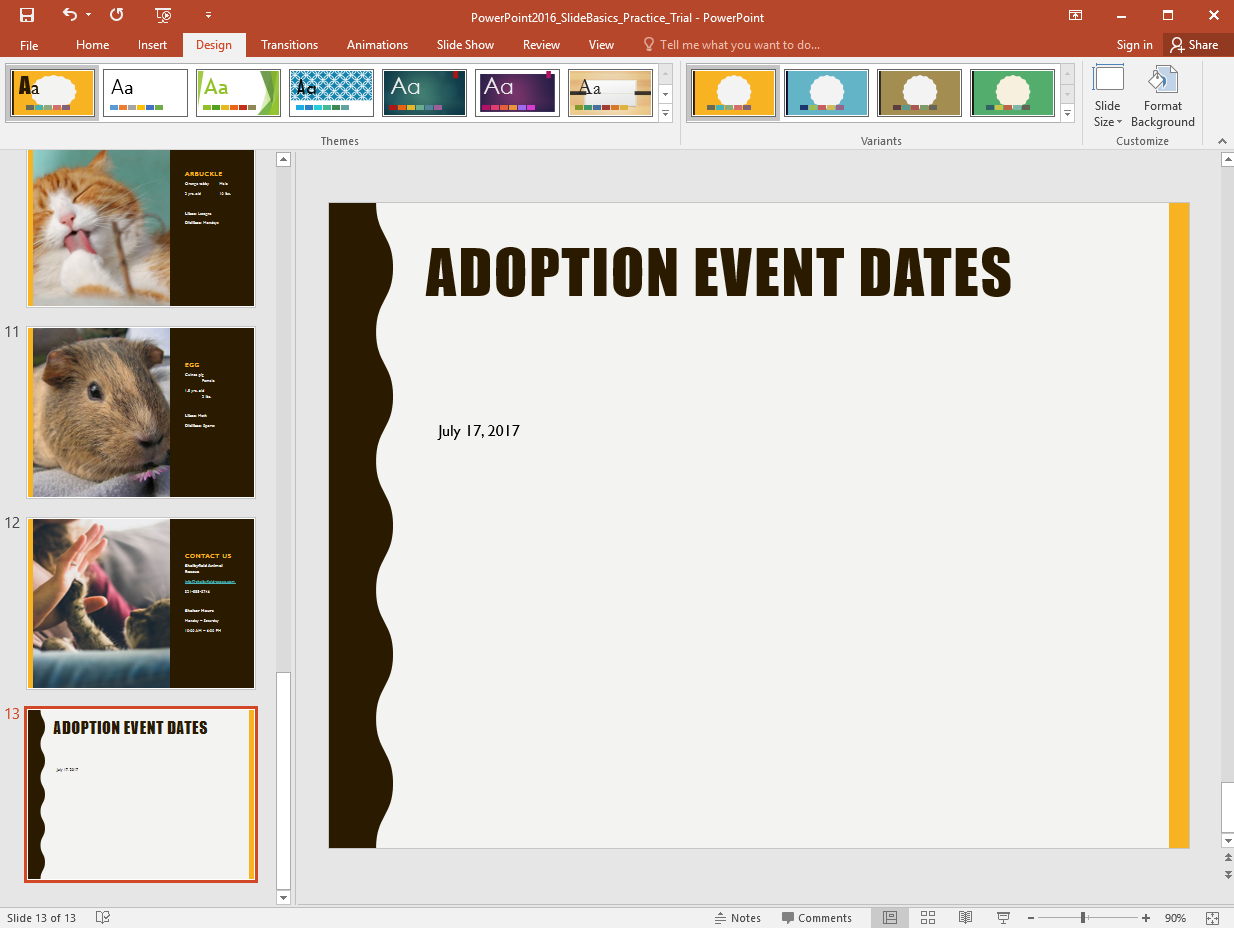
Completed Presentation Example
After adding slides, choosing layouts, inserting text, duplicating content, and applying theme changes, your presentation will start to look polished and organized.
The completed practice file gives a good example of how a simple presentation can become much more visually effective once these slide basics are applied.
Knowledge Check
What is a layout in PowerPoint?
Practice File
Download this file and follow along with the lesson.
Challenge
Apply what you've learned in this lesson.
Complete the following tasks using the practice presentation:
- Insert a new slide into the presentation.
- Change the layout of one slide.
- Add a text box to a blank slide.
- Move or resize a placeholder.
- Duplicate one of the existing slides.
- Reorder a slide in the Navigation Pane.
- Apply a theme to the presentation.
- Change the background formatting and apply it to all slides.
Finished this lesson?
Progress is saved in this browser only. It is not a grade — official progress lives in Brightspace.