Headers & Footers
Create, edit, and customize headers and footers in Microsoft Word. Insert preset headers, add dates, page numbers, and format different first pages.
By the end of this lesson you can
- Add headers and footers, including automatic page numbers and dates
- Use a different first page so a letterhead does not repeat
- Explain how section breaks let headers differ between parts of a document
- Choose between a date that updates automatically and one that stays fixed
Video
Watch the lesson video, then complete the reading and challenge.
Lesson Notes
Read through the key concepts before you try the challenge.
Headers are how a page proves where it came from
You prepare clinical documentation packets at Lakeside Medical Associates.
A twelve-page packet goes to a specialist. It is unstapled at the other end, mixed with pages from two other practices, and reassembled. Half the pages carry no identification and no page numbers. Nobody can tell which pages belong together, or whether any are missing.
Your task: Put identifying information on every page automatically, so a loose sheet is never anonymous.
A header or footer is defined once and repeats on every page — the practice name, the document title, and 'Page X of Y' so a reader can tell at a glance that page 7 of 12 is missing. Typing that on each page by hand is not just slow; it breaks the moment the document repaginates.
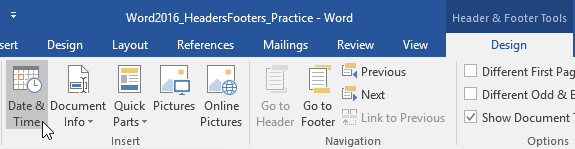
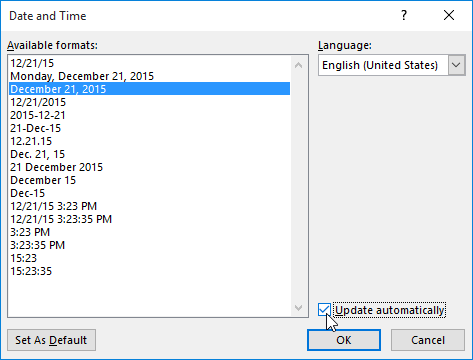
The date field has a subtlety worth getting right. Insert > Date & Time offers an 'Update automatically' checkbox. Checked, the date rewrites itself to today every time the document opens — correct for a template, and actively wrong for a letter, because reopening a letter from March in September silently changes its date. For anything with a fixed issuance date, leave that box unchecked.
Creating a Header
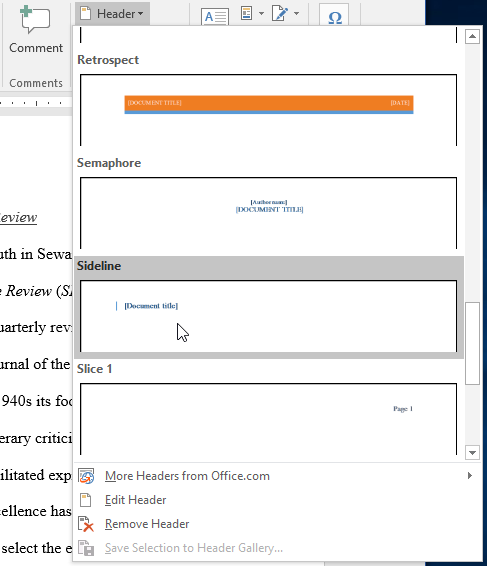
Go to Insert → Header. Choose a built-in style or select Blank to create your own header.

Working with Preset Header Placeholders
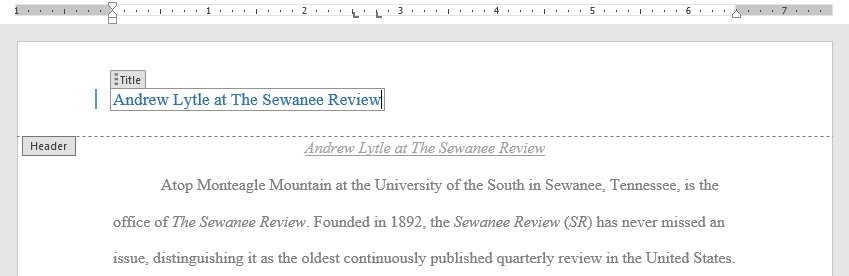
Built-in headers include content controls such as [Document Title]. Click inside the placeholder to replace it with your own text.
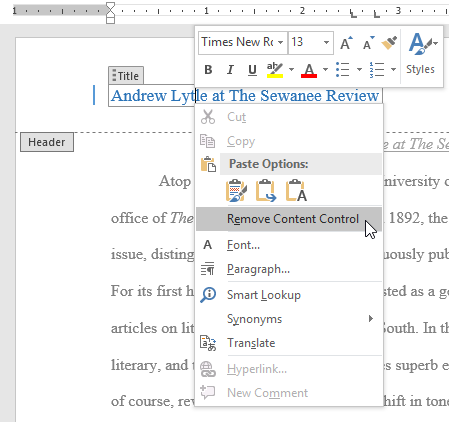
To remove the placeholder entirely, right-click the field and choose Remove Content Control.
Editing a Header
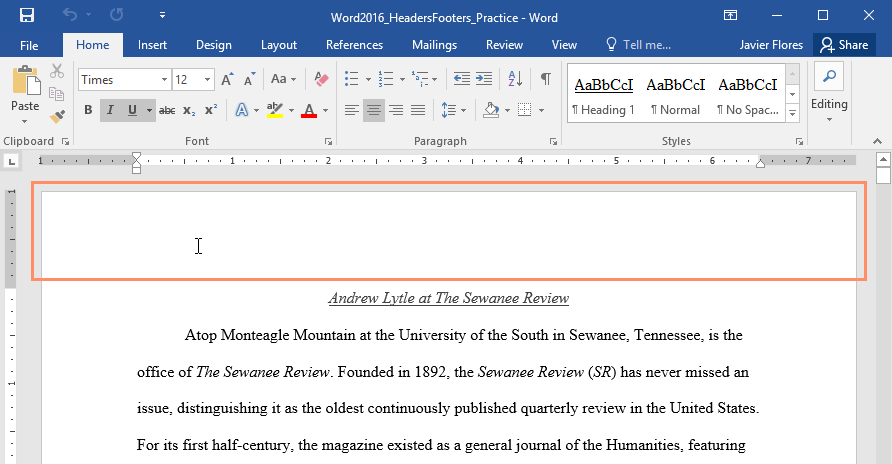
Double-click at the top of the page to open the header area. The Header & Footer Tools Design tab will appear.
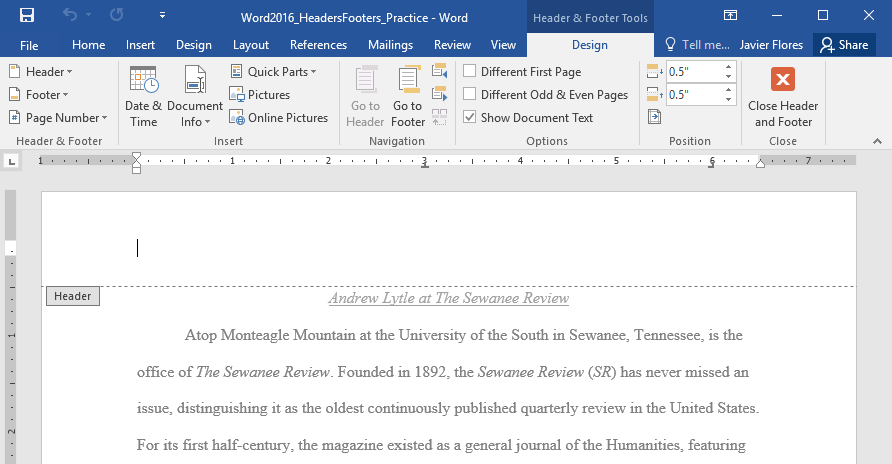
Inserting Date & Time
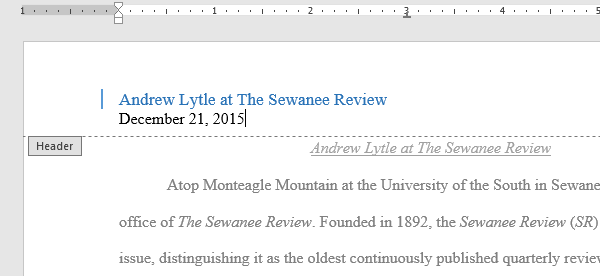
Click Date & Time inside the header. Choose a format and check Update automatically if needed.
Adding Page Numbers
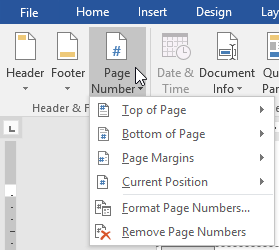
Go to Insert → Page Number and choose placement and alignment.
Different First Page
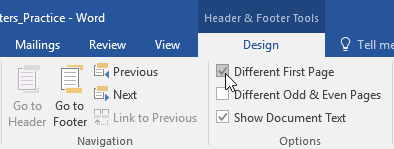
Select Different First Page from the Design tab to remove the header from the first page only.
Removing a Header
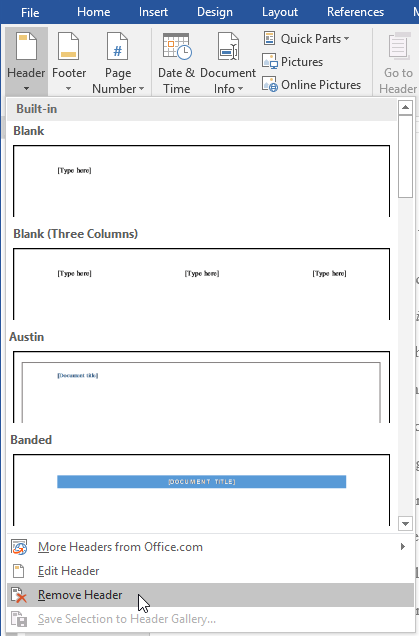
To remove the header entirely, go to Insert → Header → Remove Header.
Closing the Header Area
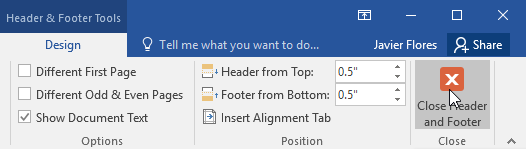
Click Close Header and Footer to return to the main document.
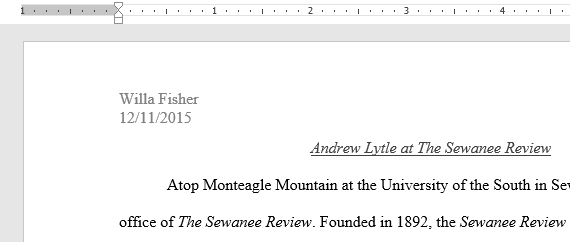
Completed Example
Knowledge Check
What is the purpose of a header in a Word document?
Practice File
Download this file and follow along with the lesson.
Challenge
Apply what you've learned in this lesson.
Complete the following tasks:
- Insert a preset header.
- Replace the placeholder text with your name.
- Remove any remaining content control boxes.
- Insert today’s date and set it to update automatically.
- Add page numbers to the bottom right.
- Make the first page header different.
- Close the Header & Footer tools properly.
Finished this lesson?
Progress is saved in this browser only. It is not a grade — official progress lives in Brightspace.